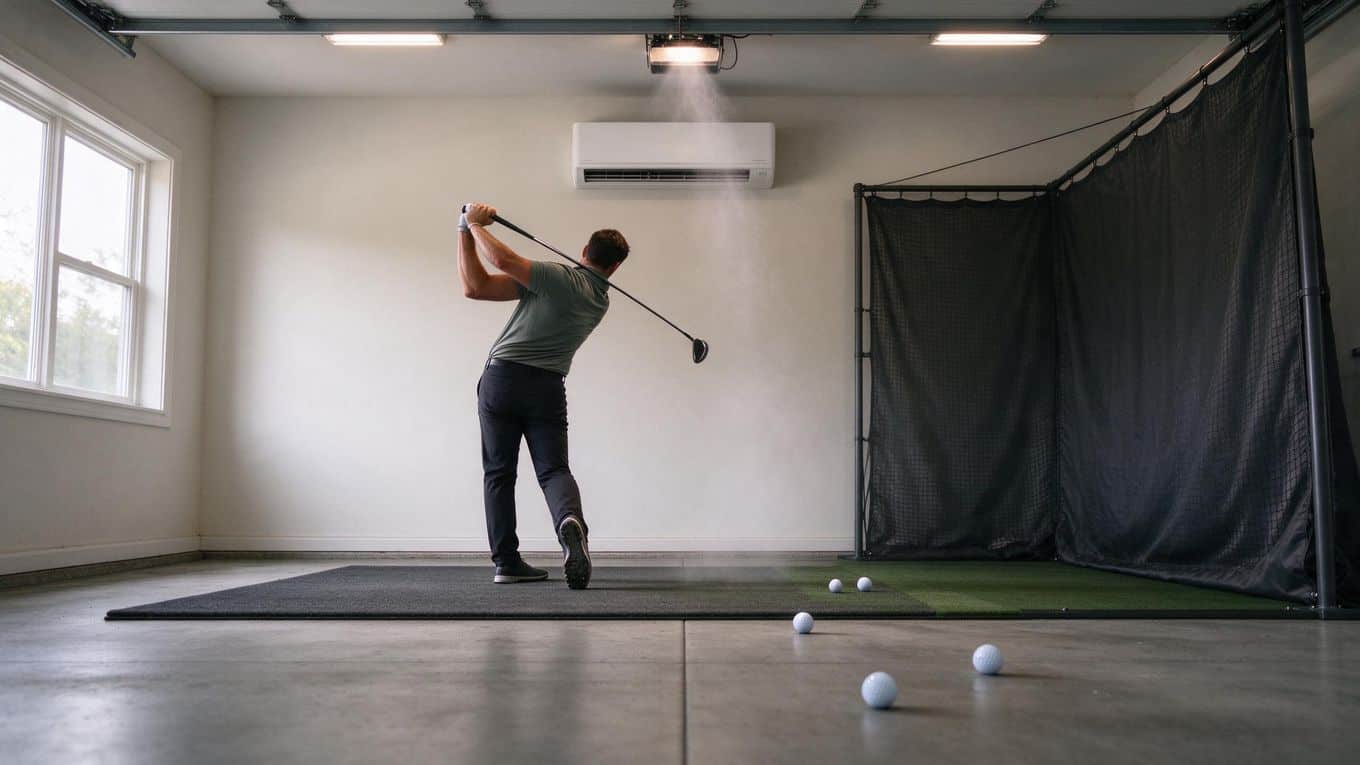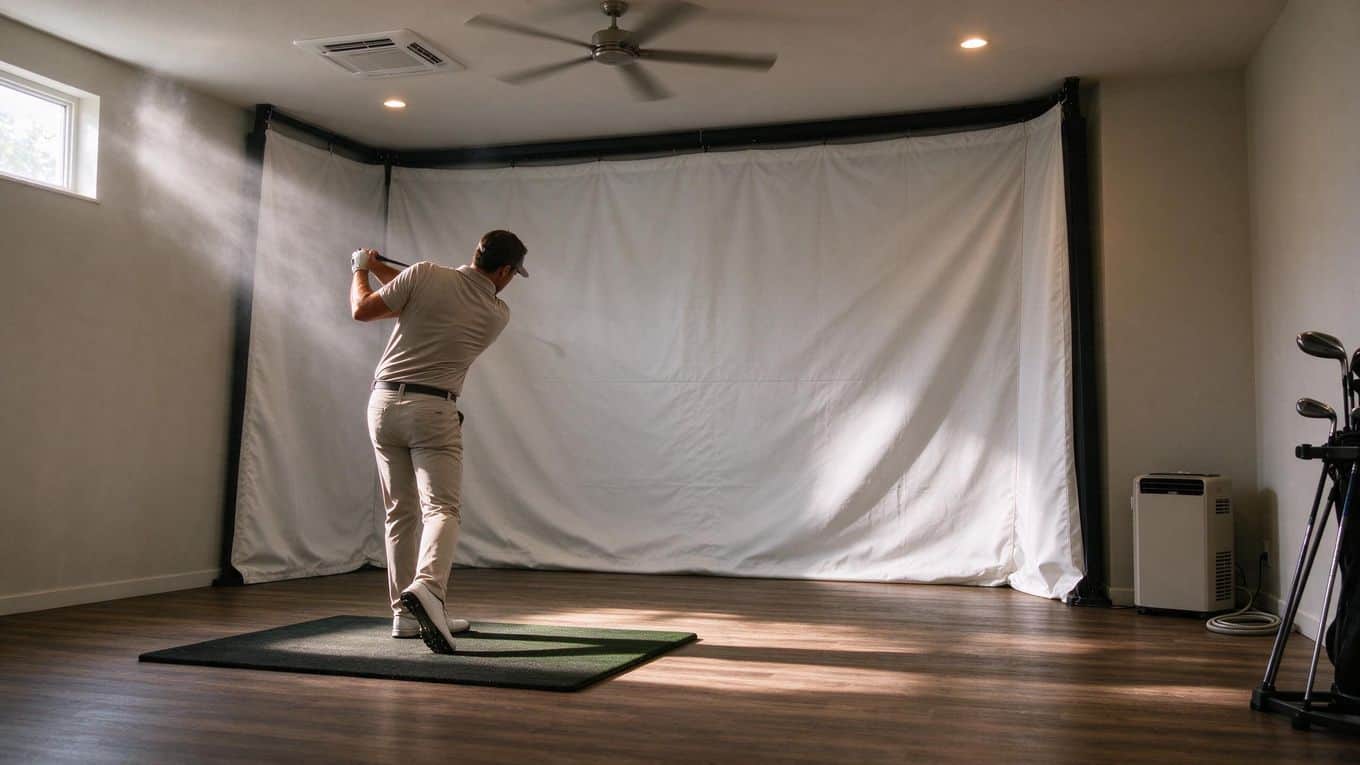


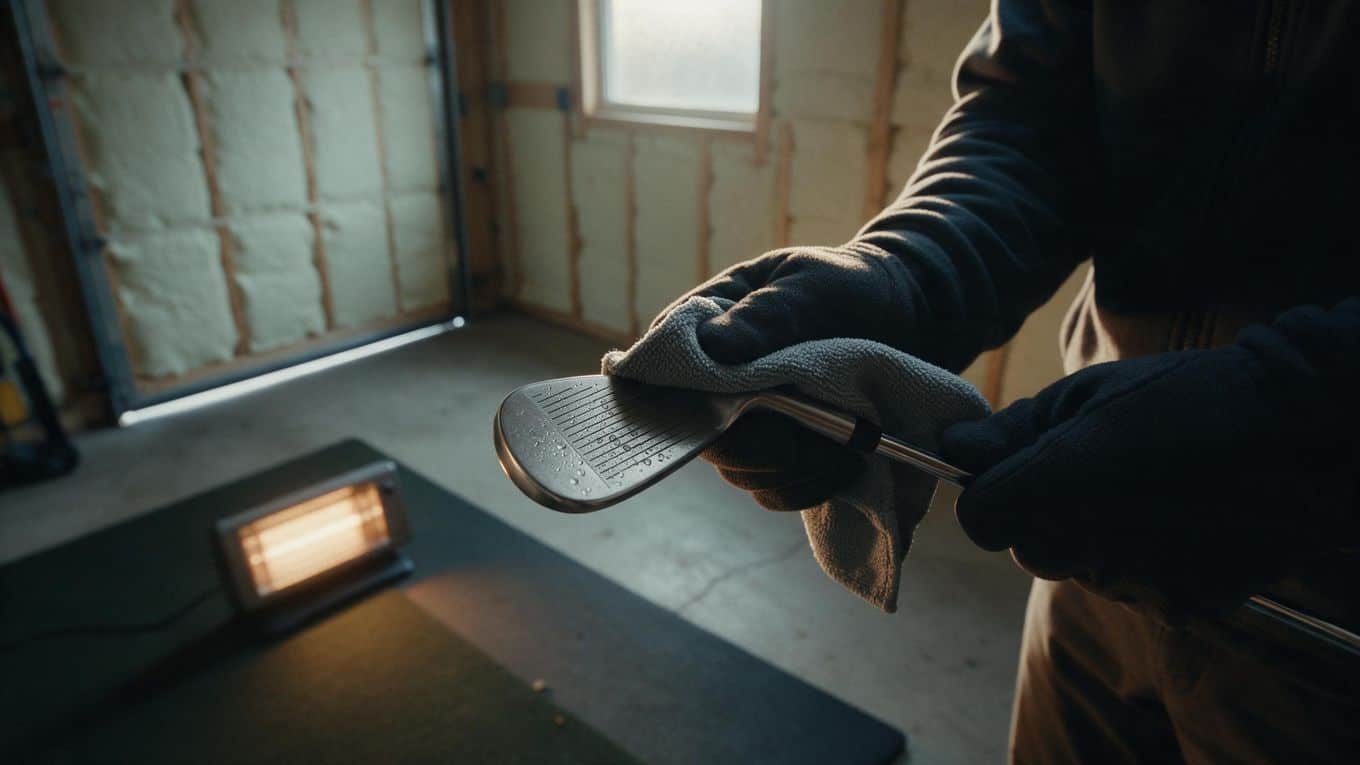
How long to preheat golf simulator garage space depends on the season, your heater, and how well the building holds warmth. A cold garage can leave you waiting or swinging in a jacket, so the timing matters more than most players expect. This guide gives you practical ranges and a repeatable routine.
You will learn what makes warm-up time vary, the order to follow before powering up gear, and how insulation and moisture control change the result. The steps cover condensation risk and the mistakes that slow a session down.
Use the process to set a preheat window that fits your garage and climate, then adjust it after a few sessions.
Why Garage Warm-Up Time Varies
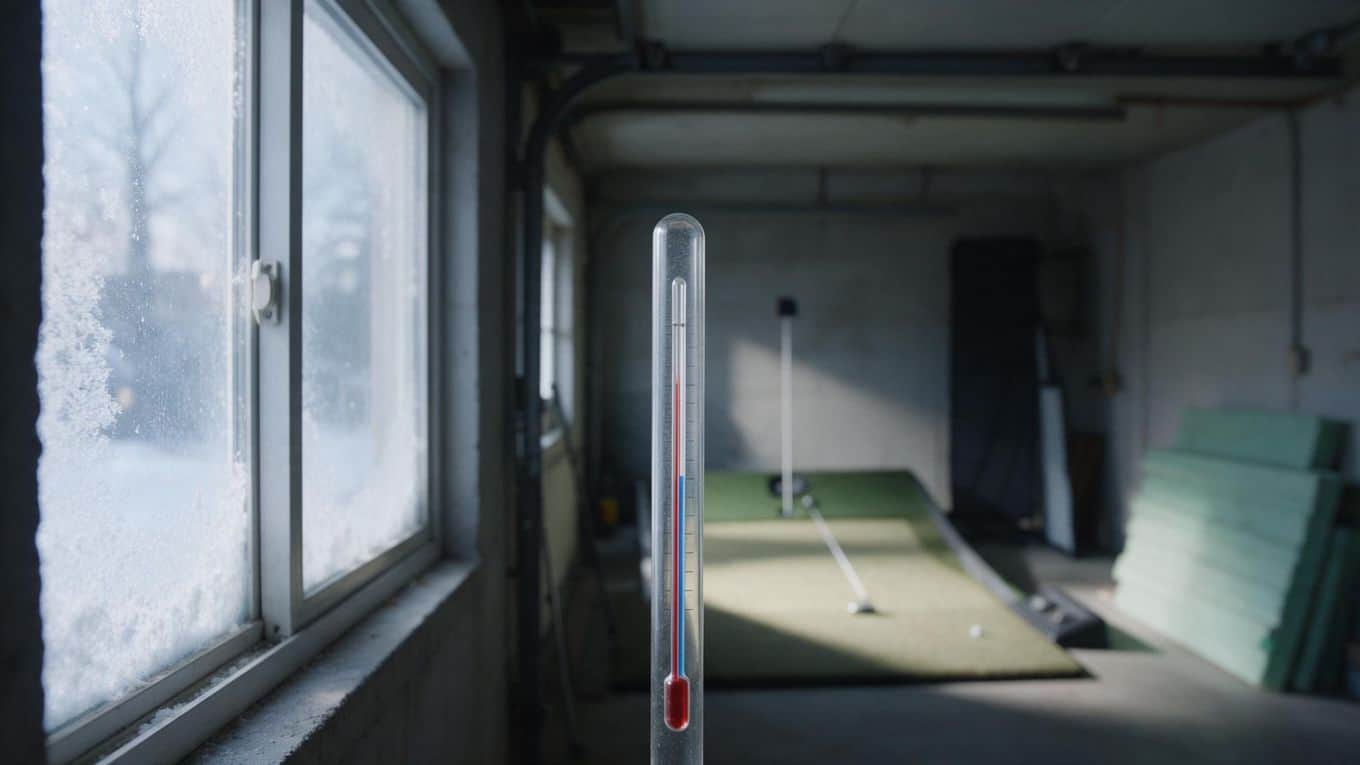
Many garage sim guides suggest preheating for about 15 to 60 minutes before a session, longer if the space is very cold. That range is a starting point, not a guarantee. One guide describes a seasonal garage sim climate startup taking about 90 minutes. The exact time depends on garage size, insulation, and heater type.
Garage Size and Insulation
A larger garage holds more air to warm, and an uninsulated one loses heat as fast as you add it. Insulation slows heat loss, so a well-insulated door and sealed air leaks cut your warm-up window.
If you're planning a build, our guide to building a golf simulator in your garage covers insulation choices in more detail. Insulation is the deciding factor for how long your garage holds heat.
Heater Type and Wattage
Heater output drives how fast the space reaches a playable temperature. Some guides cite a practical electric range of about 1,500 to 5,000 watts for a garage. One guide suggests a 2kW heater can be switched on 15 to 20 minutes before a session. Check your heater's rating rather than assuming a figure.
Starting Temperature and Humidity
A cold snap or a damp day changes the timeline. Starting from a lower temperature adds time, and high humidity raises condensation risk. A dehumidifier or moisture control alongside heating helps here. Read the room first before you power anything on.
What You Need Before Preheating
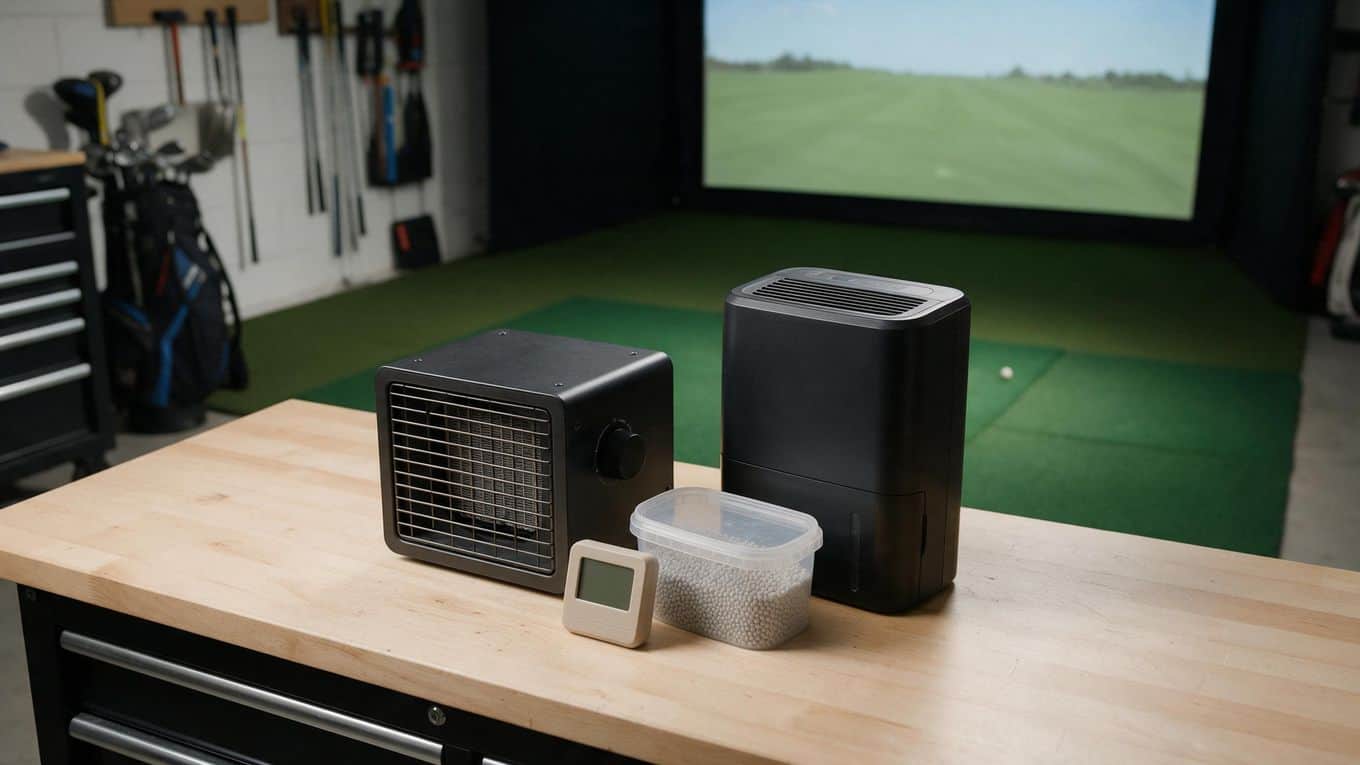
You don't need much to warm a garage sim, but a few tools make the job predictable. Gather them before the first cold session so you're not hunting for a heater while your launch monitor sits in the cold.
Thermometer or Room Sensor
A thermometer or room sensor tells you the starting temperature, which sets your preheat window. Check it before you power anything. Without a reading, you're guessing at the 15 to 60 minute range many guides suggest.
Electric and Radiant Heater Options
For electric heating, some guides cite a practical range of about 1,500 to 5,000 watts for a garage. One guide suggests a 2kW heater can be switched on 15 to 20 minutes before a session. Check your heater's rating before you plan around it.
Radiant heaters warm surfaces and people directly, while space heaters warm the air. Match the type to how you use the room.
Dehumidifier for Moisture Control
Some guides recommend a dehumidifier or moisture control alongside heating. Moisture matters because condensation forms when warm, humid air meets a colder surface. A dehumidifier lowers that risk before it starts.
Door Weatherstripping and Insulation
Several guides call insulating the garage door and sealing air leaks the highest-leverage first steps for keeping heat in. Weatherstripping around the door and basic door insulation slow heat loss, so your heater works less. Seal leaks before adding heat, and if you're adding electrical gear, review your golf simulator electrical requirements first.
Sort these four items and your preheat routine becomes repeatable instead of improvised.
Step-by-Step Preheat Process
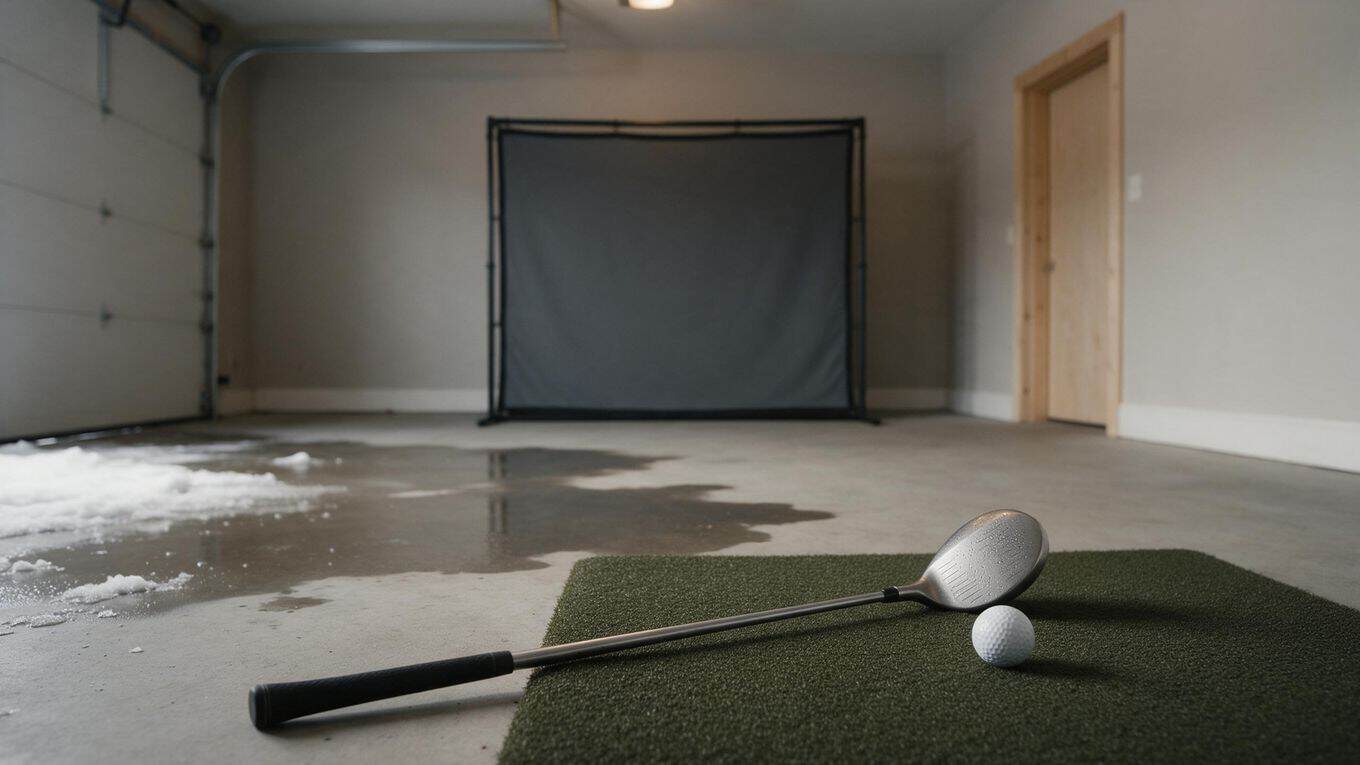
A repeatable warm-up protects your launch monitor, screen, and flooring. The exact time depends on garage size, insulation, and heater type, so treat any figure here as a starting point from published guides, not a fixed rule.
Check Temperature and Moisture First
Before you switch on anything, read the room. Use a thermometer or room sensor to note the air temperature and a hygrometer to check relative humidity. If the garage feels damp or the dew point sits close to the current temperature, condensation is likely as you warm the space.
Some guides suggest a dehumidifier alongside heating to manage moisture. Record the starting numbers so you can compare next session.
Warm the Space Gradually
- Set your heater to a moderate target rather than maximum output. One guide recommends avoiding warming faster than about 10 degrees Fahrenheit per hour.
- Run the heater for roughly 15 to 60 minutes, longer if the garage is very cold. A seasonal first start can take about 90 minutes according to one guide.
- Check the thermometer every 15 minutes and adjust.
Radiant heaters warm surfaces directly, while electric space heaters warm the air. Match the approach to your gear and room.
Let Cold Gear Acclimate
Give screens, mats, and launch monitor hardware time to reach room temperature before you rely on them. Cold optics can fog when warm, humid air reaches them. Leave covers off and let air circulate. One guide describes a read-dry-warm-power-up order, and that sequence keeps moisture from settling on cold surfaces.
Power On Electronics Last
Switch on the launch monitor, projector, and computer only after the room has warmed and moisture has cleared. Powering up early exposes cold circuit boards and lenses to condensation.
If you use a dehumidifier, run it through the warm-up and keep it on during play in humid months. Once the room holds a steady temperature, your preheat window becomes predictable.
Insulating and Sealing the Garage First
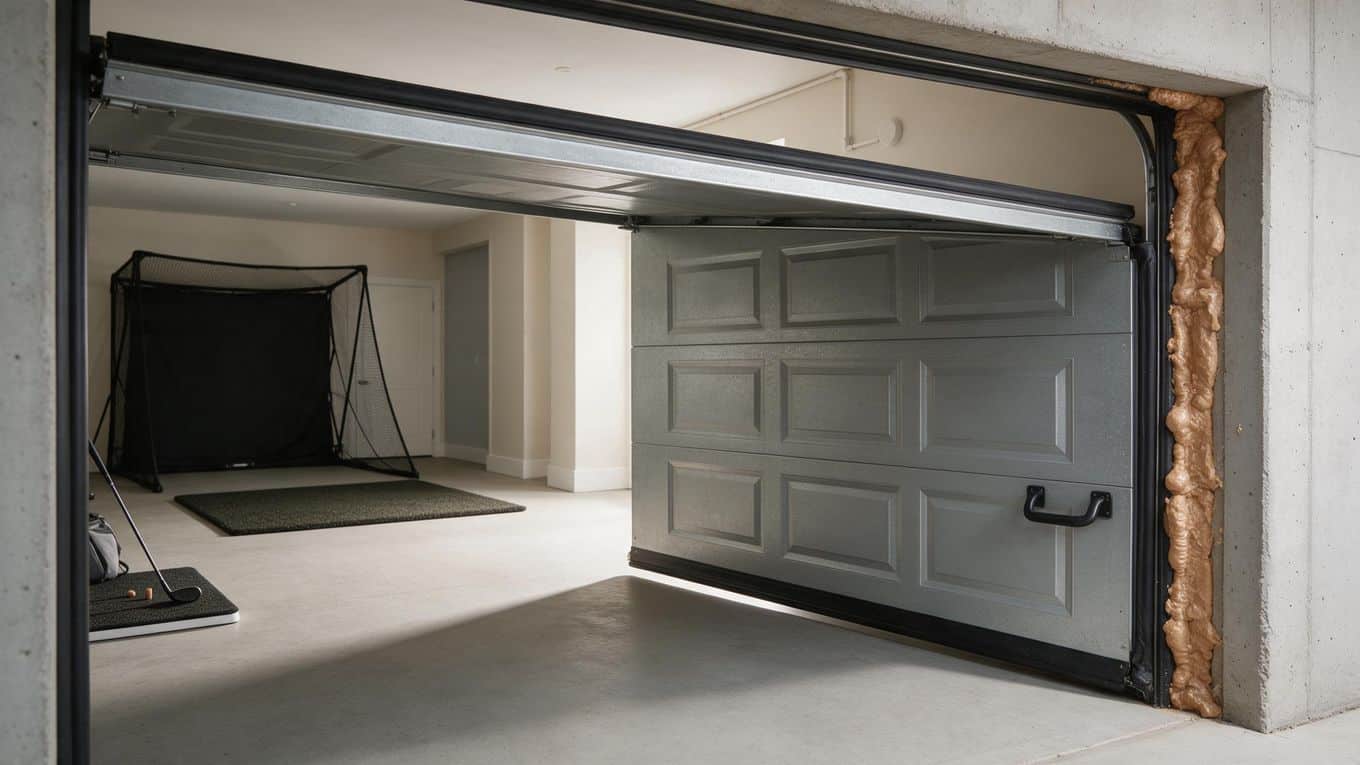
Heating a garage that leaks air is like filling a bucket with holes. Several garage sim guides call insulating the garage door and sealing air leaks the highest-leverage first steps for keeping heat in. Do this before you buy a bigger heater.
Insulate the Garage Door
The garage door is usually the largest uninsulated surface in the room. A door insulation kit or rigid foam board slows heat loss and helps the space hold warmth.
That means your heater runs less and the room reaches a comfortable temperature faster. If you're planning a dedicated golf simulator shed instead of a garage, the same logic applies: insulate the shell before you size the heater.
Seal Air Leaks
Cold air enters through gaps around doors, windows, and framing. Weatherstripping and caulk close those paths. Walk the perimeter with your hand on a cold day and feel for drafts.
Sealing leaks is cheap and quick, and it makes every minute of preheat count. A sealed garage also holds humidity more predictably, which matters for your equipment.
Reducing Future Warm-Up Time
Insulation and sealing change your preheat window permanently. A tight, insulated garage can warm up in the shorter end of the 15 to 60 minute range many guides suggest. A leaky, uninsulated space may need longer, or a seasonal startup closer to 90 minutes.
Treat these as guide suggestions, not guarantees. Check your own space with a thermometer after a few sessions and adjust.
Insulation slows heat loss; it does not replace a heater. Pair it with the right heater size and a moisture plan. For a shed-based build, our golf simulator shed guide covers shell and climate choices that affect warm-up time.
Preventing Condensation on Equipment
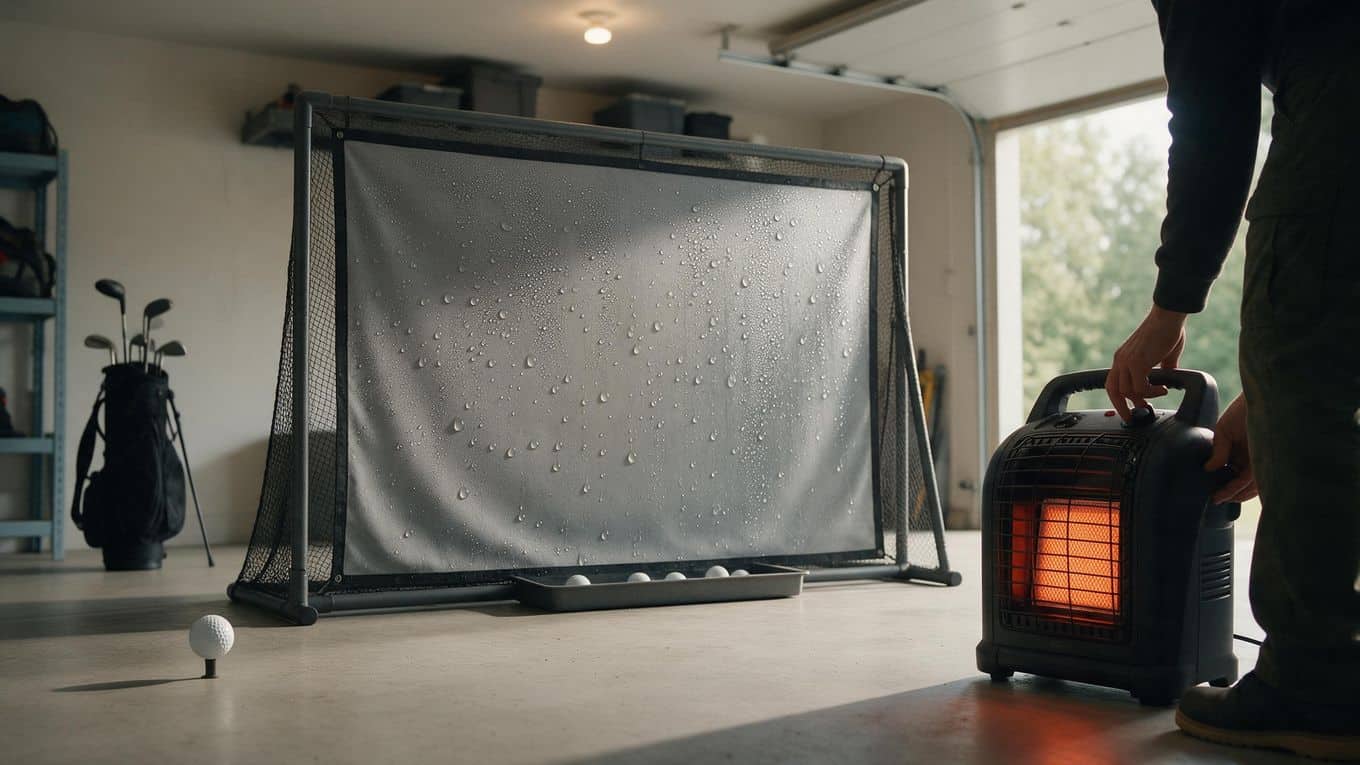
Cold garage equipment plus a sudden rush of warm, humid air is the recipe for moisture problems. You can preheat the space correctly and still put your launch monitor at risk if you ignore condensation. The fixes are straightforward once you understand what drives it.
Why Condensation Forms
Condensation is moisture that forms when warm, humid air meets a colder surface, such as a launch monitor body or camera lens that sat in a cold garage overnight. The dew point is the temperature at which air moisture begins to condense.
During temperature swings, cold equipment acts as a magnet for that moisture. Some guides recommend a dehumidifier or moisture control alongside heating to reduce condensation risk.
Moisture Control Options
Run a dehumidifier while you preheat, especially in a sealed garage where humidity has nowhere to go. Keep the space sealed against damp outside air, and avoid raising the temperature too quickly.
A gradual warm-up gives moisture less chance to settle on cold surfaces. Pair this with the read-dry-warm-power-up order from the preheat process: check conditions, deal with moisture, then heat, then power up.
Protecting Optics and Launch Monitors
Give cold gear time to acclimate before you switch it on. Cameras and optical sensors are the most exposed parts, and a fast temperature change can leave moisture on a lens or housing.
Let the equipment sit in the warming space until surfaces feel close to room temperature. This habit fits naturally into your golf simulator preventative maintenance routine and costs you nothing but a few minutes of patience.
Avoid the temptation to blast heat directly at the hardware. Warm the room first, then let the gear follow. If you see fogging or droplets, stop and let the space stabilize before powering anything back on.
Common Mistakes to Avoid
You can follow every step and still fight a cold garage if one of these four mistakes creeps in. Each one wastes time, energy, or equipment, and each has a direct fix you can tie back to the preheat process. For broader setup errors beyond climate control, see our guide to common DIY golf simulator setup mistakes.
Heating Air in an Uninsulated Garage
Warm air rises and escapes through an unsealed door or ceiling before your launch monitor ever sees a ball. Several guides call garage door insulation and air sealing the highest-leverage first steps for keeping heat in.
Without that barrier, you pay to heat the neighborhood. Fix it before your next session: insulate the door, add weatherstripping, and then run your preheat window.
Powering On Cold Electronics Too Soon
Cold surfaces and warm air are a bad pair for optics and launch-monitor hardware. One guide recommends a read-dry-warm-power-up order, and that order matters.
Check the room reading, deal with moisture, warm the space, and only then switch on gear. Powering up first skips the acclimation step and puts condensation risk directly on your most expensive components.
Raising Temperature Too Fast
Blasting a heater to close the gap quickly can create condensation as warm, humid air meets cold surfaces. One guide suggests a climate startup should avoid warming faster than about 10 degrees Fahrenheit per hour.
Treat that as a guide suggestion, not a rule. Gradual warming takes patience, but it protects equipment and gives you a steadier room for the session.
Ignoring Humidity in a Sealed Garage
A sealed garage holds moisture as well as heat. Some guides recommend a dehumidifier or moisture control alongside heating to reduce condensation risk.
If you skip it, you can hit your target temperature and still fog cold gear. Run moisture control during warm-up and check the dew point, the temperature where air moisture begins to condense, before you power up.
Frequently Asked Questions
How long should a garage be preheated before a golf simulator session?
Many garage sim guides suggest about 15 to 60 minutes, longer if the space is very cold. One guide describes a seasonal climate startup taking about 90 minutes. The exact time depends on garage size, insulation, and heater type, so treat these ranges as a starting point.
Should the garage be insulated before adding more heat?
Yes. Insulating the garage door and sealing air leaks are repeatedly described as the highest-leverage first steps for keeping heat in. Heating an uninsulated garage costs more time and energy. Insulation slows heat loss and reduces future warm-up time.
What causes condensation on golf simulator equipment?
Condensation forms when warm, humid air meets a colder surface, such as cold equipment or optics during temperature swings. Raising the temperature too quickly can create condensation. Moisture control alongside heating is one way to lower that risk.
What warm-up order is safest for cold garage sim gear?
One guide recommends a read-dry-warm-power-up order: check temperature and moisture, dry the space, warm gradually, then power up electronics. Let air and cold gear acclimate before turning on optics or launch-monitor hardware. Avoid warming faster than about 10 degrees Fahrenheit per hour, as another guide suggests.
What is the best way to heat a garage golf simulator space?
Electric space heaters and radiant heaters are common choices. Some guides cite a practical range of about 1,500 to 5,000 watts for a garage, and one suggests a 2kW heater can be switched on 15 to 20 minutes before a session. Check your own heater's rating and warm gradually.
Final Thoughts
Preheating a garage golf simulator isn't a fixed number. It's a process you tune to your climate, your heater, and how well the building holds warmth.
Start with the 15 to 60 minute range many guides suggest, then adjust after a few sessions based on what your thermometer and hygrometer tell you. If the space is very cold, plan for longer, and treat a seasonal startup as its own job.
The insulation and sealing work you do first matters more than the heater you buy. Warm the air, yes, but also warm the cold surfaces before you power up electronics.
Keep humidity in check so condensation doesn't form on optics or hardware. Skip those steps and you're guessing at the range without a reading to confirm it.
Your next steps: pick up a cheap thermometer and hygrometer, log your garage temperature before and after a few sessions, and set a preheat window that fits your space. If the garage loses heat fast, tackle door insulation and air leaks before your next session. For layout and build questions, our golf simulator room size guide is a useful companion.
Get the warm-up right and the rest of the session follows. A few minutes of preparation protects your equipment and your swing.