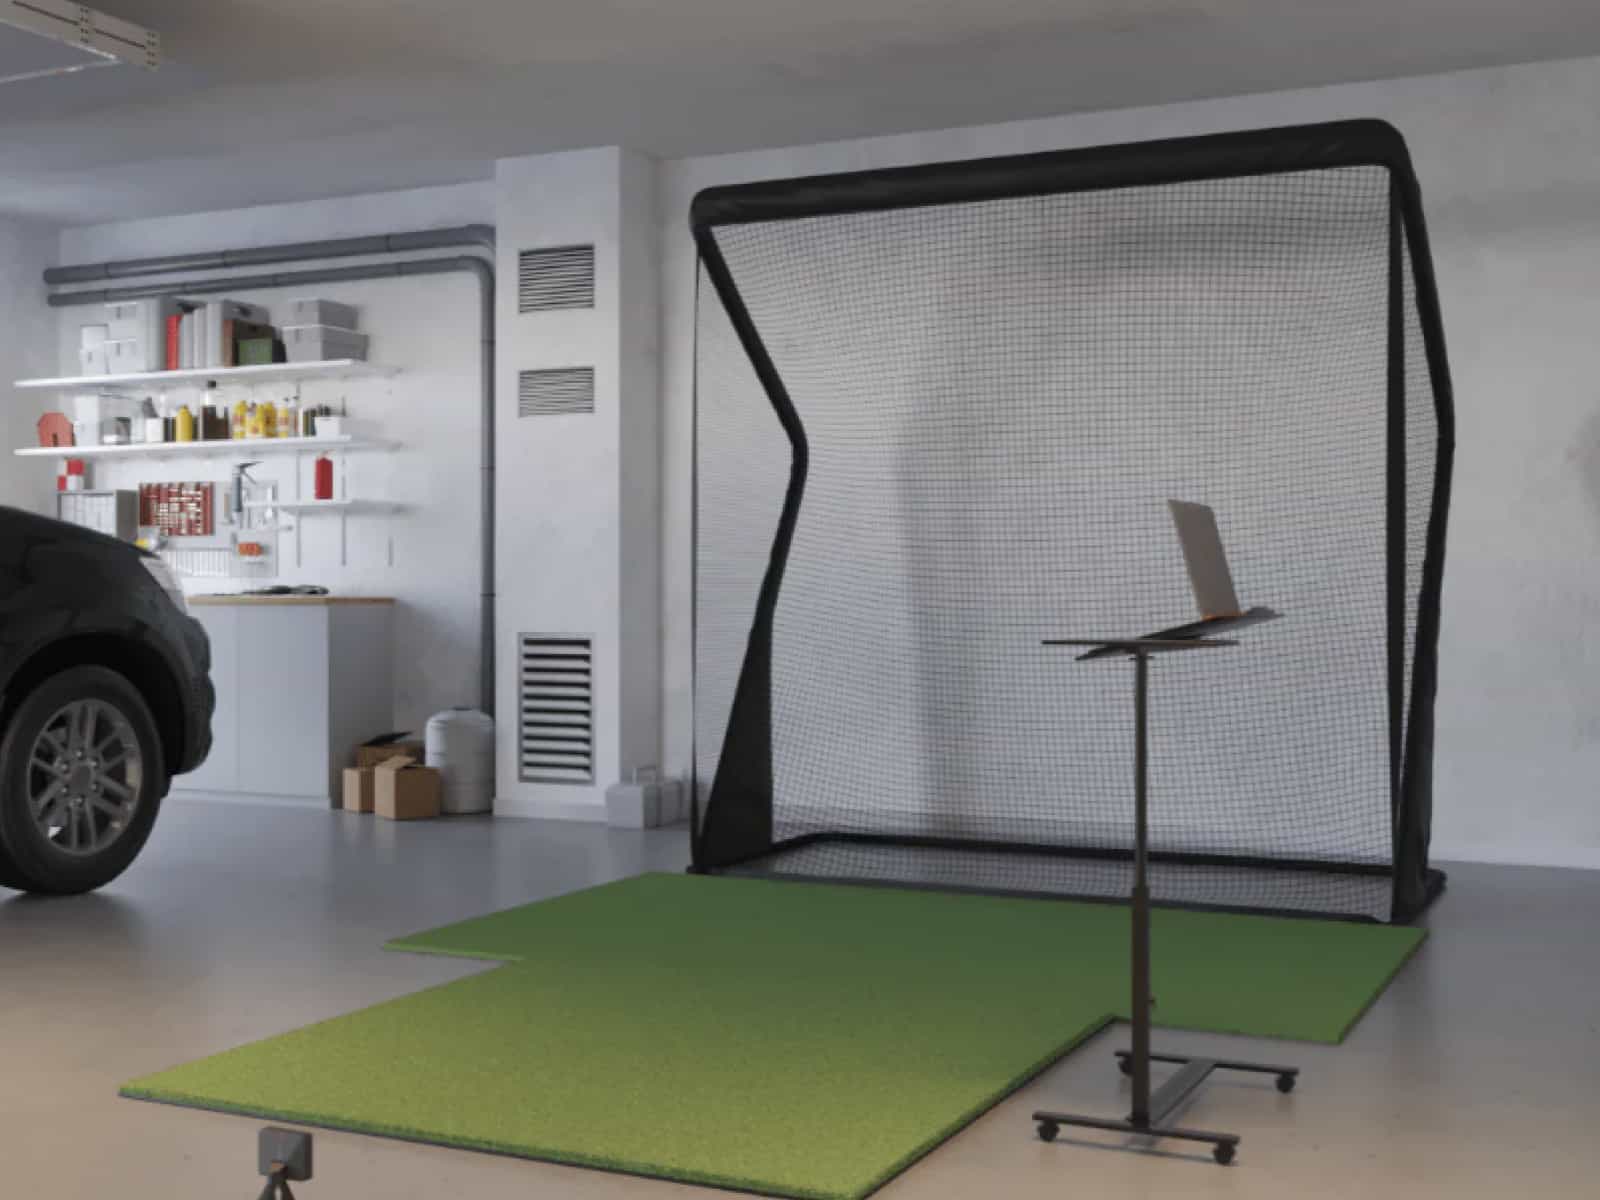
Ever dreamed of playing a round of golf right in your own garage? Advancements in projection systems, swing tracking sensors and simulator software now make building a high-tech golf simulator an achievable DIY project.
Constructing your own system allows for major cost savings compared to buying a pre-made simulator, while letting you customize the setup to meet your unique space and needs.
This comprehensive guide takes you start-to-finish through planning considerations, hardware and software selection, installation, and configuration tips for assembling an immersive, functional golf simulator in your garage on a budget.
We’ll cover critical decisions like choosing space and surfaces for play, projecting images for virtual course play, building enclosures, and integrating sensor and audio technology for a realistic experience.
Let’s get started!
Prefer a pre-built solution? Explore our comprehensive guide to the top golf simulators designed for garage installation.
Planning and Design Considerations
Building your own golf simulator requires careful planning regarding space requirements, costs, software, and general preparation.
Space Requirements
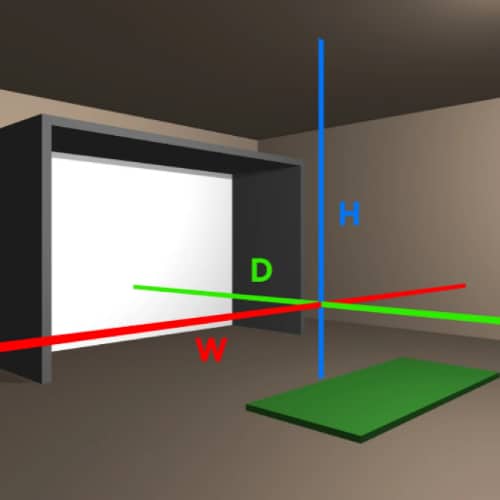
The size of available space will determine aspects like swing clearance, screen size, and room for nets, and 10ft W x 12ft L is generally the minimum area for a basic simulator setup.
Larger spaces allow for wider swing arcs up to 6-7 feet, more flexibility in sensor placement for side-angle shots, and adequate out-of-bounds netting.
Consider any existing structures like garage doors and determine the minimum dimensions for standing left and right of center to calculate the total square footage needed.
Budgeting
Create an itemized budget estimating costs for the following:
- Hitting mats, artificial turf or other specialized flooring materials
- Swing and ball-tracking sensors like photometric units or radar systems
- Short-throw video projectors for rear projection onto the screen
- Powerful gaming computers and graphics cards for rendering simulator software
- Audio equipment like speakers and subwoofers for realistic course sounds
- 1 or multi-year software licensing fees per selected golf simulator program
- Framing lumber, impact-resistant boards, netting and materials for swing enclosures
- Possible electrical, lighting or climate control upgrades
- Other accessories: screens, pads, teaching aids
Expect to invest $3,000 to $5,000+ for a basic DIY build, with high-end systems running upwards of $10,000 – $15,000, and premium professional setups costing over $70,000.
Software and Components

The graphics, sensors, and enclosure should seamlessly integrate. Verify component compatibility with your chosen simulator software, getting hardware that meets or exceeds recommended specs for optimized performance. Learn more about these things in our how to build a golf simulator guide.
Garage Preparation
Evaluate lighting, available electrical circuits and power, WiFi signal strength, and climate control. Install protective wall boards behind the impact screen.
In addition, check floor levelness and address any slope issues. Select flooring materials and build a framed hitting area and use out-of-bounds nets.
Essential Components and Installation
Constructing a home golf simulator requires carefully selecting, integrating and installing key pieces of equipment to create an immersive virtual golf experience.
Video Projector and Screen
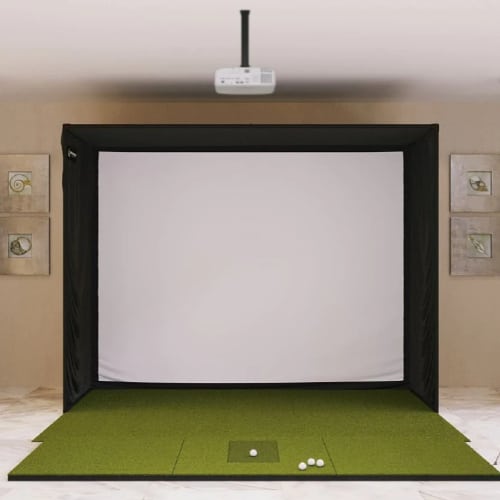
The video projector and screen are critical for displaying the simulated golf course imagery. Choose a high-brightness 1080p HD projector, with a minimum of 3,500 lumens for vivid image quality even with garage lighting on.
Short-throw models usable closer to the screen save space. Impact projector screens resist damage from ball strikes and come in retractable, fixed frame or inflatable options.
Taut fastening eliminates waving, and white matte screens diffuse light evenly. Try to position the projector and screen centered on the hitting area zone.
You may install secure fasteners to ceiling beams or use a sturdy floor stand. And don’t forget to keep air vents unobstructed to avoid overheating or damage to your projector.
We suggest checking out our recommended 4K Golf Sim Projectors and Simulator Screens & Enclosures to choose items that fit your budget and needs.
Hitting System and Enclosures
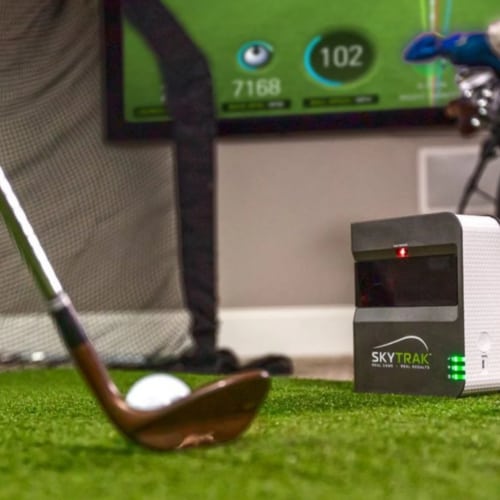
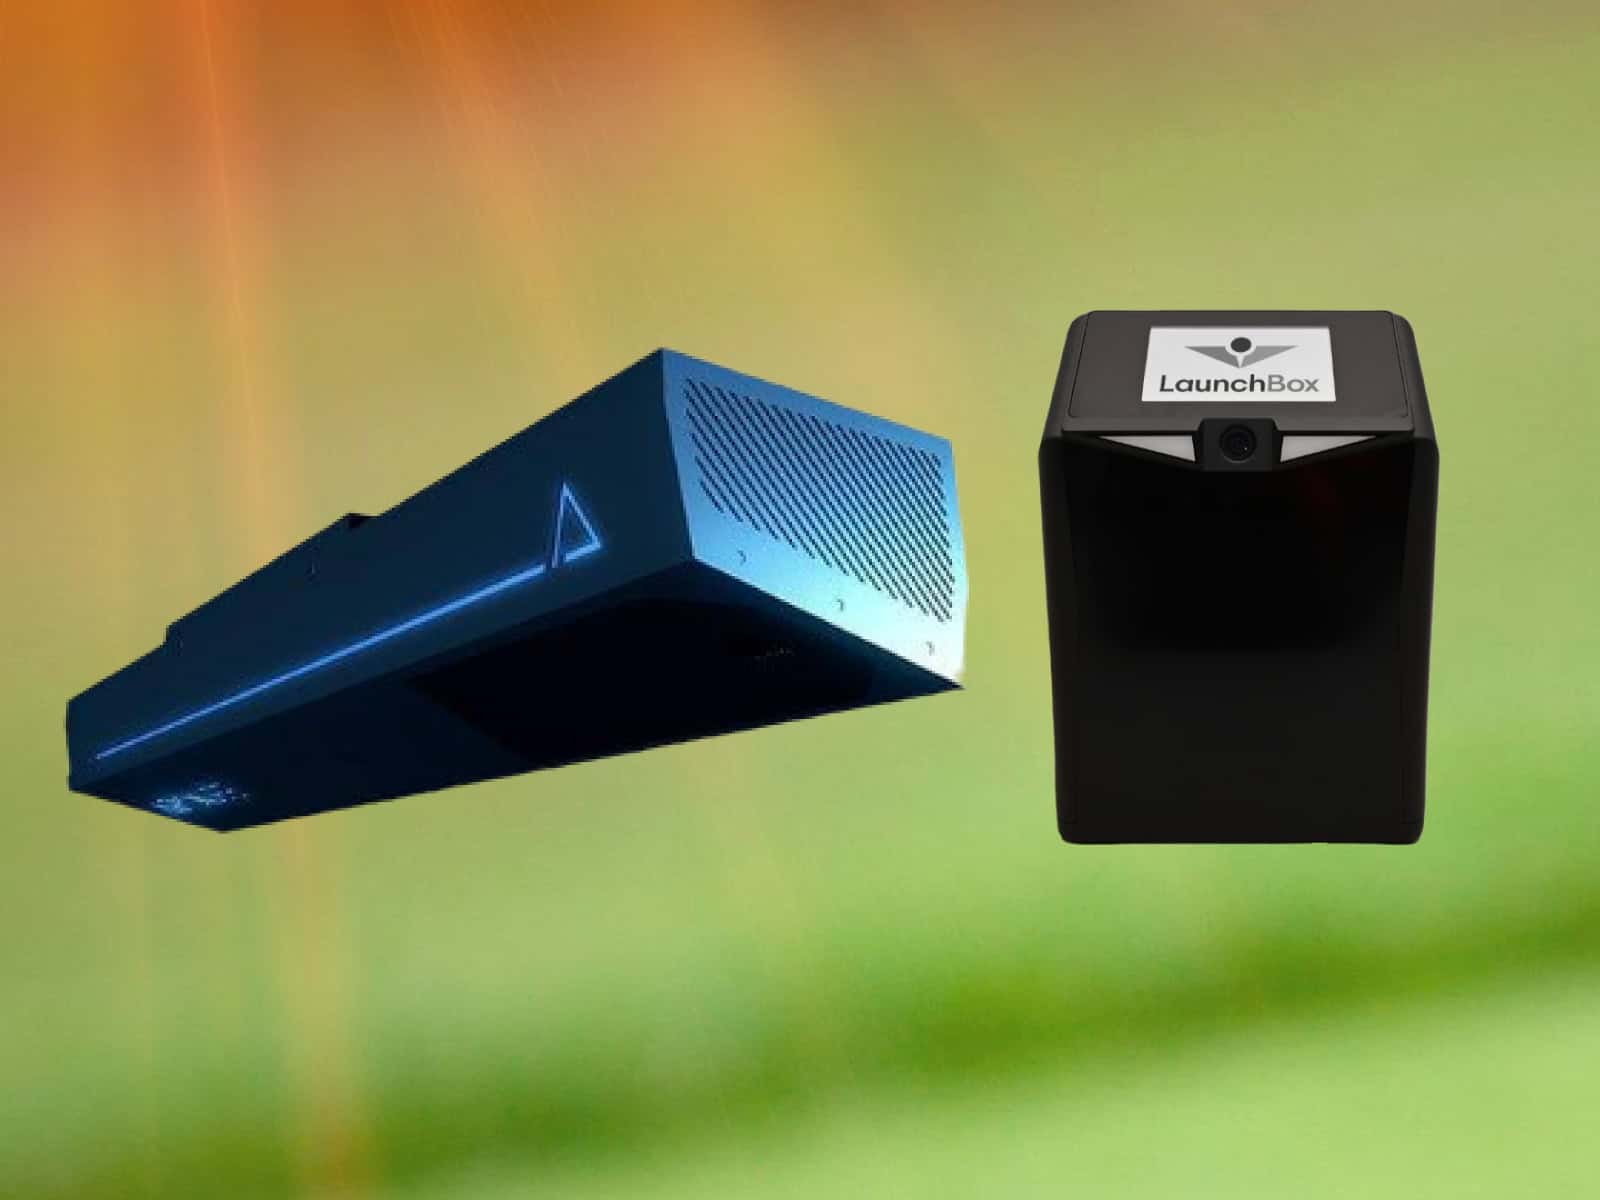
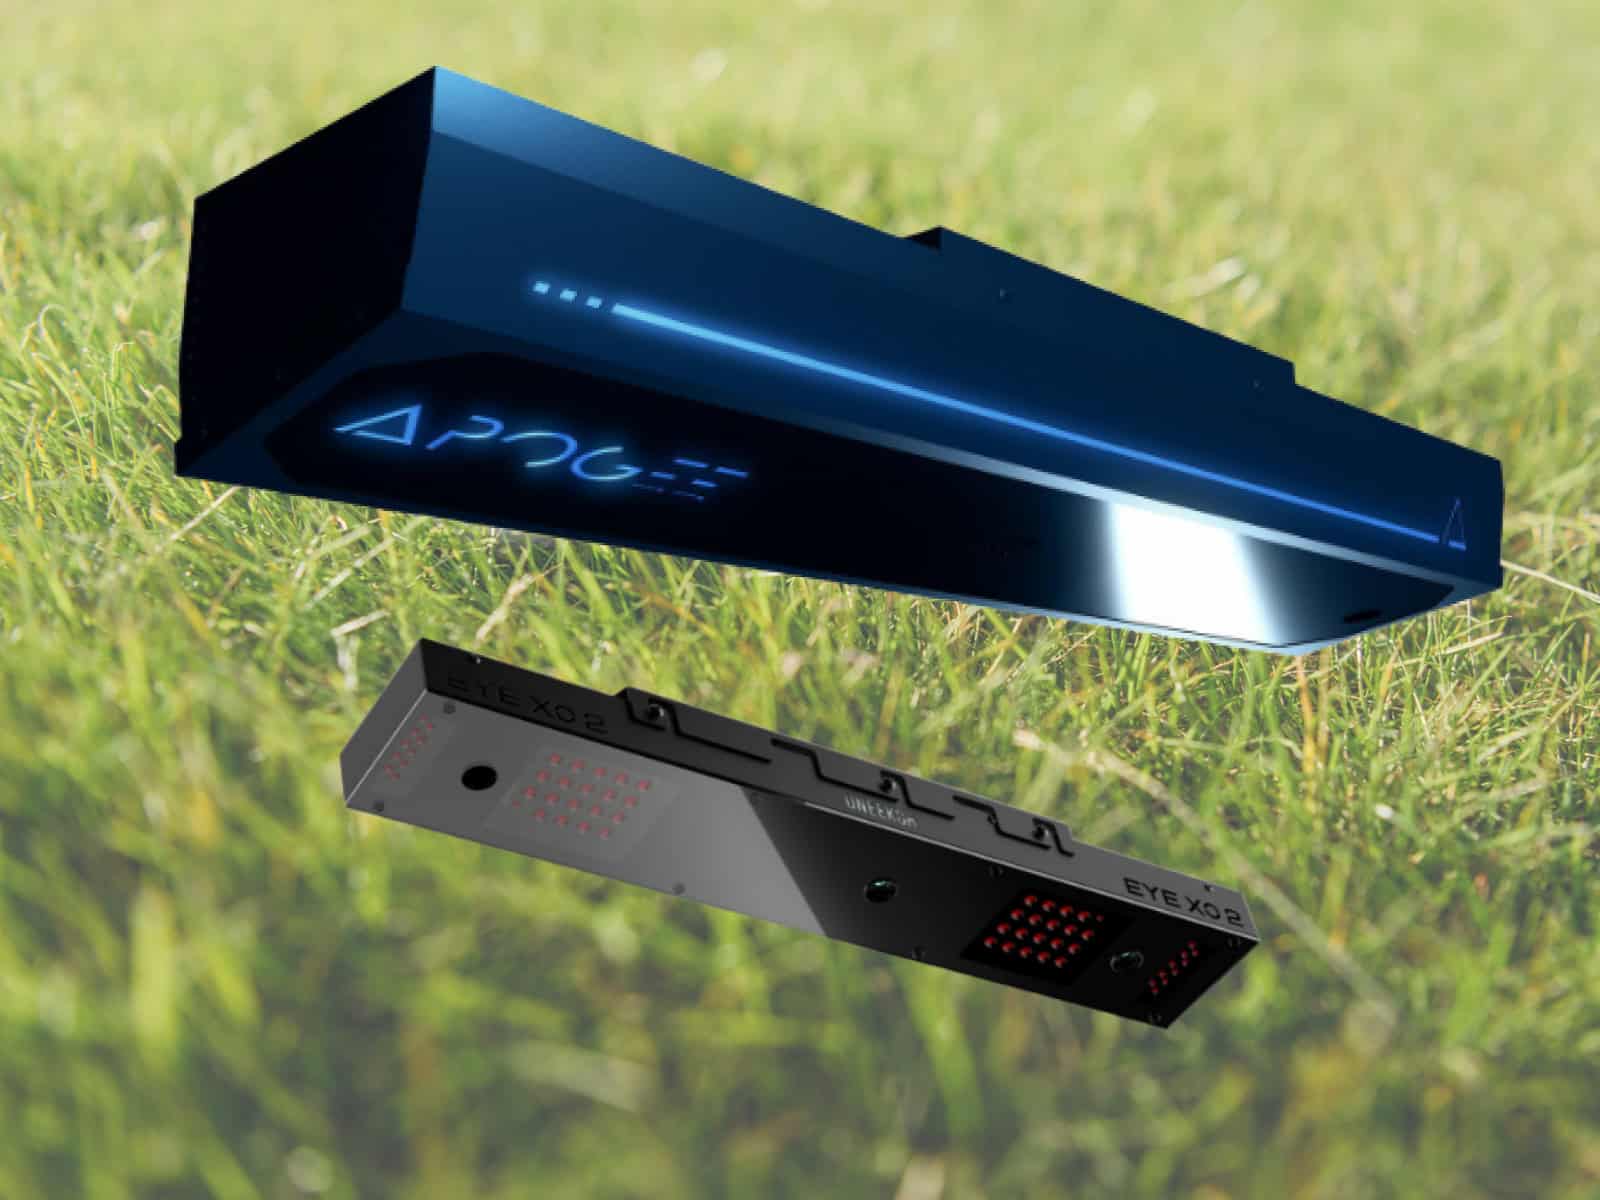
Infrared optical sensors or Doppler radar systems detect swing dynamics for tracking ball flight analytics. Depending on the tracking technology, the launch monitor can be placed either behind or facing the hitting area, and overhead systems are placed on the ceiling. Also, framing with impact-resistant boards will protect walls and absorb miss-hits.
Enclosure netting contains balls within the simulator space. You should allow 6-7 feet swing diameter clearance. Hitting mats or turf simulate course feel; they can be sloped for proper ball launch.
Audio Setup
Surround speakers plus a powered subwoofer provide a more immersive sound. You should position multiple speakers in different corners of the space to emulate course sounds from all angles. We have a selection of Golf Sim Speaker Systems reviewed if you are interested.
Also, you can add acoustic foam panels and sound-damping materials to reduce loud ball strike noises. Check out our recommended Wall Padding Solutions and our detailed guide on Wall & Ceiling Padding Ideas to help improve the acoustics in your setup.
Golf Simulator Software

Compare leading simulator software platforms like E6 Connect, GSPro, TGC 2019, etc., and evaluate features vs costs.
Confirm the chosen software specs match your computer, graphics card, sensors, etc. Handle any necessary upgrades and validate technical integration of all elements for seamless interaction before use.
If you’re unsure of which to pick, we have the most popular Golf Sim Software tested and reviewed to help you make up your mind.
Frequently Asked Questions
When building your own golf simulator, you likely have plenty of questions about planning considerations, costs, construction, and usage recommendations. In this section, we will address some of the most common queries.
What Size Space Do I Need?
While impact screens and nets can theoretically fit into very small areas, you need adequate room for a full golf swing arc plus some clearance.
Generally, a 10′ x 12′ space is considered minimum, with larger spaces being ideal.
What Types of Flooring Can I Use?
Specialized hitting mats simulate grass. Turf carpets offer added realism. For more permanence, poured rubber works well. Ensure the floors are flat and level.
You should make a decision based on your budget and preferences. To help you out, we have reviews of excellent golf sim hitting mats.
How Much Does a Basic Simulator Cost?
With DIY construction, you can build a basic simulator for $3,000-$5,000 or less. High-end systems with top-quality components can run $10,000+. Much depends on the existing structure, equipment chosen, etc.
Which Computer Graphics Card is Recommended?
Look for gaming cards like NVIDIA RTX 4070 or AMD Radeon RX 7800XT or better to handle rendering simulator software and graphics. These exceed the minimum required specs and will keep you covered for a few years to come.
If your goal is to play in very high definition – 2K or 4K, you might want to consider a more powerful GPU like Nvidia’s RTX4080/ 4090 or the AMD 7900XTX.
Is it Possible to Build an Outdoor Simulator?
Yes, definitely. However, outdoor simulators are challenging due to lighting requirements for projection screens. Carefully constructed weatherproof hitting bays are needed to protect the equipment.
What Internet Speed is Needed?
A high-speed wired connection is best for lag-free performance, especially for online games. A minimum would be 50 Mbps download, but 100+ Mbps is recommended, with low latency.
Better Internet will also reduce the time you need to download, upgrade or update your simulator software.
Final Thoughts
Building your own garage golf sim is an ambitious but rewarding project that lets you bring the experience of playing on world-class courses right into your garage.
By following this guide covering critical planning factors, component selection and installation instructions, you now have the knowledge to construct your own custom virtual golf oasis.
If you’re looking for an alternative to building a golf simulator in your garage, consider transforming a shed into the ultimate golf simulator shed. Another great option is building a golf simulator in the basement.
With your fully functional, personalized simulator ready to provide hours of entertainment and skill-building for years to come, the possibilities are endless for enjoying this modern marvel of technology engineered by your own hands. Let the good times roll with family and friends in your new favorite hangout – built for golf lovers, by a golf lover like yourself!
Thanks for reading!


