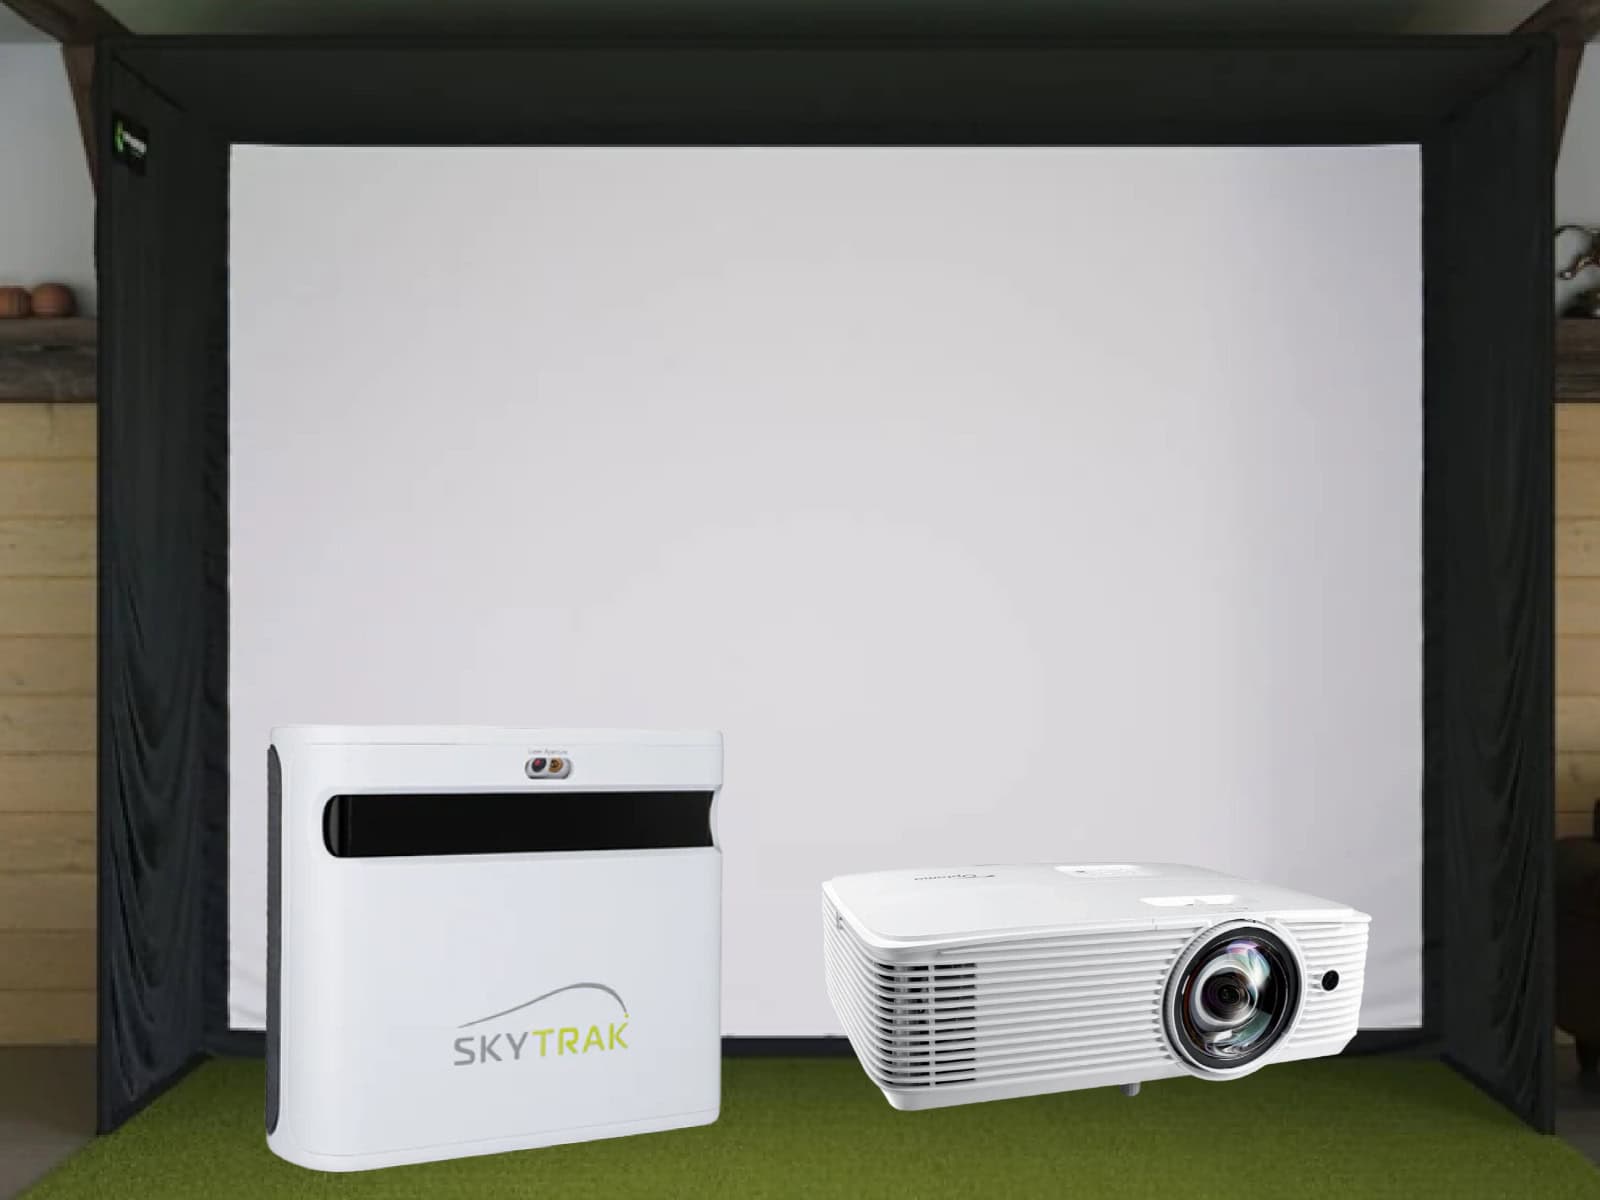
Golf simulators allow prospective golfers to play or practice their favorite courses from the comfort of their own homes, workplace, or other indoor locations when they cannot play outdoors. It is the coolest thing ever created for golf enthusiasts. Imagine being immersed in massive 3D visuals that allow you to get lower scores. It makes playing 18 holes at the most renowned courses in the world simple and enjoyable.
Ready to learn all you need to know to properly set up a golf simulator projector and improve your game? Keep reading!
Where to Mount a Projector for Your Golf Simulator?
Suppose you consider transforming a spare bedroom or basement into Torrey Pines or Augusta National. In that case, you will need a projector positioned in a secure location that delivers an immersive indoor golf experience.
One of the most difficult problems is where to install your projector for it to:
- Avoid getting struck by a golf club or golf ball.
- Fill the full screen, regardless of its size.
- Prevent players and onlookers from casting shadows on the screen.
Some projectors, such as a short-throw projector (or ultra-short-throw) that must be placed closer to the screen may be difficult to position; a floor mount or ceiling mount may be beneficial in such cases. Floor-mounted projectors are significantly easier to access for maintenance than those mounted on a ceiling or enclosure, but they might interfere with play.
The optimal positioning of a golf simulator projector requires a balance of two principles. Mount projectors away from your swing area, as projectors placed behind you will produce shadows on the impact screen. Finally, the throw ratio must correspond to the throw distance in order to project an image of the ideal size.
Let’s explore the following locations.
Check Also: Golf Simulator Room Ideas: Design Inspiration for Your Setup
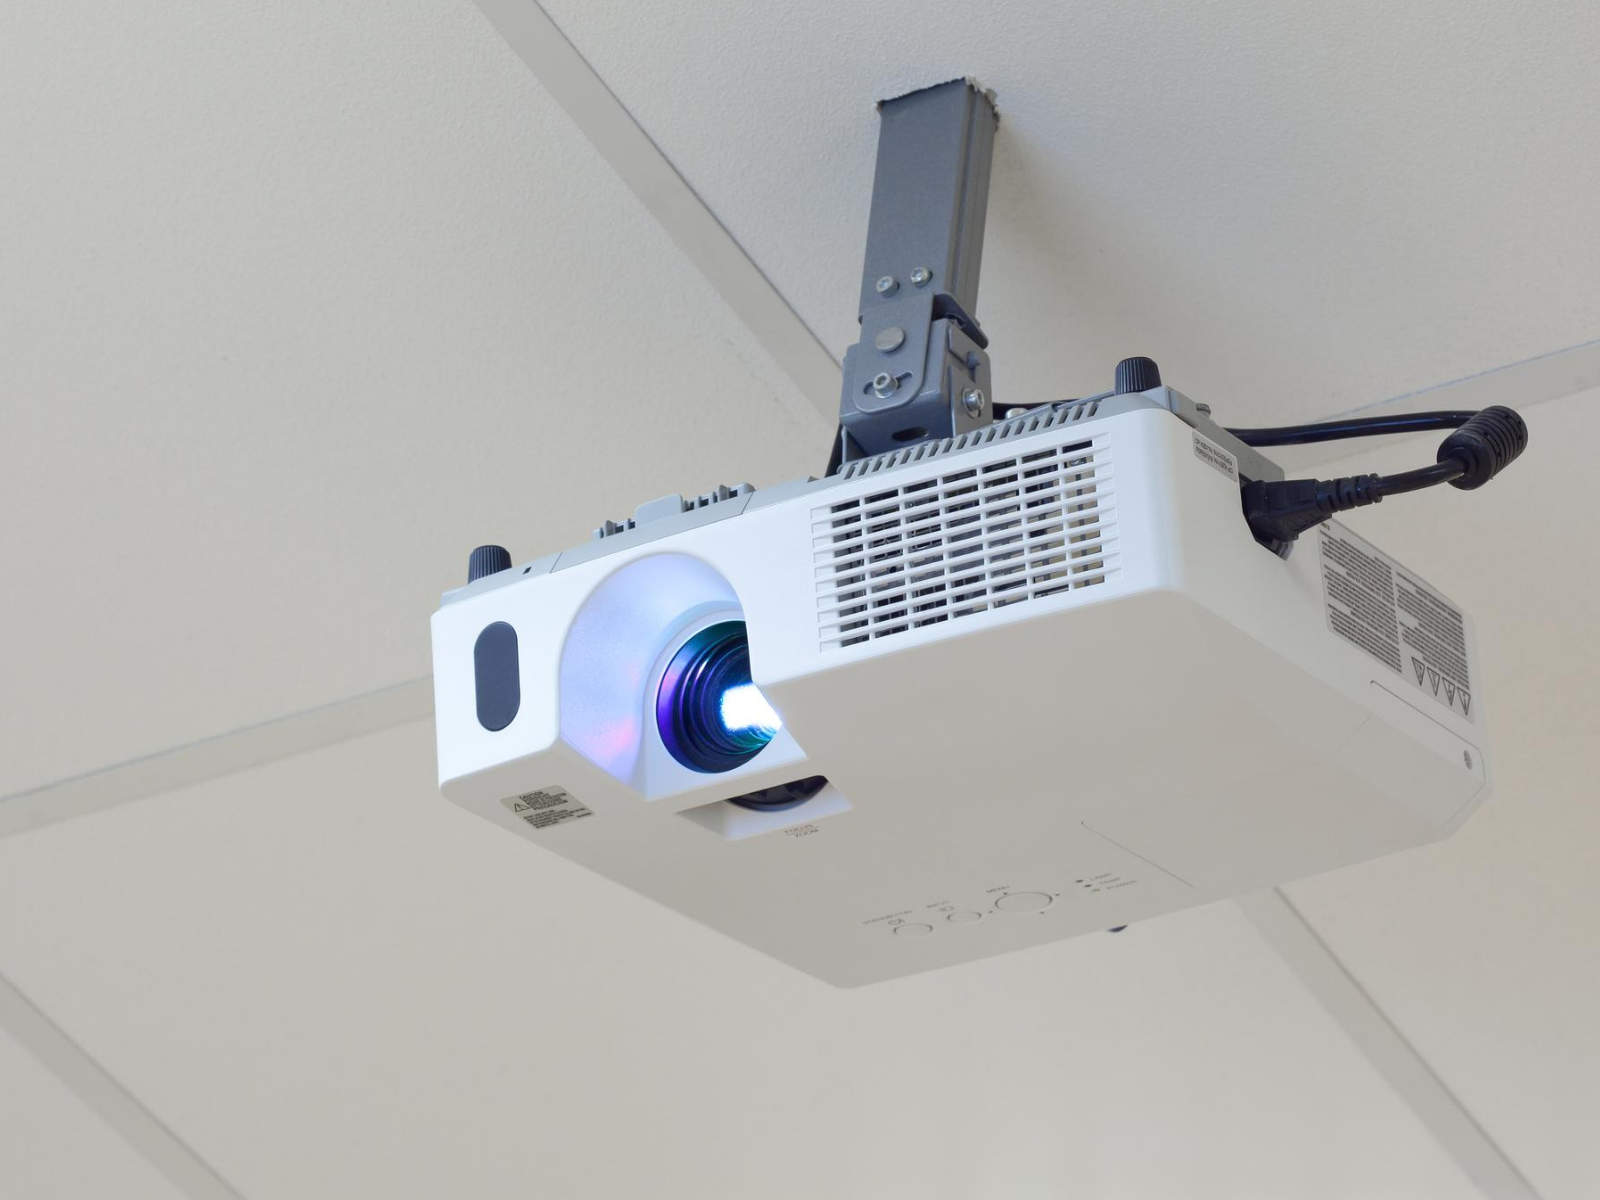
Ceiling Or Frame Projector Mount
The greatest advantage of attaching a projector to the ceiling or enclosure frame is that it can be fully out of the way of swinging clubs, flying balls, and strolling people. The projector should be mounted between 24 and 36 inches away from the ceiling. If your ceiling height exceeds 10 feet, then a ceiling mount may not be possible, and you need to consider a frame or floor mount (or using an extension bracket).
Ideally, a projector positioned to the ceiling should be squarely behind the golfer and far enough away so that the golfer’s backswing and follow-through will not interfere with the projection, but not to the point of causing shadows on the screen (2 to 3 feet behind the player mustn’t be exceeded). If you believe it’s out of the way but still close, it might throw off your mental state and alter your swing.
This may necessitate mounting it where the projected picture will be displayed on the golf impact screen at an angle. Ensure that your projector can adjust vertical and horizontal keystone and the picture’s corners so that the image fills the screen properly.
Suggested Reading: Golf Simulator Distance from Tee to Screen: Things to Consider
If the projector is situated above and slightly behind the golfer, there is minimal risk of a ball striking it, especially if you take additional safety steps to avoid bounce back, such as adding foam inserts to the frame of your enclosure near the impact screen to eliminate bounce back.
A ceiling-mounted projector is more difficult to adjust, transport, and maintain than a floor-mounted or table/cart-mounted projector. Before mounting the projector, ensure that the throw distance is compatible with your configuration; otherwise, you may need to drill additional holes for the installation.
Above the screen and in the middle
When choosing this position, you must be able to execute a full golf swing without striking the projector. Additionally, ensure that your shadow does not appear on the screen.
Above the screen and off-center
This posture requires the projector to be held at a little angle. However, you should check that the image is not distorted and that keystone correction is not necessary.
Floor Mounted
Floor mounting is a viable option, but additional care must be taken. Golf simulator flooring is an important consideration when setting up your simulator.
If you choose to floor mount, you will very definitely need to position the projector in front of you to prevent shadows from appearing on the screen, which detracts from the viewing experience.
In this situation, the floor projector would likely be at risk from balls off the club or ricocheting off the impact screen; thus, a protective case is nearly essential.
Additionally, it will be slightly in the way if you need to retrieve your golf ball(s).
Floor installation in front of a golfer is only possible with short-throw or ultra-short-throw projectors, such as the BenQ TH671ST, or TK700STi.
Side-mounted
If the room is small, this location is an excellent alternative. This position is advantageous if the projector can make a horizontal key adjustment. Additionally, there is no possibility of accidentally striking it with the golf club.
In front and center of the floor
This arrangement is appropriate if you have limited space or wish to install the projector in a safe enclosure. It is also an option if you choose to position your projector on the floor in front of you.
Table/ Cart Mounted
While this is possible, we don’t recommend placing your projector on a table or cart for many reasons.
This placement can cause shadows to appear on the screen; the cart may also be on the way and unnecessarily take some space (especially if you have space limitations).
We suggest using this placement only if it’s your only option, and no other mounting option is possible.
Factors to Consider to Get the Best Out of Your Projector
It is important to conduct your own research based on your needs and available resources. This way, you can be sure that your purchase will be worthwhile.
For a thorough evaluation of available models in the market, consider checking our guide where we’ve reviewed the best golf simulator projectors on the market based on real testing and ratings, so you can find the perfect one for your needs.
Throw Ratio/ Distance
This aspect determines the perfect distance between the screen and the projector so that the simulator has the optimal width. When space is limited, a short-throw projector is optimal since it prevents shadows from appearing on the screen (and doesn’t need to be positioned far away from it).
To figure out the throw ratio, you may visit the Projector Central website [1] and use the calculator provided. This process is relatively easier than computing it manually. Select the brand and model, and you’re good to go!
In case you want to calculate it manually, you can use the following formulas:
Throw Ratio = Throw Distance / Image Width
Throw ratio x image width = Throw Distance
Let’s say you want a projected image width of 10 feet (screen size) using a projector with a 1.0:1 throw ratio (This is the highest ratio to get for use with a sim- Do not exceed it). The projector will need to be mounted 10 feet away from the screen to get a perfect size image.
The throw distance of a regular throw projector is around 10 feet; that’s the screen’s distance from projector. A short-throw unit will require between 3 and 8 feet of throw distance. An ultra-short-throw projector only needs between 0 and 4 feet of distance (it can be positioned next to the screen). Check your simulator space carefully to know which type is ideal for you.
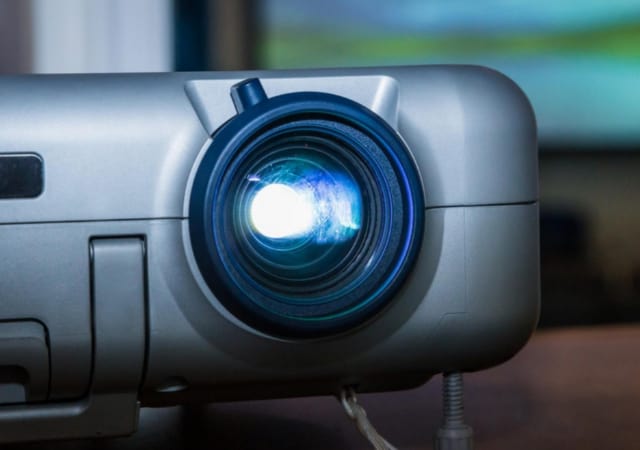
Brightness
This attribute is expressed in lumens. You should preferably select a projector that displays clearly even in bright environments. The brightness provided by the projector is directly proportional to the quality of the picture on the screen.
Typically, you will want a high lumen rating in your sim projector; the higher, the better. This will help you project your simulation even with higher ambient light, which will help if you want to practice outdoors. Generally speaking, a minimum of 3500 lumens or more will suit most golf simulator setups and provide good image quality.
Please bear in mind that you also need to check the brightness of your projector both in terms of “white lumens” as well as “color lumens“. Ideally, the lumen count will be the same for both (or at least close).
To know more about how many lumens your projector needs, you may watch this comprehensive video (8 min. 02 sec.) below.
Resolution
Choosing the appropriate resolution for your golf simulator is one of the most important investment decisions. Typically, a home golf simulator projector will display the course on a 100-inch or bigger impact screen.
The larger the display, the greater the importance of resolution for a more immersive experience. This is because a larger picture needs a higher pixel density to keep good image quality.
This is particularly critical on 4K-capable simulators from Foresight Sports, TruGolf, HD Golf, and others. Consider the following standard resolutions for your golf simulator.
8K resolution
Native 8K projection (7680 x 4320 pixels in a 16:9 aspect ratio) poses a significant challenge for projector manufacturers. It involves cramming a significantly greater pixel density into each chip/panel.
For the next few years, therefore, the majority of 8K-capable projectors will be pixel-shifting 4K projectors rather than genuine 8K projectors. The promise of 8K screen resolution is an additional game-changer.
I do believe 8K is the future of display and resolution; but for the time being, we’re still not quite there. Price is another inhibiting factor, as 8K projectors start from 10K+ dollars and go up to 25K+; and that’s probably why the majority of simulators today come with a 1080P projector (it offers a better value and price/ performance ratio).
An example of an 8K projector is the JVC DLA-NX9.
4K or UHD resolution
4K Ultra High definition resolution refers to any resolution with a horizontal display of around 4,000 pixels; the standard 4K resolution for TVs and projectors is 2,160 pixels tall and 3,840 pixels wide, but there is a professional 4K resolution that is 4,096 pixels wide.
On a bigger impact screen, several of the most popular simulators, such as HD Golf, Uneekor and TruGolf, create an astounding 8.3 million pixels, offering the most realistic and immersive experience conceivable (if the output device supports 4K; otherwise, the quality is lower).
A real UHD 4K projector is able to display each of these, allowing you to view every aspect of the course. The good news is that you can get a 4K UHD short throw projector for less than $2,000 and a 5000-lumen high-brightness laser projector for less than $5,000, depending on how bright a projector you require.
A further advantage of 4K is that it enables your impact screen to double as an incredible home theater for viewing movies or the Masters in pure 4K definition.
1920x1200p or WUXGA resolution
This is the Wide Ultra Extended Graphics Array (WUXGA).
Due to its larger aspect ratio (16:10) and slightly wider resolution than 1080p, this resolution remains popular for laser projectors used for golf simulators. The majority have 4000 or 5000 lumens and cost less than $5,000.
This is more than adequate brightness for a well-lit room with curtains for a golf simulator setup. It is not a natural resolution for TV or movies, so if you want to use this as a home theater or TV viewing room, you should consider upgrading to 4K UHD or opting for a regular 1080P unit.
1080p or Full HD Resolution
This is the most common resolution for older monitors and televisions, and it shows more than 2 million pixels (1920×1080). Several projectors for golf simulator setups cost less than $1000. Still, as the majority of these models are intended for home theaters, you will need to ensure that your projector is sufficiently bright.
Most lamp-based projectors produce between 2,000 and 3,000 lumens. However, laser-powered projectors with comparable resolution and throw ratio are now available for less than $1,500.
XGA and WXGA HD resolution
These stand for Extended Graphics Array (XGA – 1 024×768 pixels) and Wide Extended Graphics Array – 1280 x 800 pixels).
If you have a square impact screen, you may need an XGA projector; WXGA provides a wider image. A short-throw XGA projector is excellent for an Optishot or other low-cost simulator system. You may get a projector with a short-throw lens at around $650 or less.
Please bear in mind that the majority of mid to high-end simulators today are ditching the XGA and WXGA resolutions for Full HD or 4K because of the better quality and experience they provide. The sweet spot is 1080P (used by the majority of sims), while premium sim packages opt for 4K.
Aspect Ratio
Simply put, aspect ratio refers to the ratio of the height to the width of a screen (or image). A projector typically offers a 16:9, 16:10 (widescreen- rectangular image, commonly used with wide impact screens) or 4:3 (squarish) aspect ratio, but there are other ratios that are less commonly used.
The ratio can be changed from one to the other by a compromise in resolution. However, it is recommended that you purchase a projector with a default aspect ratio that matches the desired screen size. This will ensure the proper display of your simulation.
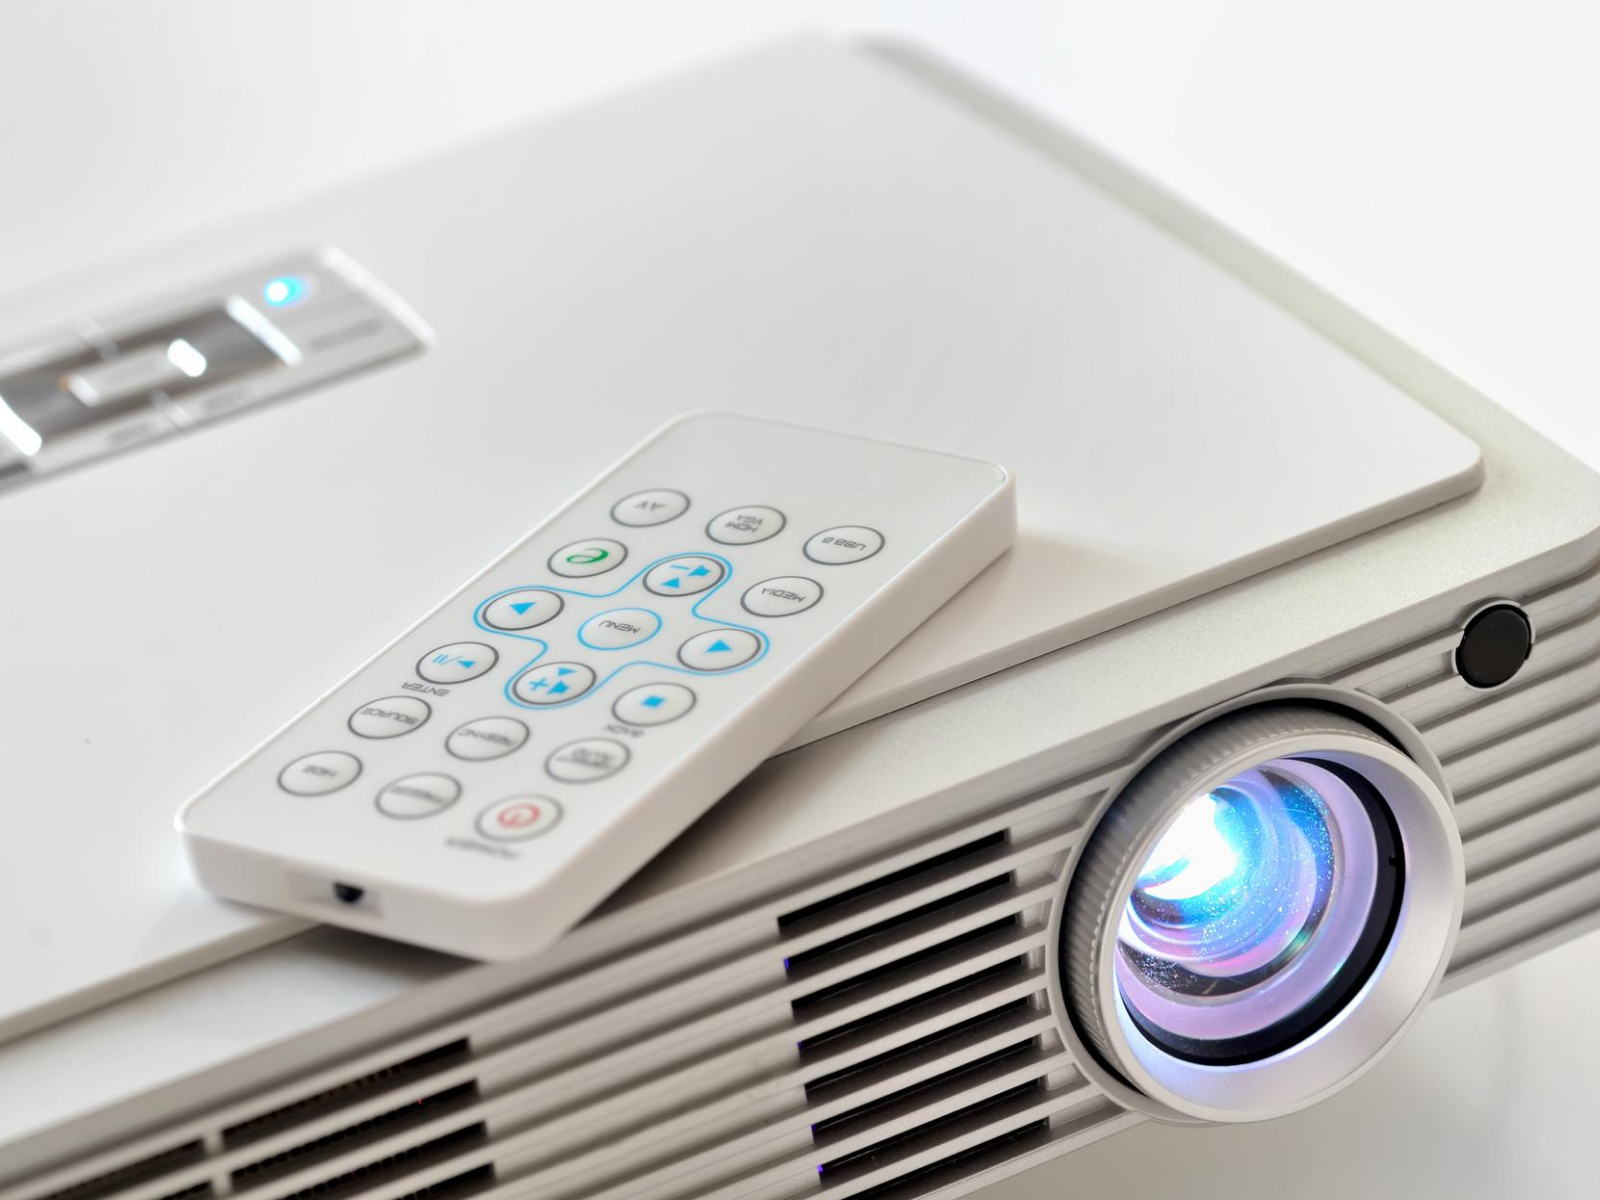
Connectivity
You may choose between a wireless projector and one with many connecting choices. Choose a projector that can be effortlessly linked to your simulator. Consider purchasing a projector with HDMI connectivity, as wireless projectors aren’t always the best choice. So, you need to have at least one HDMI port.
Other connectivity interfaces include USB, VGA and Display Port; some projectors even come with built-in speakers, so you can use them for audio and video output at the same time.
Warranty
Ensure that you get one that fulfills your specifications and has a warranty tag. It is advised not to purchase one that lacks a guarantee.
Of course, the longer the warranty period, the better. The minimum warranty to look for would be 1 or 2 years. Still, the majority of renowned manufacturers like Benq, Optoma, Panasonic, Sony, etc. offer a limited warranty of three years. Sometimes, that duration can be up to five years on the higher-end products.
Budget

When searching for a golf simulator projector, your money is undoubtedly crucial. Some choices cost far less than $1500, which is excellent because not everyone can or wishes to invest this amount or more.
However, you should be aware that the less you pay, the less you will often receive; this might manifest as fewer lumens, a lower resolution, a worse image, or a greater throw ratio.
The throw ratio is one of the most significant factors influencing the price of projectors; the smaller the throw ratio, the higher the price. Technology and features that add to image quality can also significantly impact the price.
We encourage you to invest as much as you can in a good-quality projector since it is the item that links the entire virtual experience to reality through the displayed output. You may have the best quality components, with the priciest computer and launch monitor; but if your projector is not on par, the entire experience will be ruined.
Frequently Asked Questions
This section contains common related questions as to where to mount projectors for golf simulators.
What If I Want To Mount My Projector Behind?
It is generally not recommended to mount a projector behind the tee point in a golf simulator. The reason is that the impact screen is typically located in front of the tee point, and the golfer needs to stand in the hitting area to take their shot. If the projector is mounted behind the tee location, it may cause the golfer to cast a shadow on the screen, which can interfere with the accuracy of the shot and affect the overall experience.
If, for some reason, you choose to position the projector behind the tee point (hitting area), you will need a standard or long-throw model to avoid casting a shadow on the screen. You might need to place the projector to the side to avoid shadows on the screen.
In this case, we recommend installing your projector on the ceiling or using a projector enclosure (ground mount) to be centered on the impact screen. However, if you position the projector out to the side such that the picture seems distorted or skewed, you should check the keystone adjustments on your projector. Here, you may alter the image’s proportions to best match your screen.
What is the Benefit of 4K Projectors?
4K resolution will make the virtual experience much more immersive and realistic because of the higher detail quality and better graphics and images it provides.
The resolution allows you to perceive the delicate intricacies of each blade of grass and the curves of the green. 4K UHD provides awe-inspiring clarity and sharply defined details, allowing you to observe the intricate subtleties of the most recent 4K golf simulator courses.
This is especially critical if you are utilizing high-end system simulators geared for usage with 4K output-capable software such as E6 CONNECT, TGC 2019 or FSX Play.
Final Thoughts
In the past decade, golf simulators have grown much more accessible and economical, allowing more players than ever before to have their setup. A quality golf simulator projector that generates a bright, crisp image on the screen will significantly improve the experience.
It is never impossible to find a projector that meets your demands. Just do your homework before settling on a specific model!
Thanks for reading.