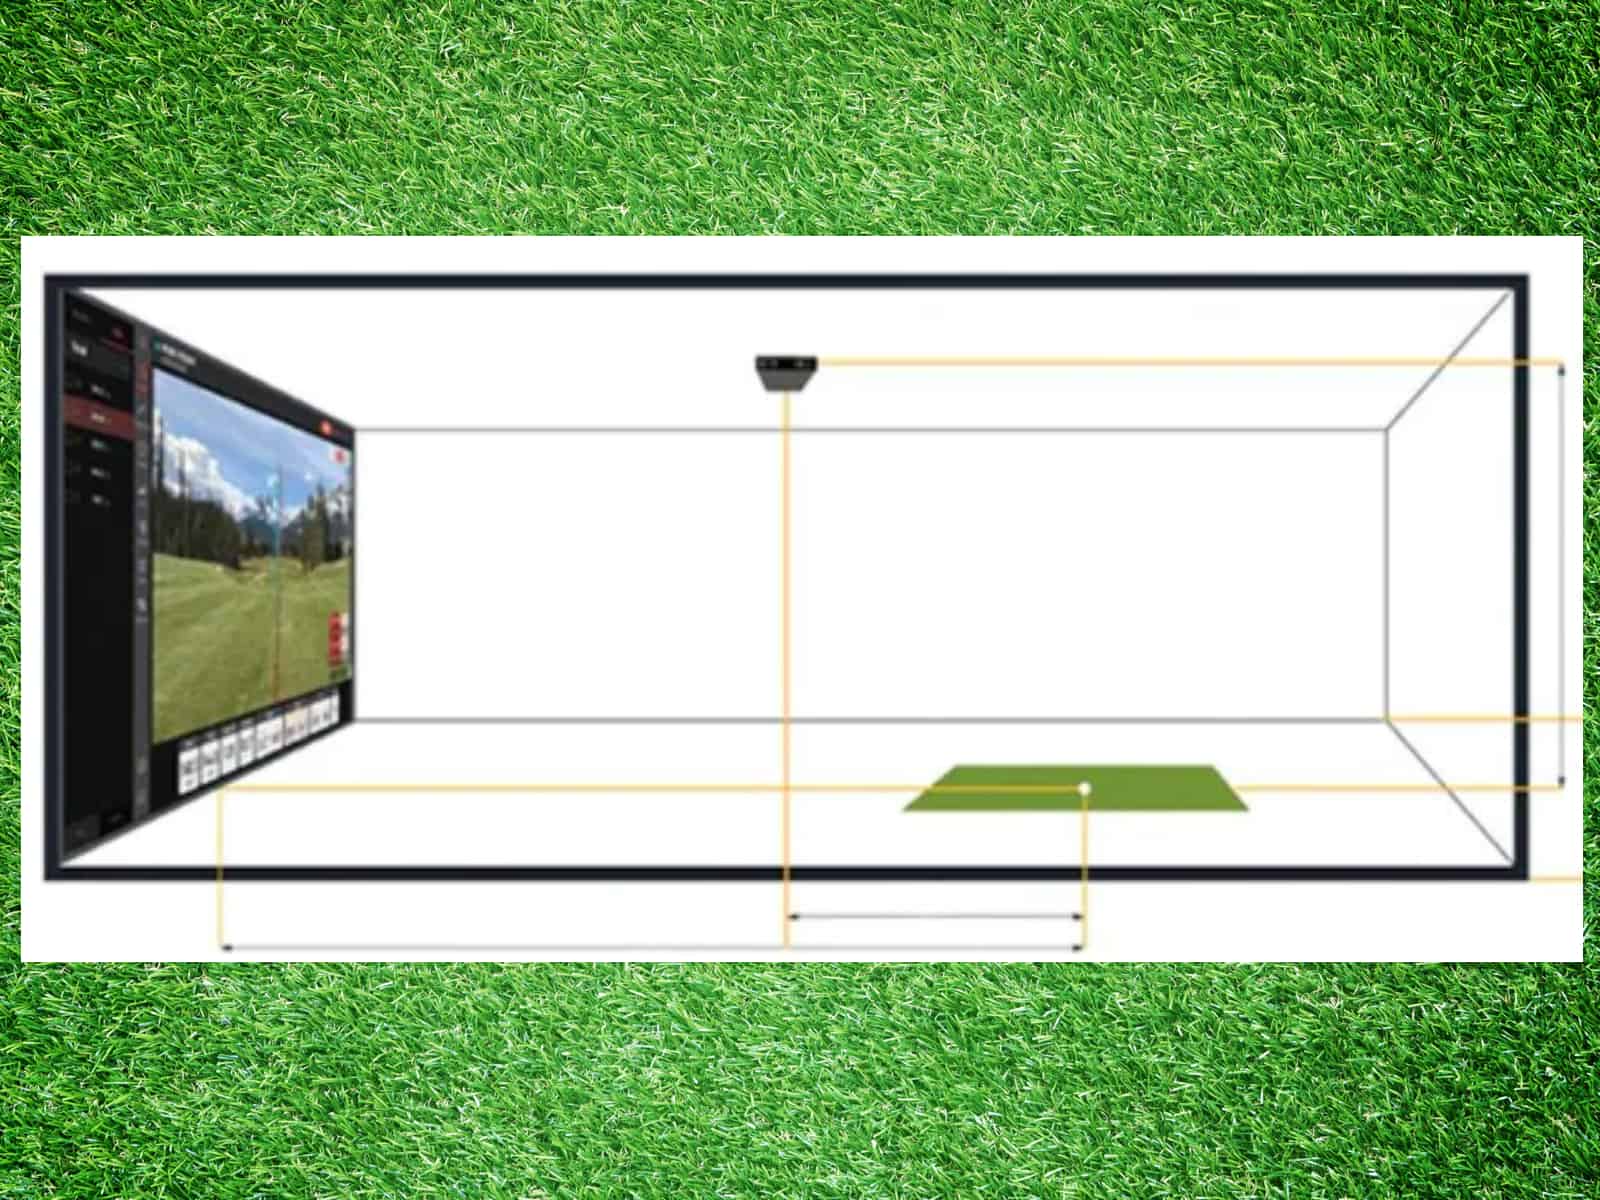
A key consideration when setting up a golf simulator is determining the optimal distance from the hitting tee to the projection screen. This tee-to-screen distance has a major impact on the realism, accuracy and playability of the simulator. If the distance is too short, golf swings will be restricted and ball flight tracking will suffer. If the distance is too long, the simulated ball may fly off the screen, reducing immersion.
There are several factors that determine ideal tee-to-screen distance, including the size of the screen, the height of the room, and the golfer’s personal swing mechanics. The type of sensor technology used by the simulator also plays a role. Understanding these variables will help ensure your simulator is customized for peak performance.
This article provides an in-depth look at the key considerations around optimizing distance from tee to screen. It covers guidelines based on swing types, room dimensions, simulator equipment, and other variables. With the right tee-to-screen setup tuned for your unique space and swing, you’ll get the most out of your golf simulator experience.
Optimal Hitting Area
The best place to hit the ball on a golf simulator screen is the center. This area gives the sensors the clearest view for tracking your shots.
Hitting in the middle vertically prevents mishits on the top or bottom. Hitting the center horizontally minimizes sidespin. Both keep your shot data as accurate as possible.
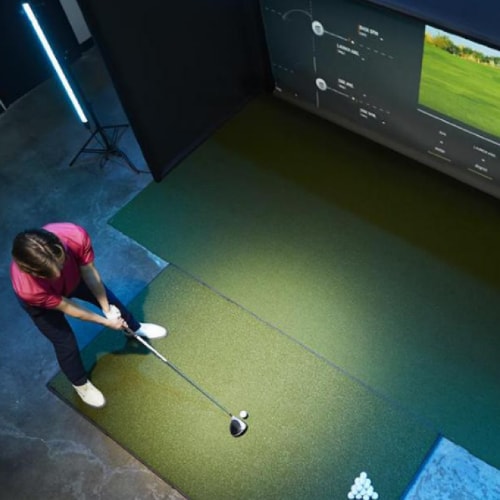
It’s also ideal to hit the ball straight back down the target line displayed on the screen. This eliminates side angle and curvature for the truest ball flight.
The optimal hitting area for each golfer may vary a little bit. But keeping it centered maximizes how well your simulator can track your swings and shots.
To ensure you can consistently hit the center of the screen and improve your shot accuracy, consider using specific tees for indoor golf. These tees are designed to provide a stable platform for your ball and promote better swing mechanics.
Screen Size
Golf simulator screen size is one of the most important factors to consider when determining the ideal distance from the tee. The size of the display you choose impacts everything from the immersiveness of the experience to the recommended minimum distance needed for a comfortable and effective swing.
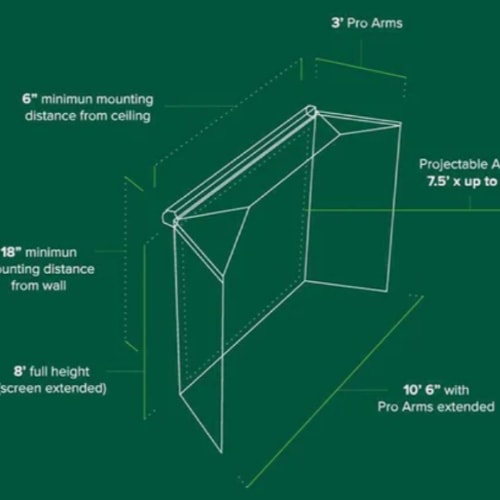
Larger simulator screens provide a more enveloping visual experience that makes you feel like you’re truly playing on an expansive virtual course. However, they require more swing space in front of the screen and thus influence distance considerations. Smaller screens can work well for tight simulator spaces, but reduce the sense of realism and visual engagement compared to a more expansive display.
When choosing your screen size, pay close attention to the swing space you’ll have in front of the display. You want adequate width and depth for your full golf swing arc without fear of collision. Larger screen sizes require more swing clearance and thus influence distance considerations.
Work with your simulator company to choose the optimal screen size for your available space. This will be a key factor in determining the ideal distance setup from your tee area.
To ensure you select the optimal screen size and understand how it affects room layout and simulator performance, you might want to consult our guide to the perfect golf simulator room size, which offers a comprehensive breakdown of the space and dimensions requirements for an effective setup.”
Swing Space
When setting up your golf simulator, ensuring adequate swing space in front of the screen is just as crucial as choosing the right display size. Without proper clearance front and center, you won’t be able to use a full backswing and follow-through.
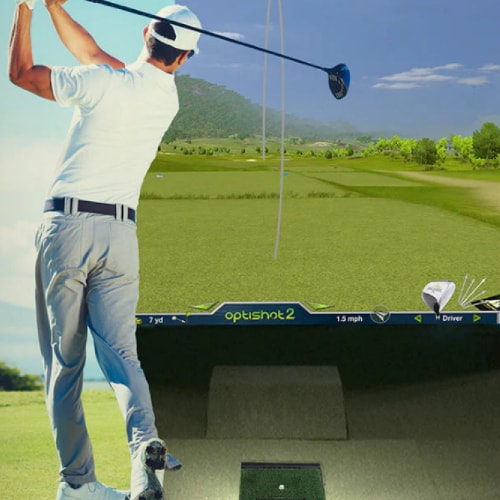
The average golf swing requires about 5-6 feet of depth from the tee line to allow for a driver swing arc. You also need 3-4 feet of width depending on your stance and arm extension. This accounts for the entire elbow-to-elbow swing path.
However, taller players and those with longer arms/clubs require more depth and width. Flatter swing planes also demand more space.
To accommodate most users, plan for at least 6 feet of swing depth and 4 feet of width. If your simulator will be for a single primary user, tailor the dimensions to their exact swing.
Optimal Screen Distance Considerations
Let’s now cover the key factors to help determine the ideal screen distance for your specific needs.
Manufacturer Recommendations
Most leading golf simulator manufacturers provide general guidelines on screen distance. The typical range is 8 to 15 feet from the hitting mat to the screen.
Some budget simulators are designed for indoor use and may have shorter 5-7 foot distances. For open bay enclosures, 10-15 feet is recommended.
Some key factors in choosing your minimum distance include:
- Screen size
- Swing space clearance
- Ceiling height
- Club lengths
- User heights
Viewing Angles and Immersion
The distance affects the viewing angles and how immersive the simulation appears. A closer screen fills more of your field of vision for a more immersive experience.
However, smaller viewing angles from a close distance can distort ball flight and reduce playability. That’s why you should consider a happy medium between 8-12 feet that optimizes viewing angles and immersion.
Bear in mind that bigger screens can be placed farther away while still providing realistic viewing angles.
Costs and Space Limitations

Greater distance requires a larger screen and more space. Knowing that larger screens have exponentially higher costs and that a longer distance may require extending your simulator enclosure, you might need to consider starting with a closer screen and moving it back later as the budget allows it.
Maximum Distances – What if the Distance Is Too Long?
While minimum tee distance ensures a comfortable swing, setting an ideal maximum distance is also important for simulator immersion.
The further away you position the tee from the screen, the more the overall virtual experience is diminished. Essentially, the larger the gap, the less engrossing it feels.
Key drawbacks of excessive distance include:
- Reduced sense of realism – Longer distance makes the graphics feel less tangible and enveloping. You lose the illusion of playing an actual course.
- Difficulty seeing ball flight – From longer distances, it’s harder to track the ball trajectory and landing point on the virtual course. This hurts the playability experience.
- Smaller visual elements – Details like terrain contours, bunkers and greens become compressed and harder to distinguish from afar.
- Difficulty reading data – As you move back, shot data displays and metrics become smaller and tougher to read.
Most manufacturers recommend keeping a maximum distance under 12-15 feet in general. Beyond this threshold, the experience quality declines notably.
However, if you have an ultra-large screen in a very spacious simulator room, you can potentially go a bit longer while maintaining immersion. But for average screens and rooms, shorter maximums are ideal.
Adjustability – Making Your Setup Ready for Future Changes
One way to optimize your golf simulator tee distance is to include an adjustable tee system. This allows you to tweak the distance as needed to find the ideal sweet spot.
Adjustable tee platforms provide benefits like:
- Accommodating different swing lengths – The tee can be moved closer or further to fit different users, from juniors to tall players.
- Testing incremental distances – You can experiment with small distance changes to see the impact on swing, visuals and data.
- Adapting over time – As you use the simulator more, you may want to adjust distance for comfort.
- Upgrading screen size – If you later get a larger screen, you can slide the tee back accordingly.
- Precision fitting – Dial in the exact optimal distance down to the inch versus preset increments.
- Future-proofing – Adjustability allows the distance to evolve as your simulator space and needs change.
Look for an adjustable tee system that offers front/back travel. This enables fine-tuning the distance within a typical suitable range.
Other Setup Considerations
Properly setting up a golf simulator goes beyond just choosing the optimal screen distance. There are several other key factors to consider for the best simulation experience.
Ceiling Height
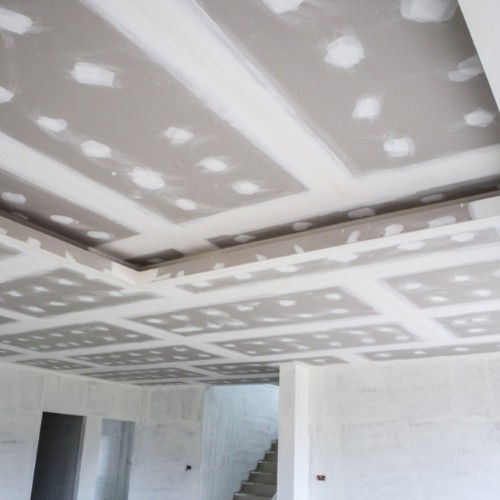
When installing a golf simulator, one of the most important factors to consider is having adequate ceiling height for proper ball flight tracking and realism.
For iron shots, you’ll want a minimum of 8 feet of height clearance in the simulator enclosure. This allows for a realistic peak height and full trajectory on your mid to short iron shots. For woods and driver shots that launch the ball much higher, aim for at least 10 feet of ceiling height. This will allow enough room for the ball to reach its apex and fully descend on those aggressive, high-launching drives and fairway woods.
More height is always better if space allows – 12 to 15 feet of clearance is ideal for both irons and woods, ensuring you never have to worry about contact with the ceiling.
Without proper overhead height, your ball flight will be artificially cut off, negatively impacting distance readings and data accuracy. When planning out your golf simulator setup, be sure to carefully account for the ceiling height requirements. Having ample vertical space ensures your simulator can realistically simulate full shots and provide accurate feedback on all clubs in your bag.
Hitting Surface
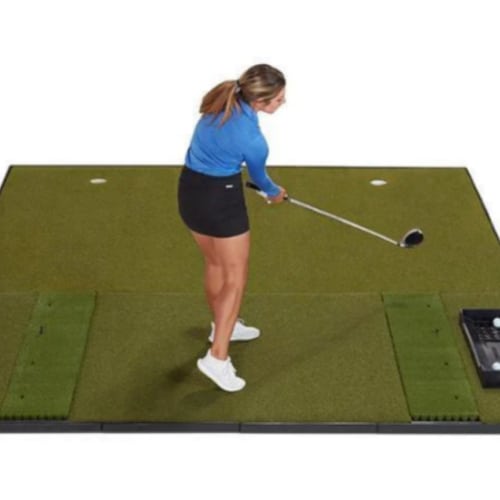
You have two main options for your hitting surface – a mat or artificial turf:
- Mats are more affordable and easier to replace. They come in various textures to simulate different lies; they are also easier to keep clean.
- Artificial turf provides the most realistic sensation. It needs periodic grooming and eventual replacement. You can simply pick a turf type to match your favorite courses.
Consider your budget, desired realism, and maintenance preferences. Mats are likely the better choice for most home simulators.
Lighting
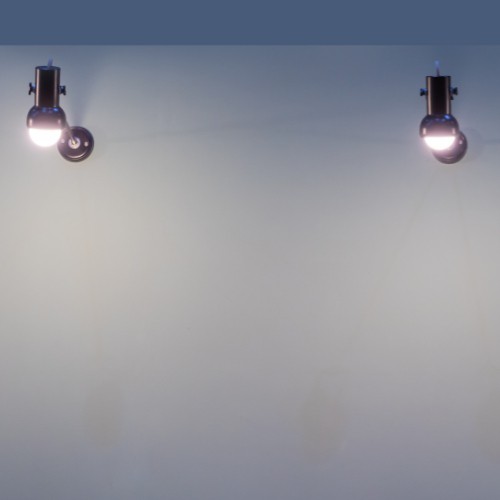
Proper lighting design can greatly enhance the visual realism and immersion of your home golf simulator. Try to have ambient lighting behind the screen that matches the simulated sky and time of day of the virtual course you are playing.
Avoid placing bright ceiling lights directly above the hitting area, as this can cause annoying glare on the simulator screen. Also, install dimmer controls to allow adjusting the lighting brightness to match dawn, daylight, dusk, or nighttime conditions.
Some advanced simulator software systems can even automatically sync the lighting colors and intensity to match the exact time of day and weather depicted on the virtual course for extra realism. With the right lighting plan tailored to your simulator setup, you can dramatically augment the authenticity of the simulated golf experience.
Projector Placement
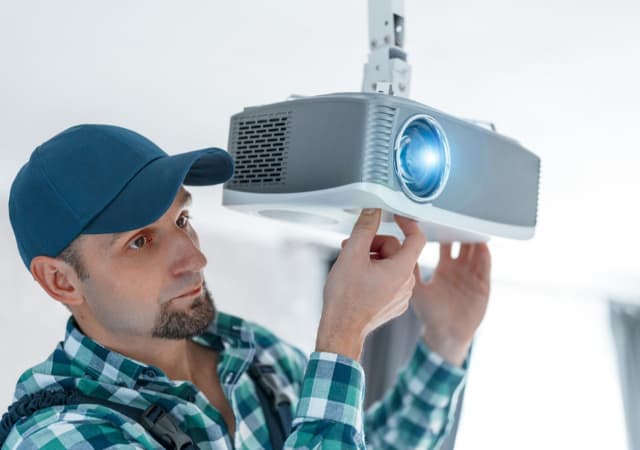
Projector placement in your golf simulator setup plays a pivotal role in enhancing the overall visual experience and functionality. To avoid possible damage and ensure complete screen coverage, it’s vital that the positioning of the projector minimizes shadow casting from golfers and any bystanders.
For optimal results, securing the projector overhead —preferably mounted to the ceiling or simulator frame— protects it from swinging clubs and errant golf balls. Ideally, it should sit 24 to 36 inches below the top; if the ceiling is too high, consider a frame mount or even a floor mount. Keep it out of your range of motion so that neither the backswing nor follow-through is impeded, and make sure it’s squarely aimed at the screen to minimize the need for keystone correction, which can distort image quality.
While ceiling mounting can safeguard against accidental hits, it may pose challenges for maintenance or adjustments—something to consider when you plan the setup. Alternatively, mounting the projector above and slightly off-center can reduce shadows. Floor mounts and table or cart setups are additional options, although these typically consume more space and increase the likelihood of shadow interference.
Selecting a projector with the right features is essential, particularly for larger screens. You’ll need to factor in throw ratio—which you can calculate with resources provided—and brightness, measured in lumens. We recommend a minimum of 3500 lumens for clarity. Also, while higher resolutions like 4K add to the immersive feel, most users find 1080P projectors strike the best balance between cost-effectiveness and visual clarity.
For those with space constraints, short-throw or ultra-short-throw projectors might be the solution, allowing projector placement closer to the screen without sacrificing image size.
Final Thoughts
Installing a quality golf simulator requires looking beyond just optimal screen distance. You must also consider other factors to ensure optimal placement, quality and performance. Customizing your simulator setup to match available space and performance goals is key.
Still, leaving too much distance between the tee and the screen can ruin the entire experience, causing you to be unable to see the details of the simulation. That’s why striking a balance and finding the best distance for your simulator distance is the best thing to do; having an adjustable tee system will also be good.
If you have any questions or comments, please contact us via email or in the comments section below.
Thanks for reading!


