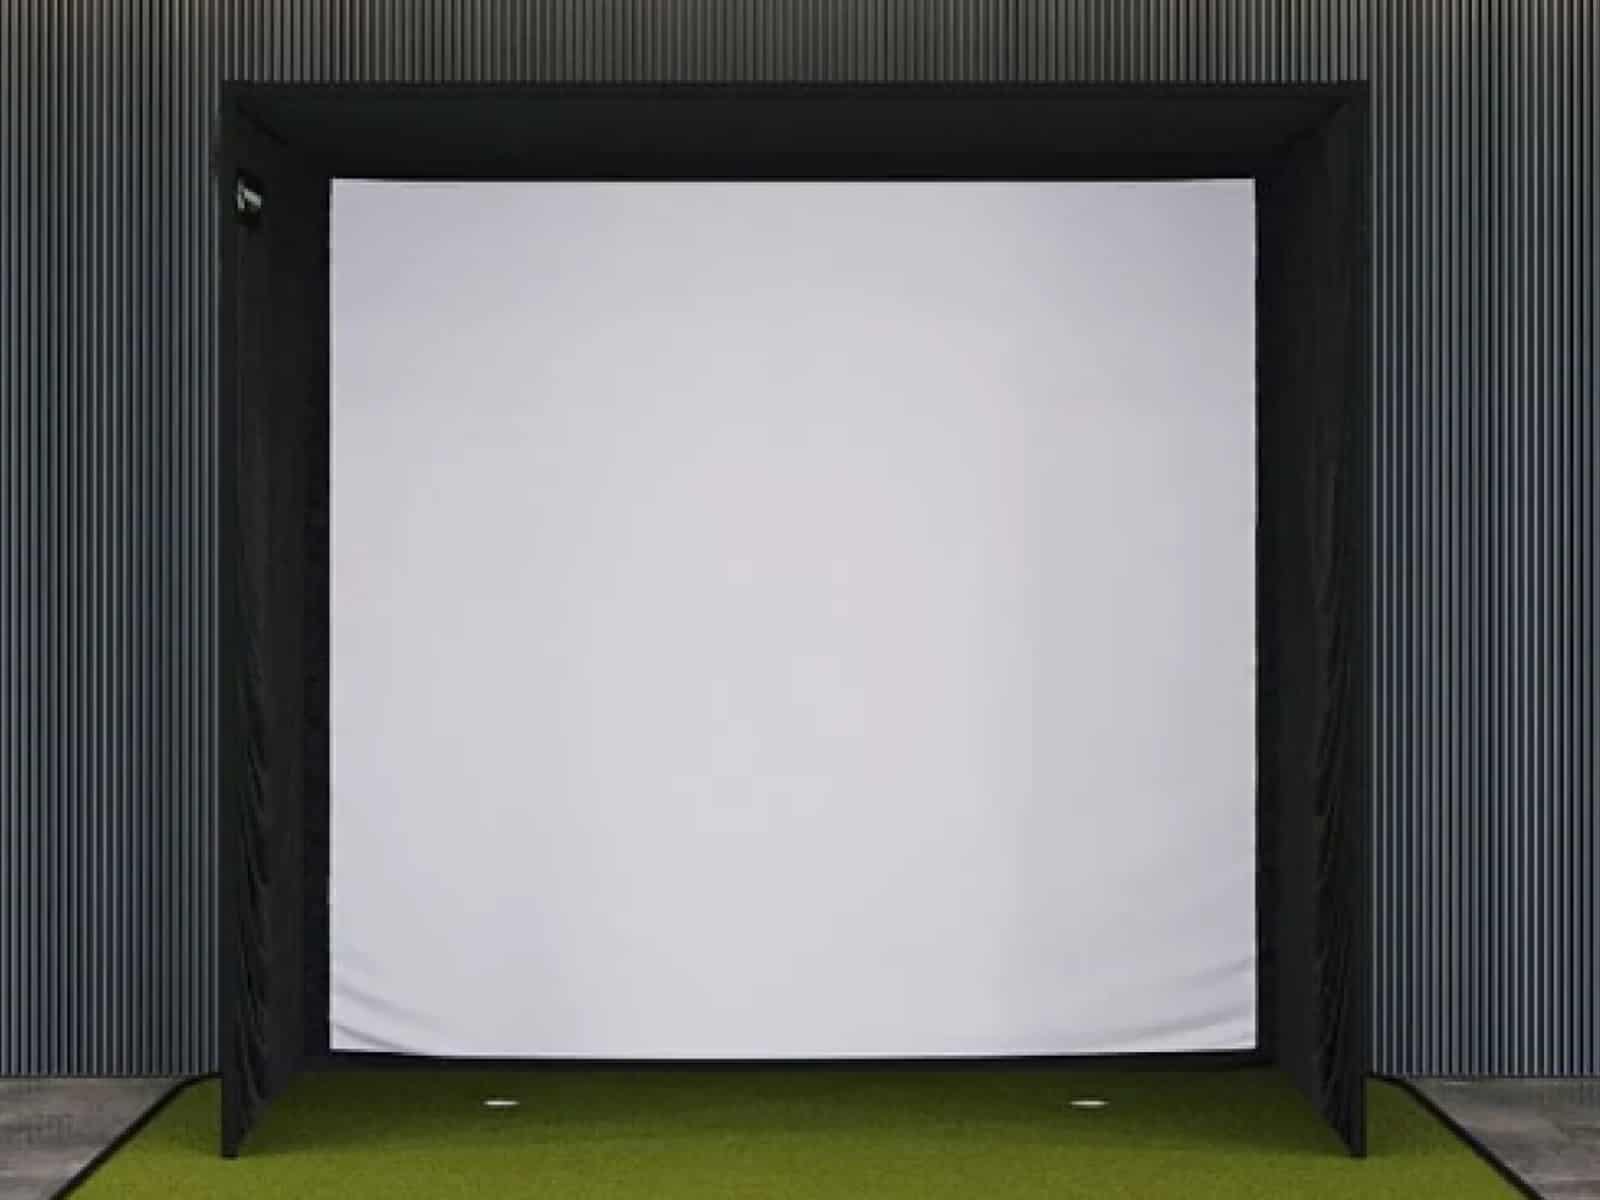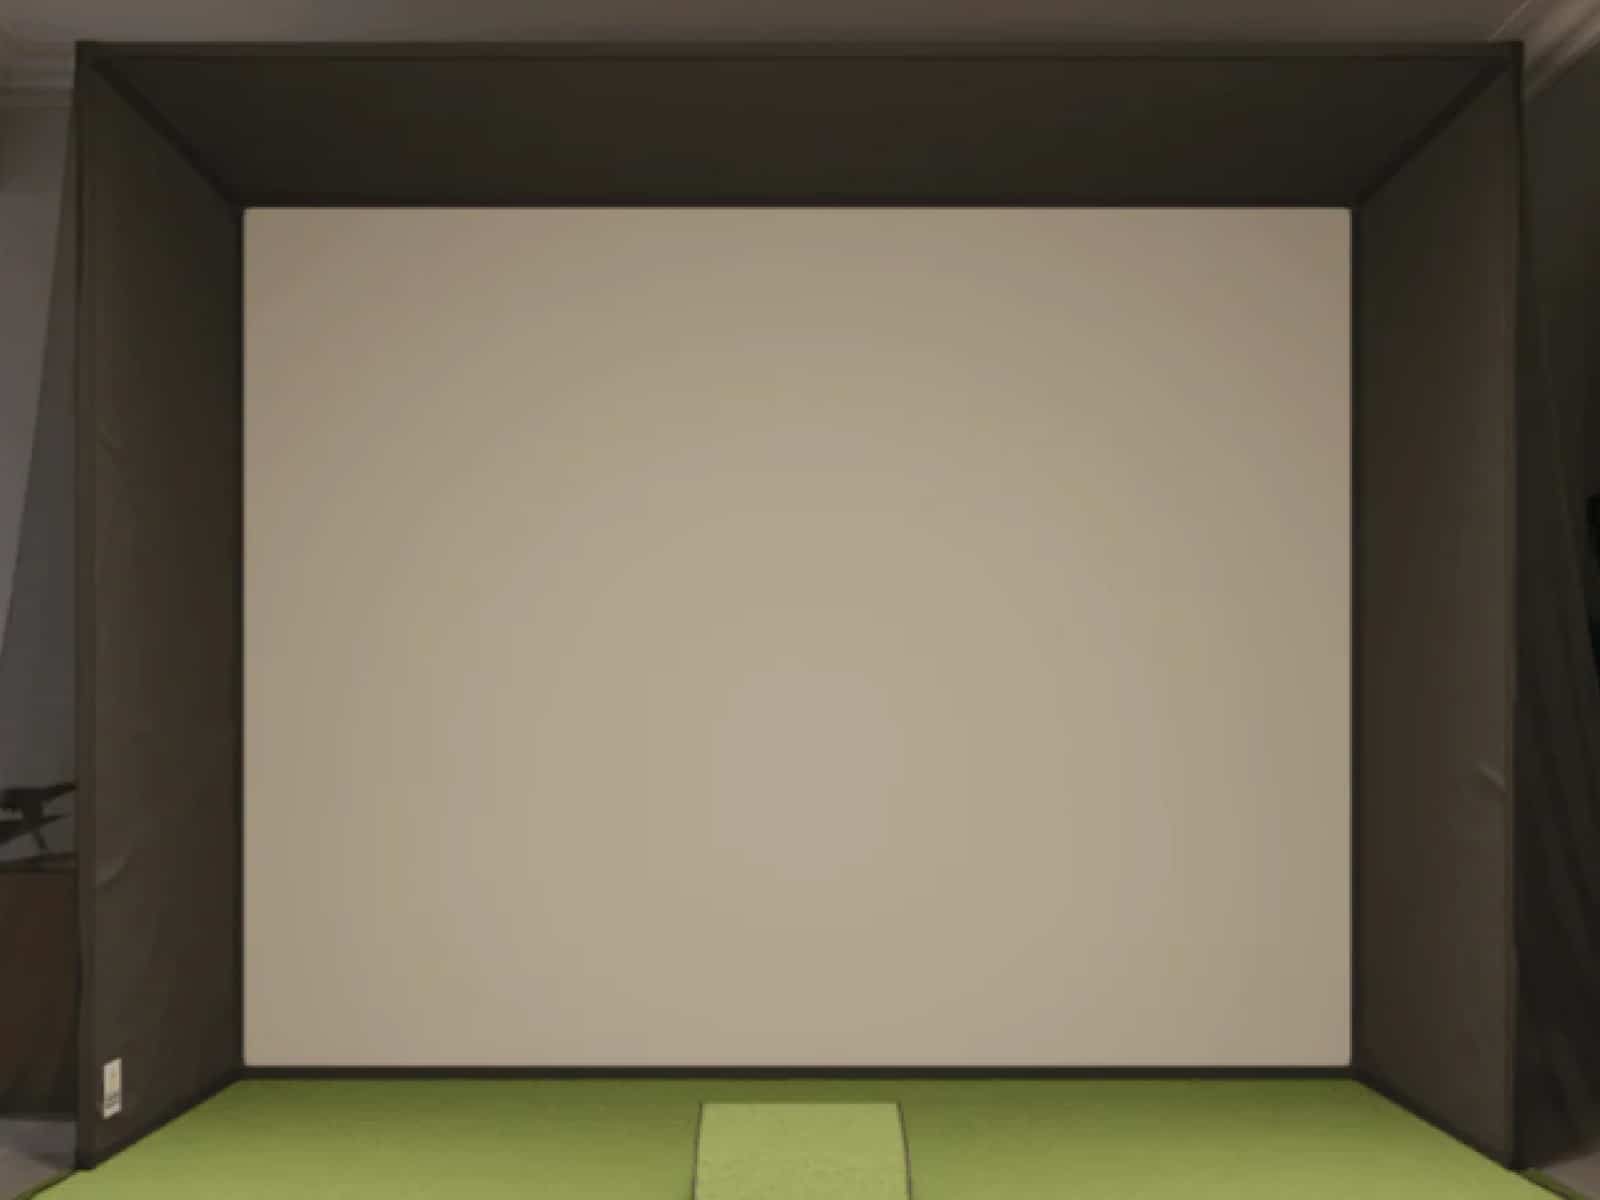
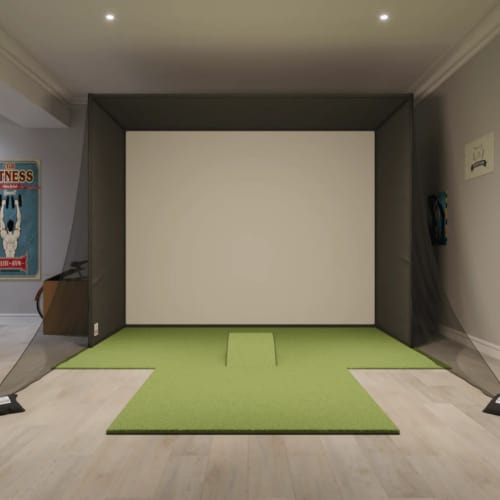
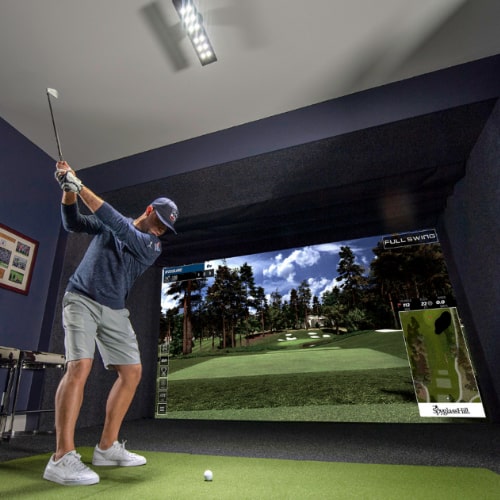
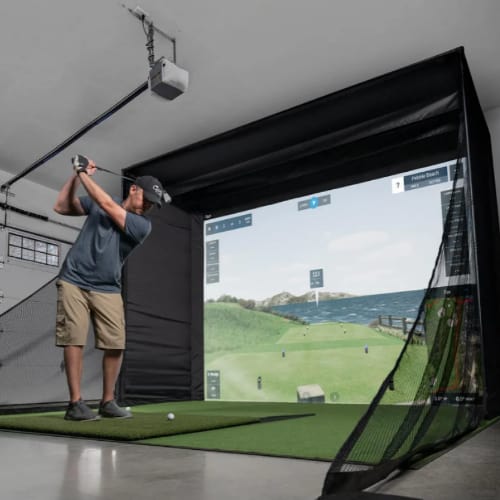
Golf simulator impact screens are essential components for realistic indoor golf practice and entertainment. Proper screen positioning is critical for both functionality and safety.
Adequate distance must be maintained between the screen and the back wall to prevent damage from bouncing shots and account for ball ricochets.
This article provides practical placement guidelines to identify the ideal standoff distance of your sim screen. Optimal positioning enhances the protection of the physical space, maintains visual quality, and allows room for swing trackers and other equipment.
Role and Purpose of the Impact Screen
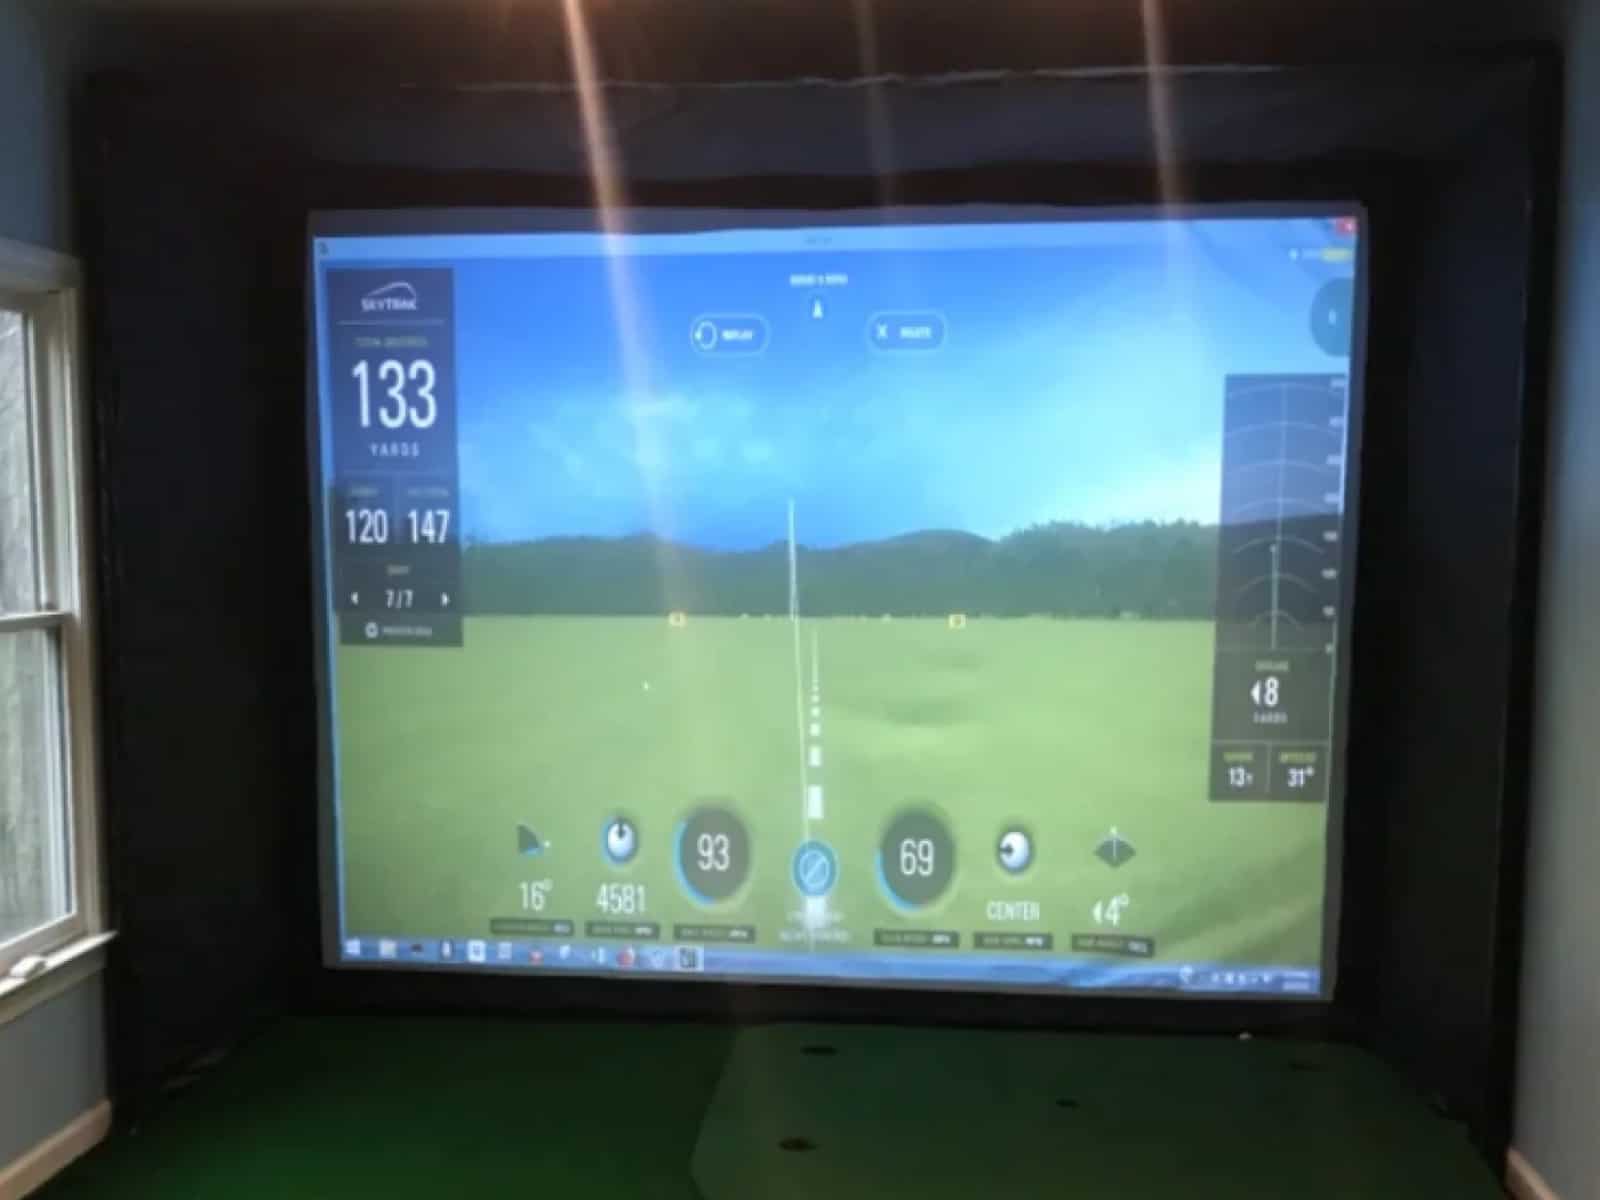
The impact screen acts as the hitting surface and display for simulated shots. The material must balance image quality for graphics rendering with durability to absorb thousands of impacts over its lifetime.
Quality screens provide realistic ball response, vivid visuals, and accuracy. Premium screens are made of materials like durable vinyl or polyester to maintain tensioning.
Considerations for Screen Placement
Properly situating the impact screen is imperative – factors like distance from walls, installation methods, bounce-back prevention, and adjustability must be addressed. Careful planning allows for an immersive simulator bay optimized for performance, spacing and longevity.
Recommended Distance from Wall
Determining the optimal distance between the impact screen and the wall in a golf simulator setup is an important consideration influenced by several factors. Careful spacing allows for an immersive experience while preventing unwanted bounce back of struck golf balls.
Typical Recommendations: 12-18 Inches

Most recommendations suggest maintaining 12 to 18 inches of space between the screen and the back wall. This spacing helps minimize bounce back while still allowing room for an authentic and enveloping simulation bay.
Having adequate distance is crucial, as too little space can result in damage to walls from ball impacts or, even worse, injury from ricocheting balls.
Factors Influencing the Ideal Distance
Several elements factor into fine-tuning the ideal gap between the screen and the back wall:
Preventing Bounce Back
Extra space is crucial to reduce the bounce back of mis-hit shots. Adequate distance lessens the force transferred to the wall.
Additionally, installing baffle nets or padding behind the screen provides extra rebound absorption. Without preventative measures, walls may suffer dents, paint damage or holes over time. Players may also get seriously injured if hit by the bouncing balls.
Immersive Experience
An enveloping simulator setup enhances realism and enjoyment. Users typically want the screen positioned for maximum immersion without being uncomfortably close.
Finding the “sweet spot” depends partially on the size of the hitting area and projector used. Wider spaces allow more flexibility in distance preferences.
Equipment Placement
Distance must accommodate computers, launch monitors, sensors, and wiring behind the screen’s hitting area. Having ample room allows easy access for equipment calibration, adjustments or troubleshooting.
Inadequate space can make maintenance frustrating and tedious.
Swing Space
The position should allow a full golf swing using various clubs without making contact with surrounding walls or ceiling. An unencumbered area maintains proper mechanics and prevents awkward adjustments to accommodate tight quarters.
User Setups and Preferences
There is variability among individual preferences for simulator distance depending on factors like room dimensions, desired realism, and planned uses. An adaptable, customizable bay allows tweaking as needed to suit any changing requirements.
Our guide to essential golf simulator room planning covers the subject in depth.
Mounting Methods and Materials
Properly mounting the impact screen is crucial for stability, adjustability and bounce back protection. There are several options for securing screens, each with their own pros and cons. Additional considerations include screen tensioning and materials when planning the installation.
Mounting Directly to the Wall
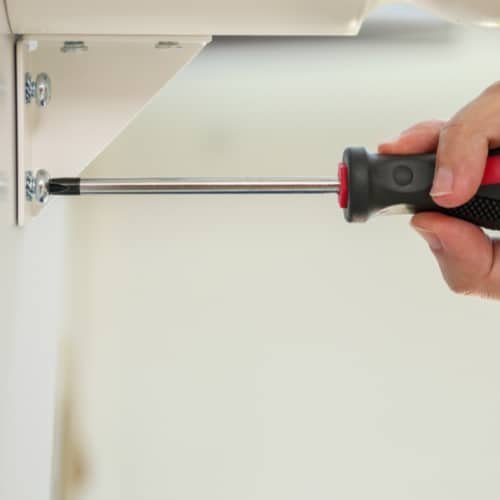
Screwing sturdy hooks into wall studs allows attaching the screen top and sides using ball bungees and tarp clips. This method provides a simple, minimally invasive mounting solution.
However, without preventative measures, direct wall mounting risks dents, paint damage, or holes from ball impacts over time. Padding between the screen and the wall is highly recommended.
For a more comprehensive overview of more options to ensure optimal protection and durability, consider reading our golf simulator enclosures and screen recommendations here.
Frame Structures
Framing perimeter walls and ceilings with wooden or metal studs enables mounting screens for maximum adjustment flexibility. High-quality materials and construction prevent oscillation from ball strikes.
Frame mounting allows incremental screen depth changes to dial in the ideal placement. Some systems even have moving cross-beams for side-to-side adjustments.
Hybrid Approach
A hybrid option uses top and side framing while allowing the simplicity of direct wall hooks along the bottom edge. This balances robustness and simplicity.
The stationary framed top eliminates sagging, while the adjustable bottom accommodates tweaks to fine-tune clearance and bounce-back prevention.
Check Also: DIY Guide: Hinged Impact Screen That Folds To Ceiling
Screen Materials
Screen fabric should absorb ball impacts without tearing over years of use. Materials like vinyl dissipate energy to generate authentic sound/feel without damage.
In addition, optimal rebound characteristics depend on tightness across the hitting area. Quality mounting mechanisms allow for keeping thicker screens perfectly tensioned.
Preventing Bounce Back
Even when impact screens are positioned at an optimal distance, stray shots can still result in an unwanted bounce back. Implementing extra measures to mitigate rebound protects walls, equipment and users.
Extra Distance from the Wall
While 12-18 inches is recommended, allowing even more space cushions wayward shots. An extra 6 inches greatly reduces kinetic energy for decreased bounce-back speed and force.
Baffle Nets
Netting installed behind the screen absorbs ball impacts rather than reflecting them directly back to the hitting area. High-grade netting specifically designed for golf enclosures provides exceptional dampening.
Foam Padding
Memory foam sheets installed between the screen and netting/wall provide additional rebound dampening. Closed-cell foam best maintains its protective properties after repeated compressions.
Multi-Layer Screen Setup
Employing a sacrificial outer screen layer stretched a few inches in front of the primary screen diffuses impact energy. This prevents tears or holes while preserving the viewing quality of the main display.
Frequently Asked Questions
The following are commonly asked questions about dimensions and distances related to golf simulator screens.
What size screen should I use?
The ideal screen size depends on factors like simulator software capabilities, room dimensions, viewing distance, and number of golfers. Popular consumer sizes range from 6×8 feet up to 10×12 feet.
A good rule of thumb is to allow for at least 8 feet of hitting space from the screen to the hitting area.
How can I protect my walls?
Protect walls by allowing proper clearance between the screen and walls, installing protective padding or baffle nets to absorb impact, and considering mounting solutions that shift the force away from wall structures.
What type of mounting works best?
Mounting with a perimeter frame structure allows maximum adjustability while stabilizing the screen and transferring force to the floor instead of the walls. Hooks attached directly to studs can also work well paired with padding.
What materials minimize bounce back?
Specialized dampening baffle nets, memory foam sheets and multi-layer screen configurations using sacrificial outer layers can effectively absorb, diffuse and eliminate bounce back.
Can I adjust the screen after installing it?
Selecting adjustable mounting solutions, whether frame-based or hooks paired with tensioning mechanisms, enables tweaking screen positioning and tension even after initial installation.
Should lighting be considered in placement?
Yes – minimize ambient light shining directly on screens while incorporating theater-style lighting on the sides/ceiling for ideal image brightness without glare or shadows.
Is framing required or just recommended?
Perimeter framing provides maximum stability, adjustability and protection, but quality installs directly into wall studs can also work well. Padding also minimizes the risk of wall damage.
Final Thoughts
Installing a high-performing golf simulator in your home can provide endless entertainment and skill development. Yet, achieving an optimal experience requires careful planning around impact screen selection, positioning, mounting, and bounce-back prevention.
While the impact screen distance and protective measures are crucial for a quality setup, the process of building a golf simulator encompasses much more. From selecting the right components to configuring the software, every step is pivotal to achieve the ultimate indoor golf experience.
If you’re ready to take on this project and create your very own golfing retreat, our comprehensive article on designing and building a custom golf simulator walks you through every phase of construction, ensuring you get the most out of your indoor golf system.
By following best practices around spacing screens from walls, implementing protective measures, and choosing adjustable, durable mounting solutions, you can create a custom virtual driving range built to last.
Key recommendations include:
- Allow 12-18 inches between the screen and the wall
- Install baffle nets and padding to absorb impacts
- Consider frame mounting for flexibility
- Select screens to balance projection, acoustics and durability
- Incorporate adjustability to tweak over time
If you have any questions or comments, don’t hesitate to contact us.