

Constructing your own custom DIY impact screen for your golf sim offers many advantages over purchasing a pre-made retail screen.
DIY allows you to tailor the size, shape, materials and other elements to perfectly fit your available space and simulator setup. This helps optimize simulation accuracy and enjoyment.
Building the screen yourself also gives you the capacity to upgrade, maintain or modify the screen over time as needs evolve. Also, DIY is simply the most budget-friendly route to owning a high-quality screen.
In this guide, we will go through the steps you should take to construct your own DIY impact screen. We will also provide answers to some commonly asked questions related to the topic at hand.
Planning Your Custom Impact Screen
After deciding to construct your own DIY golf simulator impact screen, laying out a plan is the crucial next step before purchasing materials and beginning the build. There are several key considerations that will inform the design, size, structure, and other elements of your customized screen.

Determine Screen Size and Location
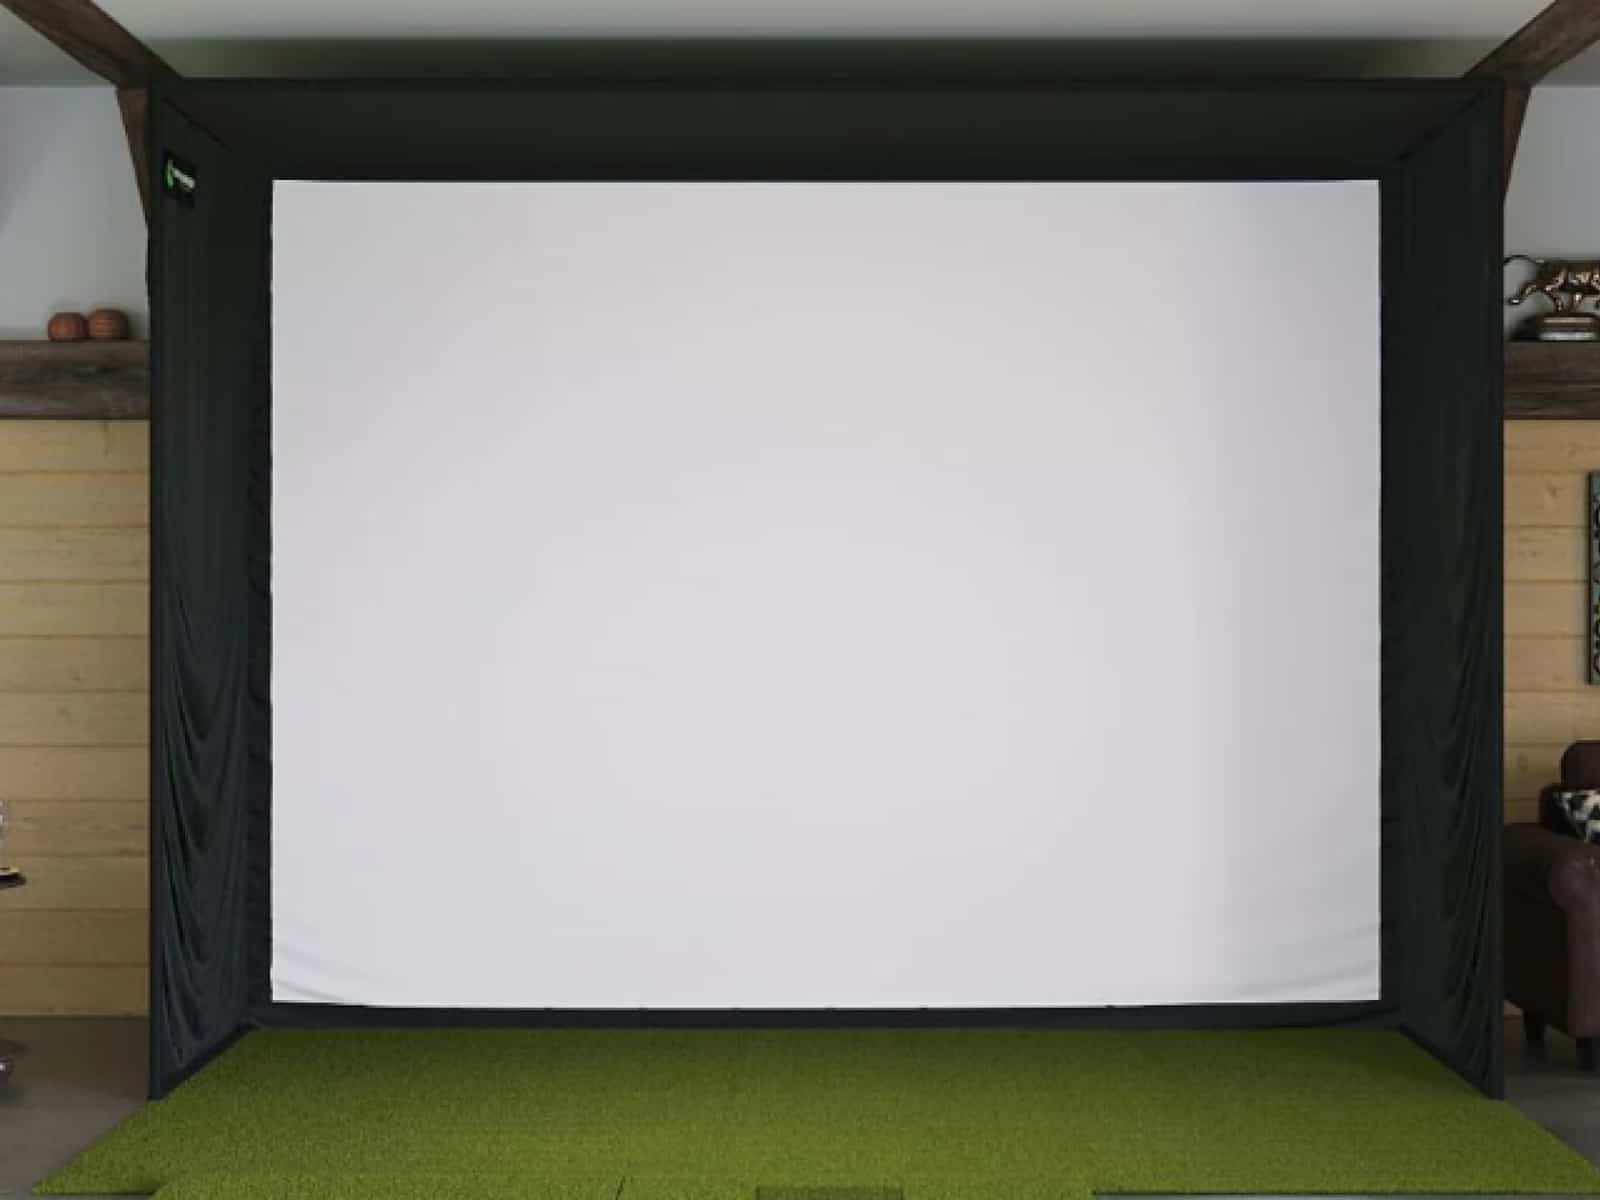
The two main factors here are dimensioning available space and accounting for ideal clearance zones. Measure the area where you plan to install the screen, while keeping sight lines from your swing position in mind.
Most recommend at least a 10′ wide x 8′ tall screen, but you may scale up if you have additional room. Also, be sure to allow at least 8-10 feet of space in front of the screen for safety and best simulation accuracy. Consider overhead elements like ceilings and lights as well.
If you want to maximize space, consider the hinged impact screen that folds to the ceiling way. This approach allows you to create a retractable screen that folds up and out of the way when not in use, making it ideal for smaller spaces or multi-purpose rooms.
Choose a Screen Material
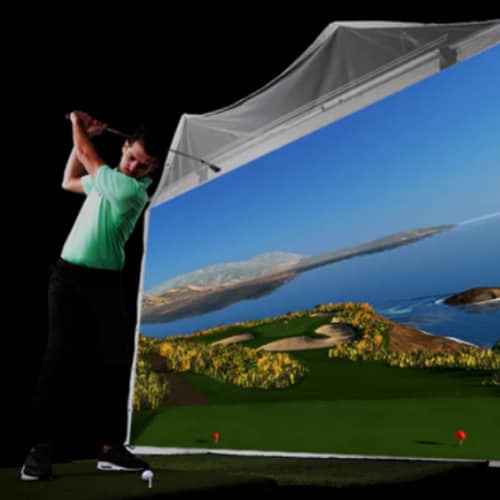
Common screen materials each have pros and cons. Tensioned fabrics like Polyester mesh provide a bright projection surface at a lower cost and are very sturdy; Polyester mesh is our recommended material.
Thick netting also stands up well to high-speed impacts. Each option varies in image quality, durability, weight and price points. Using multiple layers (two or three) can make the screen even more durable and allow it to dampen impact noises.
Select a material and number of layers based on your projection setup, budget and longevity needs.
While DIY builds offer a customizable and cost-effective option, pre-built golf simulator screens or enclosures provide a convenient, all-in-one solution with durable screens and frames, perfect for those seeking a hassle-free setup.
Select a Frame Structure
Screens come fixed in wooden or metal frames for permanent installations, as well as collapsible popup pipe structures for portability.
Decide whether you want your screen movable or a permanent fixture. Also, determine the frame shape and bracing method to best fit your swing space. Effective frames distribute weight and properly tension the surface material.
Constructing & Installing Your DIY Screen
With planning and design completed, it’s time to start the physical build and installation of your custom golf simulator impact screen. Follow these steps to bring your vision to reality.
Building the Screen Frame
Construct your screen frame based on the materials and structure you determined previously. For wood, cut pieces to length, pre-drill, and assemble with screws and wood glue for durability under impact.
For metal, use appropriate welding or joining techniques. Take care to build a stable, level frame that will properly tension the surface. Consider adding reinforcing cross beams or an auxiliary base structure if needed.
Mounting the Screen Material
Stretch your screen material across the entirety of the frame surface. Use staples, heavy duty adhesive, or screw-mounted perimeter trim to securely attach the material. Just make sure the screen is not overly tightened to the point of causing ricochets, and not loose to the point of affecting image quality (because of wrinkles).
On fabric screens, a tensioning system helps keep the surface taut. Try to remove any visible wrinkles or imperfections, and trim off excess material once the screen is mounted.
Installing & Positioning the Screen
For permanent screens, mount the frame directly to the walls with a French cleat system or use floor flanges.
For standalone screens, assemble a wide, weighted base structure to keep the screen stable after ball impact.
Use at least two people when lifting. Position the screen to align it perpendicular to your swing path and tee line at the appropriate distance. Don’t forget to ensure adequate overhead clearance.
Maintaining and Enhancing Your Screen
Constructing your DIY golf simulator impact screen is an accomplishment, but the work doesn’t end there. Proper maintenance and occasional upgrades will keep your screen performing optimally for years of realistic virtual golf.
Basic Maintenance
Check over the screen once a season, looking for deterioration, holes, tears, or slackness in the material. Use touch-up paint on any scratches or flakes in the frame.
Remove major dirt or debris gently, protect the screen from direct sunlight when not in use to prevent fading and tighten any loose joinery or fittings as required over time.
Optimizing Projection Quality
If ambient light is interfering with image brightness, consider adding neutral black drapes around the screen space. Also, angle the screen to avoid hotspots or glare from lights.
You can also tweak the screen tensioning or replace the aging fabric to keep the projection surface more uniform. Adding custom faux terrain features as a backdrop can enhance realism.
Upgrading Your Screen
As technology improves or screen standards evolve, explore upgrades like ultra short throw projectors for a wider hitting area or retractable screens for better space usage when not golfing.
If expanding your simulator capabilities, resize it to a larger screen that enables the use of more club types. Budget for a full replacement screen every 5-7 years depending on wear.
Frequently Asked Questions
The following are some frequently asked questions, answered to ensure you are well equipped for your ambitious DIY project of building a quality impact screen for your golf simulator.
Can you make your own golf impact screen?
Yes, with some basic DIY skills, you can construct your own high-quality golf simulator impact screen. This allows customization to your available space at a fraction of the cost of retail screens.
Careful planning and material selection are crucial to building one that lasts.
What can be used as a golf impact screen?
Common materials include tensioned fabrics like Polyester mesh (our recommendation), thick netting and proprietary polymer blends. Each surface type varies in image brightness, durability, acoustic properties, and cost.
What size impact screen is best for a golf simulator?
Most recommendations are for about an 8 x 10-foot screen size minimum to allow realistic swing and visualization of full shot shapes. Scale up in size if you have additional space and want to practice with longer clubs. Ensure adequate safety clearance zones.
How do you hang the impact screen on a golf simulator?
Freestanding portable screens use a weighted stabilizing base frame. Permanent screens can be mounted directly to walls with a French cleat system or use floor flanges.
Some custom screens can even hang from ceiling mounts.
How durable must an impact screen be?
Durability depends on the frequency of use, materials and club types. Most DIY fabric screens last 2-3 years with regular iron and wedge use. Polyester mesh is more durable than other materials and can last longer.
Expect to replace the screen surfaces every 5+ years for very frequent use.
What are other enhancement options?
To enhance your virtual golf experience, consider the following:
– A protective netting layer in front of the screen to prevent damage.
– Install blackout curtains to optimize image brightness
– Use foam padding on the frame to dampen the ball bounce back
– Add faux turf/terrain features as a backdrop for added realism.
Final Thoughts
Constructing a high-quality DIY golf simulator impact screen takes planning, skill and the right materials, but offers customization and cost savings over purchasing a retail version. This guide has covered the full process from initial design decisions through installation and long-term ownership.
With some dedication and the satisfaction of building it yourself, your DIY impact screen can serve as an exceptional and realistic surface for virtual golf in your home simulator for years to come.
While crafting your own impact screen is a rewarding experience, building a complete golf simulator involves more than just a screen. Dive deeper into the exciting world of DIY golf simulators with our comprehensive simulator construction guide.
If you have any questions or comments, feel free to contact us.
If you “Stretch your screen material tightly across the entirety of the frame surface” the golf ball will bounce back to the hitter really fast. That is why the enclosure kits use bungees to properly tension the screen to the frame so that the ball merely drops down harmlessly.
Thank you for the feedback and for pointing out something which could cause misunderstanding. Having the impact screen too tight will cause bouncing and potential injury; however, not securing it enough can also lead to issues, one of which is bad projection quality, as the image will be distorted with the screen being wrinkled.
We made sure the part you mentioned was modified to make it clearer and avoid any misunderstanding; the idea is to strike a good balance to avoid affecting image quality or causing ricochets.
Thanks again for the feedback.