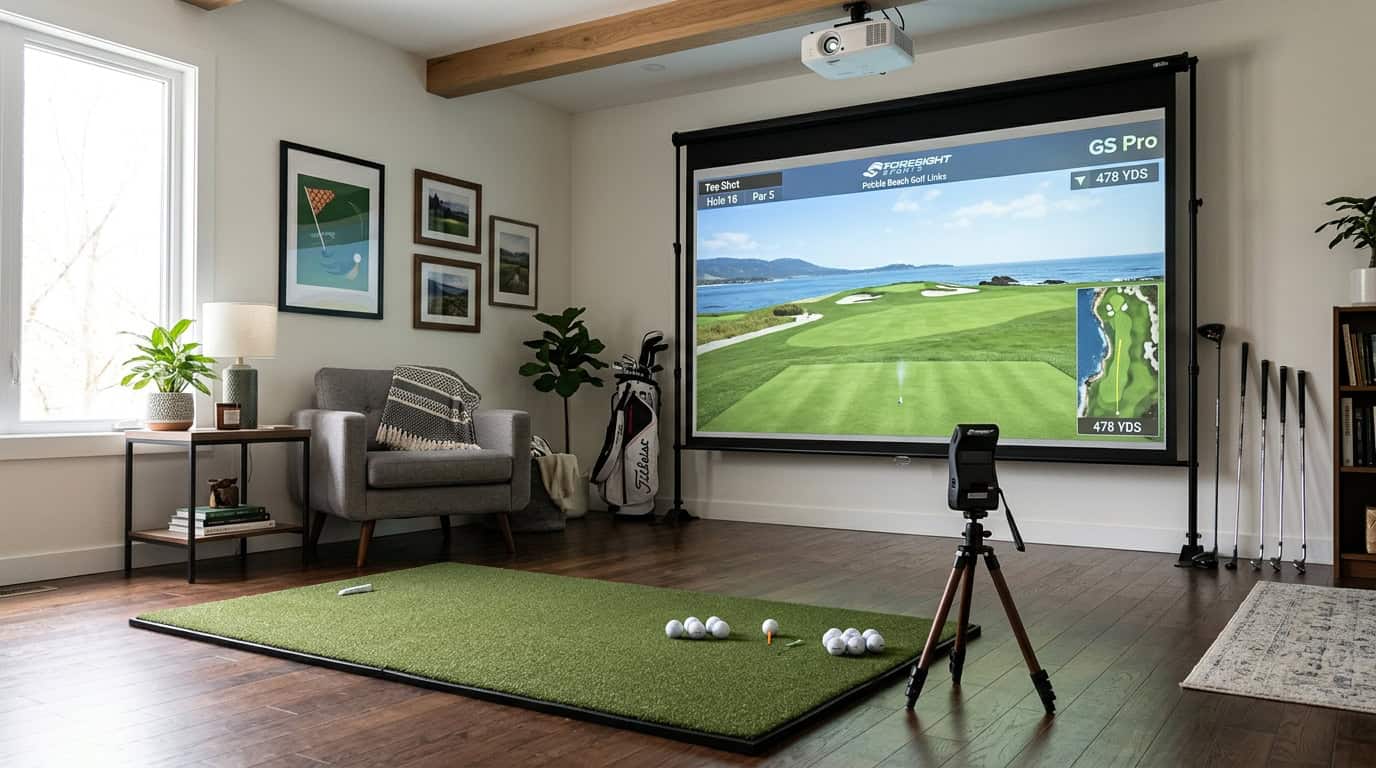
Want to build a golf simulator in your garage but don’t have space for a permanent impact screen setup? A retractable, hinged screen that folds to the ceiling could be the perfect solution.
This DIY guide will walk through how to build a customized hinged frame to mount your impact screen material that can fold up and out of the way. We’ll cover tips for measuring garage space, achieving sufficient height requirements, picking durable hinge hardware, calculations for smooth retracting, ideal mounting points, and more.
Follow these steps to maintain the functionality of your garage while still enjoying the benefits of practice driving year-round. Constructing your own overhead-hinged impact screen takes some technique but saves space and impresses your golf partners.
Benefits of a Hinged Impact Screen
Compared to fixed frame or tab-tensioned screens, hinged impact screens have some unique advantages:
- Durability – The thick aluminum or steel housing protects the screen material from rips, creases, and punctures even in playrooms or media spaces with children and pets.
- Space Saving – Retracting flush to the ceiling preserves floor space when not entertaining. The screen disappears into the ceiling versus dominating an entire wall.
- Control – Somfy or other tubular motors allow for wired or RF remote control to smoothly lower and raise the screen.
Planning Your Hinged Impact Screen Installation
Careful planning and preparation are key to a smooth hinged impact screen installation. Rushing in without taking proper measurements or understanding installation challenges can lead to headaches down the road. The following are the key planning steps:

Taking Measurements
The exact measurements of your ceiling area will determine which hinged screen sizes and mounting types will fit:
- Use a tape measure to measure the length, width and height of your full ceiling area where you want to install the screen. Account for any pipes, ducts, beams or other obstructions.
- Consider the screen’s housing unit and lifting brackets which will eat into the available space. Allow a reasonable border so the housing can recess entirely into the ceiling.
- Think about optimal viewing area based on room layout and seating. A wider screen may suit a long narrow room rather than an equal square screen.
Choosing Screen Materials
Hinged impact screens come in a variety of surface materials, each with their own advantages and tradeoffs:
- Fiberglass mattes work well in rooms with moderate ambient light. They have a neutral gray tone.
- High contrast grey screens help maximize black level rendering but have a more limited viewing cone.
- Acoustically transparent screens allow for speakers to be placed directly behind them by allowing sound to pass through the perforated material.
Consider not just the screen material but also the desired image size and maximum diagonal viewing angle from your playing and seating areas.
Mounting Considerations
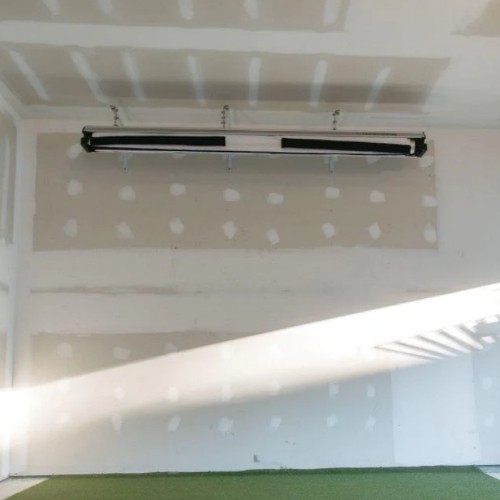
Flush mounting the housing right against the ceiling achieves a very low profile but requires additional ceiling modifications. A drop mount style instead uses cables to suspend the screen beneath the ceiling beams:
Flush mounting requires building a false ceiling area to recess the screen frame into. This involves structural changes and drywall work. Drop mount systems, on the other hand, are easier to retrofit into existing ceilings by securing cables and brackets to the framing without any drywall modifications.
Carefully mapping out the installation area, screen type needed and mounting method will lead to a successful install the first time without any surprises or changes needed down the road.
DIY Installation of Hinged Impact Screen
You have planned the perfect hinged impact screen and prepared the ceiling area. Now comes the fun part – safely installing this screen upgrade with your own two hands. Follow along step-by-step.

Gathering Tools & Materials
Pull together all needed tools, gear, and hardware before starting. This includes items like a power drill, driver bits, socket wrench set, drywall saw, utility knife, laser level, various fasteners such as screws, anchors, wire, and cable ties. Don’t forget to wear proper personal protective equipment for safety.
Ensure the packaged screen includes all manufacturer provided parts like hanging brackets, springs, and fastening hardware. Review what should be in the box so you can identify any missing pieces.
Preparing the Mounting Area
Start by confirming the ceiling layout measurements again and marking stud center points with painters tape. This acts as a guide for installing hardware. Use a drywall saw or utility knife to cut any necessary openings in the ceiling drywall to allow space for the housing unit.
If flush mounting the screen into the ceiling, install blocking between the framing studs prior to hoisting the screen case up. Lastly, prepare any wiring from AV components, control systems and potential backlighting.
Mounting the Screen Case
Attach the screen housing chassis into the ceiling area using the provided hanging brackets and hardware. Multiple helpers or mechanical lift equipment can make positioning easier given the weight.
Ensure the housing sits flat and level at the preferred dropdown height while allowing several inches of clearance on all sides so the screen material can deploy without catching on the framing.
Installing the Screen Surface
Carefully unroll the screen material and attach it securely to the frame. Connect the motorized end caps and wiring which enables powered operation. If the screen deploys manually, install the mechanism you intend to use.
Test deployment for smoothness and make adjustments to drop lengths if needed.
Testing and Adjustments
Verify remote control or switch operation raises and lowers the screen appropriately without hesitation or tilt. Power the screen down fully, then manually pull it all the way down, double-checking for any sticking points or obstructions.
Leave the screen extended for 24 hours, allowing the material to tension and seat evenly before making any necessary adjustments.
Completing Your Hinged Impact Screen Installation
You’ve mounted the durable hinged impact screen case and neatly deployed the surface material. Now it’s time for the finishing touches to cleanly blend this high-tech upgrade into your space both aesthetically and functionally.
AV Equipment Connections
Feed cables from video projectors, speakers and other components down from above if you go for a flush mount install. Use cable raceways painted to match the ceiling. For a clean install, the cables can hide behind crown moldings
Alternatively, wiring can tie into the screen housing if less ceiling penetration is preferred. Test all AV systems fully when the finish work is done.
Decorative Touches
Further, enhance the wow factor when the screen deploys with subtle lighting:
- LED backlighting can be placed on crown molding or recessed behind the screen.
- Small ceiling medallions can serve as ornamental focal points.
Frequently Asked Questions
The following are answers to some frequently asked questions to ensure that all the aspects of the installation process are covered.
How difficult is it to install a hinged impact screen myself?
While requiring moderate DIY skills, impact screens are very achievable for most homeowners. The hardware is a bit heavy, but the actual process involves basic mounting, wiring and material setup, similar to installing recessed lights or ceiling fans.
Do I need to modify my drywall ceiling for installation?
Some impact screen models allow for drop-down mounting from cables secured to ceiling joists meaning no drywall modifications. However, for a flush fit, creating a recessed ceiling area does require carefully cutting the drywall and installing blocking.
Can impact screens be mounted on angled, vaulted, or tray ceilings?
Yes, with the proper heavy-duty brackets, impact screens work on most ceiling types beyond standard flat ones. It may limit some control options and overall drop lengths, but manufacturers offer a range of versatility.
How do I control my impact screen deployment?
Most consumers opt for included RF remote controls or hardwired wall switches. You may also attach a mechanism that allows you to manually deploy the screen and take it up.
What about sound transparency for speakers behind the screen?
Several acoustic transparent screen materials diffuse sound by using micro-perforations. This does slightly impact overall image quality and light reflection but allows for invisible placement of left, center and right speakers.
Final Thoughts
A hinged, retractable impact screen is a great option for building a multi-use golf simulator space while maximizing garage functionality.
In this DIY guide, you’ve learned techniques to customize and securely install a folding screen frame tailored to your garage (or any other space). Key steps include precise measurement of ceiling height and space dimensions, achieving ideal swing clearance area, selection of robust hinges and hardware, solid frame construction from wood or steel, safe mounting procedures, and calculations for smooth retracting movement.
If you’re thinking of embarking on your own golf simulator journey, check into our comprehensive guide on how to build a golf simulator, packed with essential resources and step-by-step instructions.
Creating a homemade golf simulator screen can add a unique touch for those who wish to tailor their golf simulator setup further. Consider checking these detailed instructions on constructing a durable and effective impact screen, ensuring your setup looks professional and withstands the rigor of repeated use.
Alternatively, these pre-built screens offer a convenient and stylish solution, encompassing everything from the impact screen and netting to the enclosure frame and lighting.
Putting in the work upfront to map out design plans and gather quality materials will pay off for years of reliable performance.
Thanks for reading!