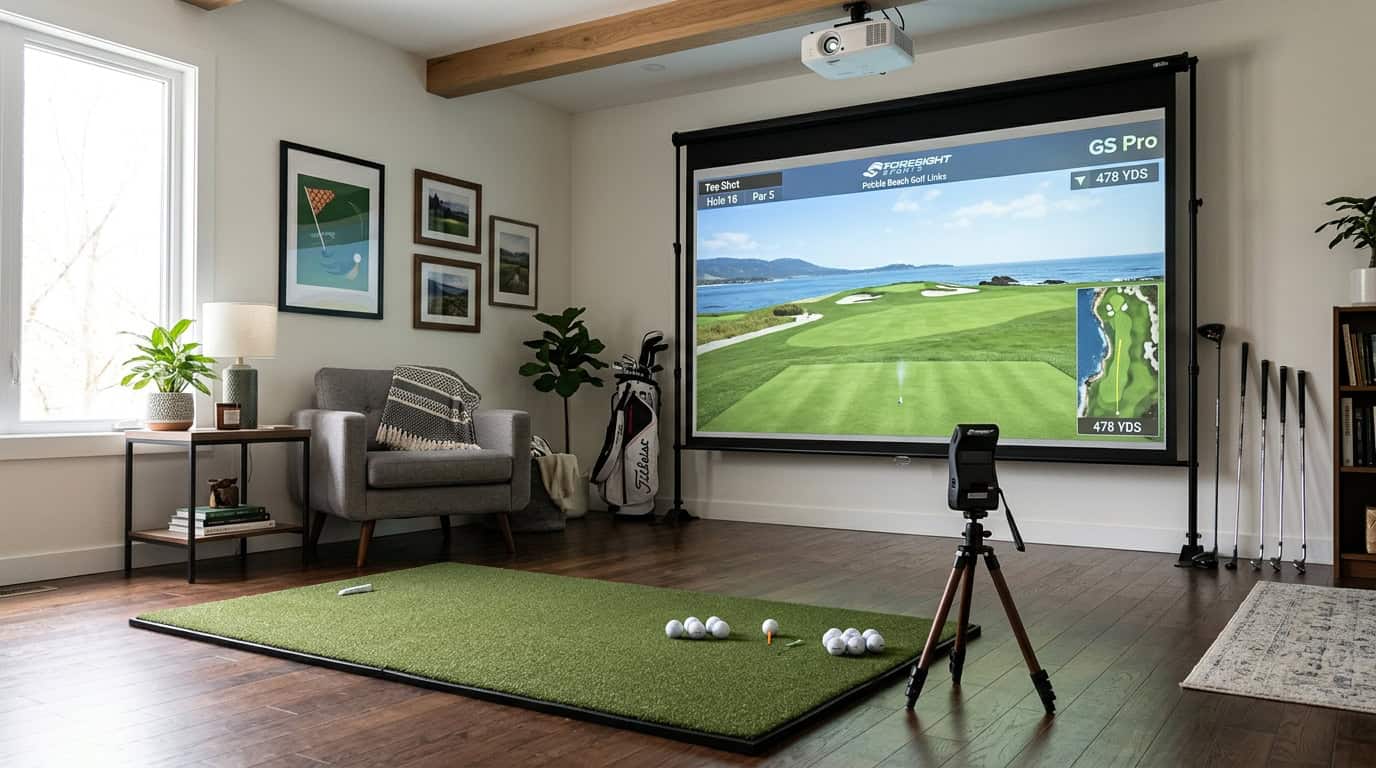
The bottom portion of golf simulator impact screens is vulnerable to damage from repeated ball strikes. Over time, issues can develop that affect durability and performance.
This article provides an in-depth look at common problems occurring at the bottom of screens, including fabric tears and holes, frame damage and fraying fabric edges. Preventative care and maintenance practices are explored as well – Proper storage, moving and handling techniques.
For existing issues, repair techniques using various materials are detailed. Step-by-step instructions for patching holes, replacing fabric sections, and fixing frame deformities are provided.
Keep reading for more!
Common Issues With Screen Bottom
The bottom section of golf simulator impact screens is prone to three main types of damage over time: fabric tears/holes, frame issues, and fraying fabric edges. Understanding the causes and solutions for these common problems is key to preserving this high-wear area.

Fabric Tears and Holes
Tears or holes in the fabric are often the first signs of wear on the bottom portion of the screen. The main culprit is wayward golf shots striking the surface at high velocity. The repetitive blunt force can rupture the fabric. Holes and large tears will affect ball tracking and reduce accuracy.
To prevent tears and holes, you need to inspect the fabric regularly for thinning or small snags, ensure protective padding is always in place and check that the frame is securely assembled.
If the screen already has tears and/or holes, start by thoroughly cleaning the surrounding area and then apply an adhesive patch, secured firmly from behind the screen. For large holes, you can sew sturdy fabric patches to cover the affected parts.
Frame Damage
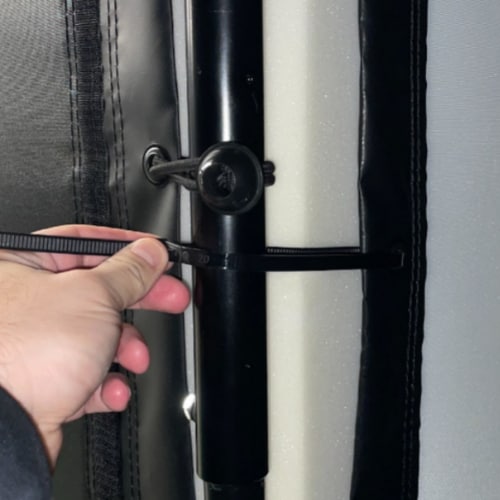
Dents, bends and breaks in the metal frame eventually occur after prolonged use. Forceful mis-hits and moving/dropping the screen can bend the frame out of shape.
To avoid this issue, try to handle the screen cautiously when storing or moving it. Also, keep the frame bolts tightened and replace any worn/damaged protective padding.
Repairing a damaged frame involves sanding and buffing out minor dents and gently reshaping any bent poles. If you notice major damage, we recommend seeking professional help.
Fraying Fabric Edges
The combination of ball strikes, tension and friction will eventually fray the edges of the screen fabric, especially along the bottom. Left unchecked, fraying will spread across entire sections.
For prevention, apply anti-fray sealant on the fabric edges, check for loose fabric around the edges and use edge binding tape on the seams.
The best solutions to fix fraying edges are to carefully trim loose threads and seal frayed sections with a liquid fray blocker. If the problem is already widespread, your best bet is to replace the affected fabric.
Preventative Care
Implementing some simple preventative care steps for your golf simulator screen bottom will go a long way toward extending its lifespan. Stopping issues before they start is much easier than repairing damage after it has occurred.
Inspections and Cleaning
Do the following to keep your screen and frame in good condition:
- Inspect screen fabric weekly for signs of fraying, holes or thinning.
- Check the frame for loose connectors, gaps or bending
- Verify protective padding is secured in place
- Gently clean the fabric using a soft brush and soap/water mix
Developing consistent inspection habits allows you to get ahead of any minor issues before they worsen. Set calendar reminders to prompt weekly checks. Document any problem areas needing extra monitoring.
Proper Storage and Handling
When not in use, store the screen lying flat, not rolled or upright. Choose a clean, padded surface away from direct sunlight or moisture. The following tips can help you:
- Move the screen slowly with 2+ people lifting the edges.
- Do not drag the screen frame on the floor.
- Keep the screen covered in a breathable case
- Transport it in a padded cover to prevent bending
Carefully handling the screen anytime it’s moved or stowed will help avoid preventable damage leading to early fatigue and failure. You’ll also safeguard the easily worn bottom portion against unnecessary deterioration.
Repair Techniques and Solutions
Even with diligent preventative care, it’s likely that over time your golf simulator screen bottom will incur some amount of damage requiring repair.
When issues do pop up, having the proper materials and techniques to mend tears, replace fraying, and fix dents can restore performance and dramatically extend usable life.
Patching Holes and Tears
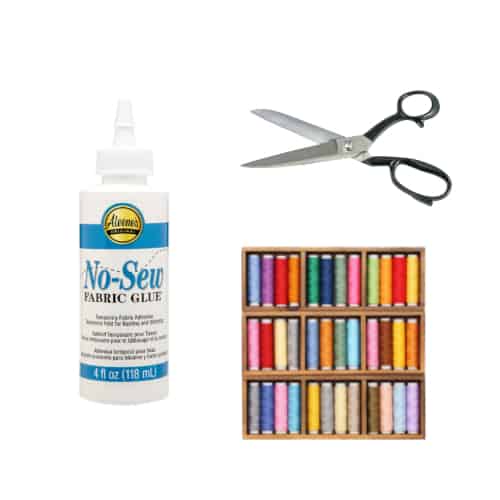
You’ll need the following materials to patch holes and tears on the impact screen:
- Nylon or canvas adhesive patches
- Sharp scissors
- Fabric glue
Follow these repair steps
- Cut the patch to overlap the tear (or hole) by 2 inches on all sides.
- Fray and roughen the fabric backside so that the glue adheres.
- Apply fabric glue to the back of the patch and the area around the tear.
- Clamp the patch until fully bonded – at least 8 hours.
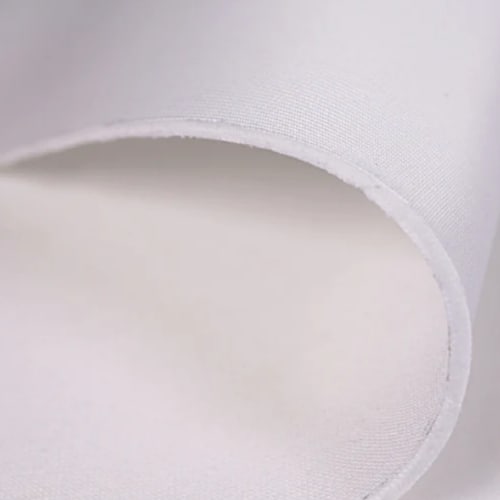
Replacing Fraying Fabric

The supplies needed include:
- A utility knife and a straight edge.
- Heavy-duty fabric matching the original.
- Fabric glue
Repair Steps
- Carefully cut out the fraying section, leaving a 2-inch allowance.
- Cut the replacement fabric to size.
- Apply fabric glue on the joining edges.
- Clamp the fabric until the glue sets fully.
Fixing Frame Damage
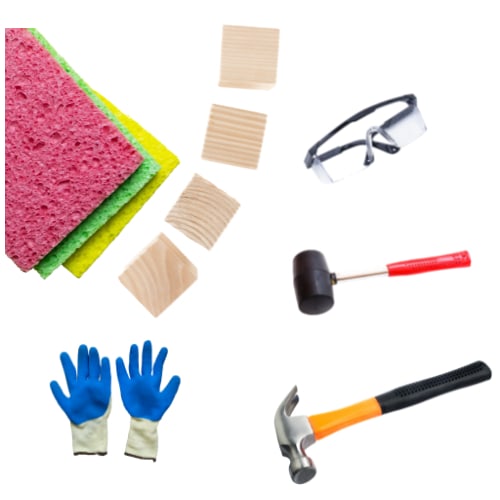
To fix frame damage, you will need protective gloves and eyewear, a hammer and rubber mallet and wood blocks and rags.
Repair steps are the following:
- Pad the frame area to prevent further damage.
- Slowly reshape bent poles using the hammer.
- Gently tap out dents using the mallet and wood blocks.
- Seek pro help for broken weld joints or torn metal
Following these handy steps for patching, replacing and reshaping will have your simulator screen bottom looking great again. Be sure to integrate preventative care practices going forward to maximize its usable lifespan.
Frequently Asked Questions
Here are answers to some commonly asked questions related to the topic at hand. The goal is to equip you with the necessary knowledge to keep your impact screen intact for a longer time.
Is it difficult to repair tears and holes myself?
Not really. Using the step-by-step patching and fabric replacement tips provided, casual golfers can fix minor tears, holes, and fraying easily with basic tools and adhesive fabrics available at craft stores.
When should I call in a professional for impact screen repairs?
Seek professional assistance if you have major frame damage beyond gentle reshaping or full panels of fabric needing to be replaced. Complex disassembly may be required.
What patching materials work best for holes and tears?
Canvas and nylon adhesive patches with fabric glue provide the simplest permanent fix for small holes and tears on simulator screen bottoms. Iron-on binding tape also works for reinforcing seams.
How often should I inspect the bottom of the screen?
Get in the habit of inspecting for wear/damage weekly when using your simulator. Document any problem areas to monitor more frequently. Address any issues promptly before they expand.
What are signs the screen frame is damaged and needs repair?
Obvious dents, bends, gaps between poles and connectors that have come loose all signify that metal frame repairs are needed to restore its integrity.
How can I improve the durability of the bottom of the impact screen?
Protective padding is critical for protecting the impact screen bottom. Frequently check for thinning or compression damage. Replace worn padding immediately. Quality thick padding prevents frame damage and reduces the force transferred to the fabric.
Final Thoughts
The bottom of golf simulator screens sees more wear than other areas. Fabric damage, frame issues and fraying often occur over time. Using preventative care is key to maximizing the lifespan of your impact screen.
Routinely inspect for problems. Handle gently. Address minor tears and dents promptly. Follow step-by-step repair tips in this guide using basic materials.
For complex frame and panel issues, seek help from a golf simulator specialist. Avoid costly full replacements through timely maintenance focused on the high-impact bottom section of the screen most vulnerable to damage.
If you’re about to build your own golf simulator but don’t know where to begin, This step-by-step guide to building a golf simulator provides you with everything you need to know, from choosing the right equipment to setting up your space and even troubleshooting common issues.
If you still have questions or comments, please leave them in the comments section below.
Thanks for reading!