With virtual golf technology becoming more accessible, you’re now faced with a crucial choice: should you opt for a pre-built simulator package or embark on a custom build journey?
A pre-built package offers a straightforward path to your first virtual round, while a custom setup lets you handpick every component to match your specific needs. This guide will walk you through every aspect of both options, from launch monitors to impact screens, from software choices to space requirements. You’ll discover the real costs, technical considerations and performance differences that will shape your decision.
Let’s help you find the perfect simulator setup that fits your space, budget and golfing ambitions.
Understanding Golf Simulator Basics
Before deciding between pre-built packages or custom builds, you need to grasp what makes a simulator tick. The technology behind these systems might seem complex, but breaking it down into core elements makes the choice between options much clearer.
Core Components of a Golf Simulator
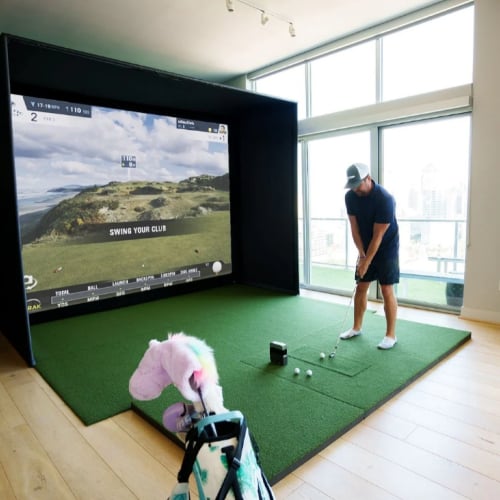
Every simulator starts with four fundamental pieces. The launch monitor tracks your shot data. It captures everything from ball speed to spin rate. The impact screen serves as your virtual course canvas, while the projector brings those fairways and greens to life. A hitting mat recreates the feel of real turf, saving your joints from concrete impact.
Key Technologies Used in Modern Sims
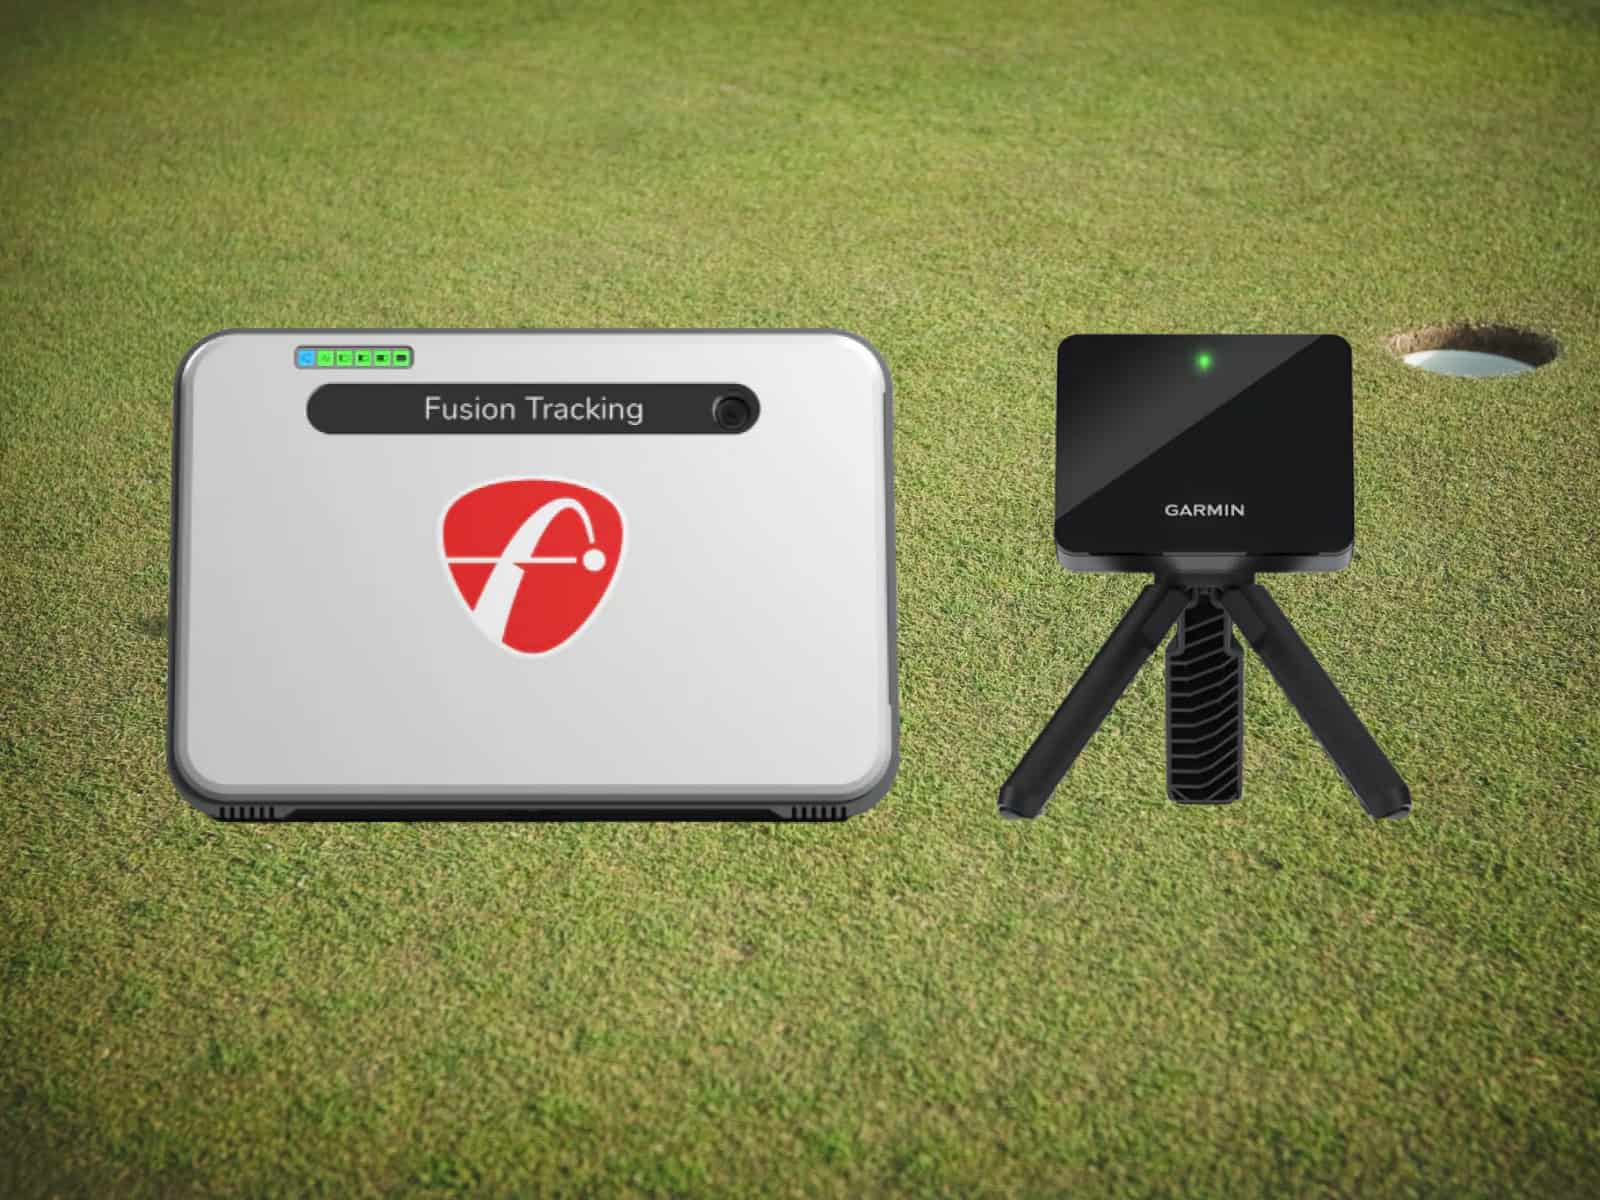
Modern simulators rely on two main tracking methods. Photometric systems use high-speed cameras to capture your swing and ball flight in milliseconds. Just like a speed camera catching highway speedsters, these cameras snap thousands of images per second. Radar-based systems, meanwhile, bounce microwave signals off your ball and club, much like how weather radar tracks storm patterns.
Each swing generates enough data points to fill a spreadsheet. The software then processes these numbers, delivering instant feedback that can help you make the right decisions for game improvement.
While you’re focused on crushing that drive or sticking an approach shot, complex algorithms are working overtime. They transform raw data into useful information that helps shave strokes off your game. The real magic happens when all these components work together, creating an experience so real you might forget you’re indoors.
Pre-Built Golf Simulator Packages
Ready-to-play simulator packages take the guesswork out of setup and installation. These turnkey solutions come with everything you need to start swinging. Let’s break down what you get and what to expect when choosing a pre-built system.
What’s Typically Included
The box arrives at your door with all the essentials. You’ll find a launch monitor, impact screen, mounting hardware, side barriers, and a hitting mat. Premium packages include a gaming PC or tablet loaded with simulation software. Some manufacturers throw in extras like protective foam panels or side netting.
Popular Manufacturers and Models
SkyTrak and Foresight lead the entry-level market with reliable packages starting at $10,000. Mid-range options from Uneekor and FlightScope dominate the $15,000-$25,000 bracket. TrackMan and Foresight’s GCHawk reign supreme in the premium segment, commanding prices north of $30,000.
Price Range Analysis
Entry-level packages hover around $7,000-$12,000. These systems nail the basics but might skip premium features. Mid-range setups ($15,000-$25,000) offer better accuracy and more course options.
High-end packages ($30,000+) deliver tour-level precision and graphics that blur the line between simulation and reality.
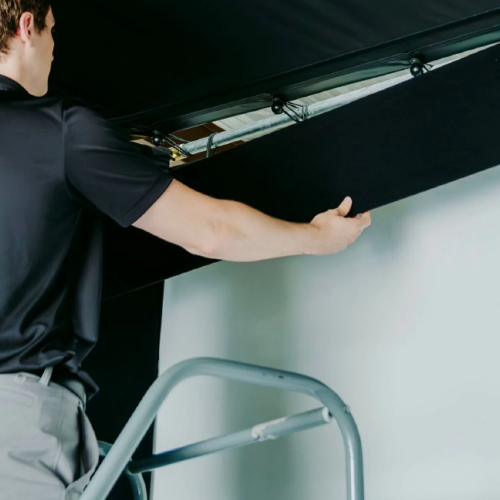
Installation Process and Timeline
Most manufacturers design their packages for DIY installation. You’ll spend about 4-6 hours mounting the impact screen, setting up the projector and connecting components. The software setup takes another hour. Many brands offer remote support during installation. Professional installation services cost extra but guarantee proper alignment and calibration.
The beauty of pre-built packages lies in their plug-and-play nature. Every component works together out of the box. No compatibility issues, no missing parts, no surprises. But remember – convenience comes at a premium. These packages often cost more than buying components separately, and you’re locked into the manufacturer’s ecosystem.
Custom Golf Simulator Builds
Building your own simulator is like assembling a high-performance sports car from parts. The process demands attention to detail and research, but the payoff can be substantial. You control every aspect of the build, from component selection to final tuning.
Essential Components to Source

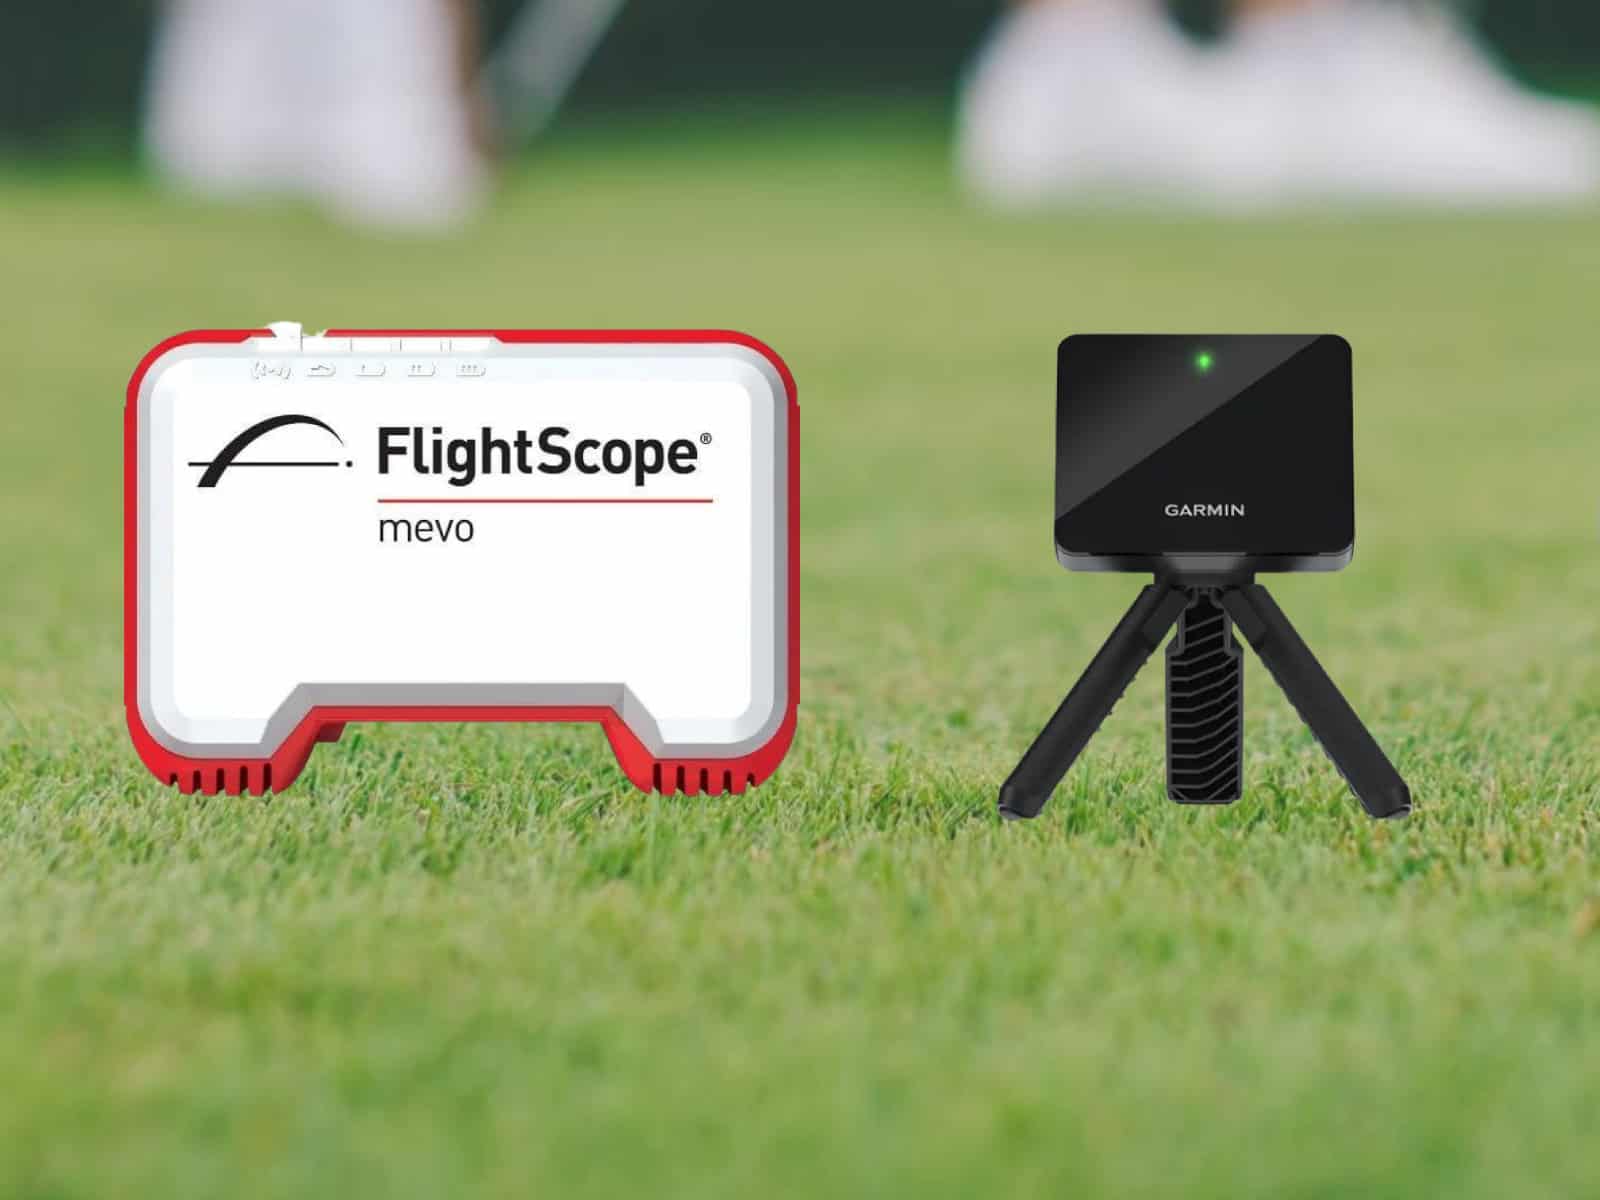
Start with the launch monitor – the brain of your system. Top picks include the SkyTrak, Mevo+ or GC3, depending on your budget. You might use our guide on launch monitors to make your choice.
The impact screen needs careful consideration – opt for materials rated for golf ball impacts at 200 mph. Choose a short-throw projector to maximize space efficiency; again, you can check our guide on golf sim projectors.
Your hitting mat should balance durability with feel – cheap mats can cause joint stress and misleading feedback. We suggest going through our selection of hitting mats before finalizing your choice.
Space Planning and Design Considerations
Your simulator room needs thoughtful planning. Map out the hitting area with masking tape before buying components. Side barriers protect walls from mishits. Sound-dampening panels keep peace with neighbors.
Consider ventilation, too – you’ll generate heat during those marathon practice sessions. Cable management keeps everything tidy and prevents tripping hazards.
Cost Breakdown by Component
Here are approximate price ranges for every component of your DIY sim package:
- Launch monitors range from $2,000 to over $20,000.
- Quality impact screens cost $500-2,500.
- Short-throw projectors run $1,000-4,500.
- Premium hitting mats start at $500.
- Add mounting hardware, side barriers and a hitting enclosure for another $1,500-5,000.
- Software licenses vary – expect $500-1,000 annually.
The total cost typically lands between $6,000 and $35,000.
Required Technical Knowledge
You’ll need basic DIY skills to mount the impact screen and projector. Understanding video input/output helps with display setup.
In addition, basic networking knowledge aids with the software configuration. Most components connect via USB or HDMI. The trickiest part? Fine-tuning projector alignment and launch monitor placement for accurate ball tracking.
The real challenge lies in component compatibility. Not every launch monitor works with all software packages. Some projectors struggle with simulator software. But once you nail the setup, you’ll know your system inside and out. That knowledge proves invaluable when upgrades or troubleshooting become necessary.
Direct Comparison Analysis
Money talks, but value whispers. When comparing pre-built packages against custom builds, the differences go far beyond the price tag. Here are the key factors that impact your long-term satisfaction and investment.
Initial Investment
Pre-built packages hit your wallet harder upfront. You pay a premium of 15-30% over comparable custom builds. But custom builds demand time investment for research and assembly. Factor in shipping costs too – pre-built packages often include freight, while custom components ship separately.
Long-term Value
Custom builds shine in long-term value. You replace individual components as needed, rather than updating entire systems. Pre-built packages might force complete upgrades when one part fails. Think of it like owning a car – replacing a timing belt beats buying a new vehicle.
Customization Options
Pre-built packages lock you into manufacturer ecosystems. Custom builds let you mix and match components. You might start with a basic launch monitor and upgrade to a premium model later. Your simulator grows with your skills and budget.
Technical Support and Warranty
Pre-built packages win the support game. One phone number handles all issues. Custom builds mean dealing with multiple vendors. But warranties tell a different story. Pre-built warranties cover complete systems for 1-2 years. Custom components often carry longer individual warranties, some extending to 5 years.
Upgrade Potential
Here’s where custom builds dominate. You upgrade piece by piece, spreading costs over time. New technology hits the market? Swap in the latest components. Pre-built packages often require complete system upgrades. Want that new launch monitor? You might need to replace perfectly good components too.
Space Requirements and Considerations
Your perfect simulator setup needs the right space to shine. Room dimensions make or break your virtual experience, regardless of whether you choose pre-built or custom. Let’s tackle the spatial puzzle pieces that determine your setup success.
Minimum Room Dimensions
Width rules your shot options. You need 12 feet minimum for a comfortable stance and swing path. Depth requirements start at 15 feet – that covers your hitting position plus screen distance. Want to swing your driver? Add two feet to your ceiling calculations for every six feet of distance from the tee to the screen.
Ceiling Height Requirements
Standard drivers need 10 feet of ceiling clearance. Taller golfers might need 11 feet. Basement posts and light fixtures become hazards with insufficient height, and drop ceilings take a beating from mishit balls.
Raised platforms eat into your height allowance – so remember to subtract their height from your total clearance.
If you want, you can use our guide on Golf Sim Room size to learn everything you need to about the topic.
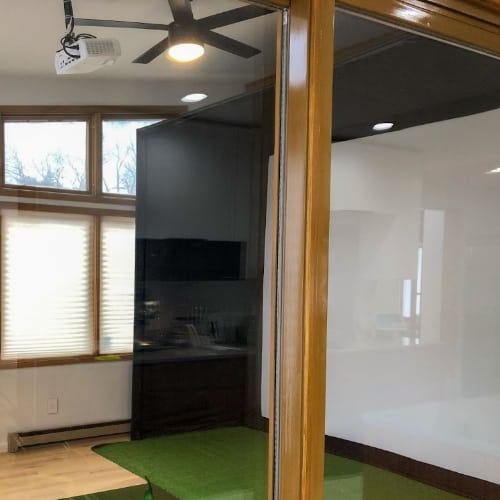
Lighting and Environmental Factors
Direct light washes out your screen image, so track the sun’s path through your space. Windows need blackout solutions like side curtains. Regular room lighting needs strategic placement to avoid screen glare and launch monitor interference.
Temperature control matters more than most realize. Electronics generate heat, and your vigorous practice sessions add more. Poor ventilation turns your simulator room into a sauna.
Moreover, you should bear in mind that HVAC placement affects ball flight and tracking accuracy. Cool air blowing across your hitting area might disrupt your launch monitor readings.
The space around your simulator deserves attention too. Where will you store your clubs? You’ll need room for seating when friends drop by for a virtual round. And don’t forget about your sound system – your midnight practice sessions shouldn’t wake the neighborhood.
Performance and Accuracy Comparison
The difference between a great simulator and a frustrating one often comes down to accuracy. Both pre-built and custom setups can deliver good precision, but their paths to perfection differ.
Tracking Technology Differences
Launch monitors split into two camps: radar and camera-based systems. Radar units like TrackMan excel outdoors but might struggle in tight spaces. Camera systems shine indoors but need proper lighting.
Pre-built packages often limit your tracking options, while custom builds let you match the technology to your space.
Software Compatibility
Pre-built systems come with dedicated software that works right away. Custom builds, on the other hand, open doors to multiple software options.
GSPro and Creative Golf 3D offer budget-friendly alternatives to TGC 2019 and E6 Connect. GSPro brings photorealistic courses but demands more processing power. You must match your software to your launch system’s capabilities.
Making the Right Choice
Standing in front of two paths to your dream simulator can feel like choosing between a luxury car and a custom hot rod. Both will get you where you want to go, but the journey differs.
Budget Considerations

Pre-built packages start at $7,000 for basic setups, climbing to $15,000-35,000 for feature-rich systems. Custom builds offer a lower entry point of around $5,000, though premium components can push costs higher.
Think about it like buying a house – you can pay cash upfront or spread the cost over time. Many manufacturers offer payment plans, while custom builds let you space out purchases as your budget allows.
Technical Expertise Required
Some golfers love tinkering under the hood, while others just want to turn the key and drive. Pre-built packages cater to the plug-and-play crowd – think iPhone simplicity.
Custom builds need more hands-on involvement, like building your own gaming PC. You’ll mount screens, align projectors and configure software. But here’s the good news: most component manufacturers provide detailed guides that would make Lego instructions look complicated.
Time Investment
Pre-built packages get you swinging in 4-6 hours, about the time it takes to play 18 holes. Custom builds demand 15-20 hours for research, ordering, and setup.
Space Limitations
Your room dimensions act like course boundaries – play within them or face penalties. Tight spaces might rule out certain components, while low ceilings could also eliminate some screen setups.
Pre-built packages come in standard sizes, like off-the-rack clubs, while custom builds adapt to your space like a fitted suit.
Mix and match might be your secret weapon. Start with a pre-built core system but add custom touches. Or build custom but use pre-configured software. Your simulator should grow with your game, just like your golf skills evolve over time. The perfect setup isn’t about choosing sides – it’s about finding what works for your game, your space, and your lifestyle.
Frequently Asked Questions
Let’s tackle the burning questions that keep popping up in golf simulator discussions. These answers might just save you from common pitfalls and help fine-tune your decision.
What’s the typical cost difference between pre-built and custom simulators?
Pre-built packages run 15-30% higher than equivalent custom builds. A $10,000 custom setup might cost $13,000-15,000 as a pre-built package. The premium covers convenience and single-vendor support.
Can I upgrade a pre-built package later?
Yes and no. Most pre-built packages allow software upgrades and minor hardware tweaks. Major components like launch monitors often require complete system replacement. Think of it like a smartphone – you can add a case but can’t upgrade the processor.
Do I need professional installation for either option?
Pre-built packages often work fine with DIY installation. Some manufacturers offer optional pro installation for additional fees ($2,000 to $4,500). Custom builds benefit from professional help with screen mounting and projector alignment, especially if you’re not handy with tools.
Which option provides better accuracy?
Both can achieve similar accuracy levels – it depends on component quality, not package type. A $7,000 custom build with a premium launch monitor might outperform a $10,000 pre-built package with basic tracking technology.
How long does each setup method typically take?
Pre-built systems go from box to first swing in 4-6 hours. Custom builds need 15-20 hours spread across several days. Add 1-2 weeks for component shipping and coordination with installers if needed.
What are the most common issues with each approach?
Pre-built packages sometimes face compatibility issues during software updates. Custom builds might struggle with component integration or require occasional recalibration. However, most issues stem from rushed setup rather than system limitations.
Final Thoughts
Your perfect simulator awaits, shaped by your unique needs and circumstances. Pre-built packages shine for golfers who value simplicity and immediate gratification. These turnkey solutions get you swinging faster, backed by comprehensive support. The premium price buys peace of mind and proven compatibility.
For the handy and budget-conscious golfer, building a golf simulator in the basement can be an exciting and fulfilling project.
Custom builds reward the patient and detail-oriented player. The journey demands more effort but offers greater control and potential savings. Like working with a club fitter to dial in your perfect set, custom simulators match every component to your specific requirements.
The choice often boils down to your comfort with technology and available time. Occasional players might prefer the simplicity of pre-built systems, while dedicated enthusiasts could find the customization process as rewarding as breaking 80 for the first time.
Whether you opt for a pre-built package or a custom build, it’s essential to consider your budget. If you’re looking to save money without compromising on quality, exploring the market for a used home golf simulator can be a smart choice.
Neither choice locks you into a permanent path – your simulator should grow with your game, adapting to new technologies and changing needs.
Thanks for reading!