Basement Golf Simulators are fantastic because you can turn the space into your perfect hiding place! There are also lighting and sound benefits to consider. However, the cons include problems with room dimensions, electrics, damp, cold, and mold, so these should be kept in mind.
Our guide on how to build a golf simulator in your basement examines specific problems and advantages of using your basement for a golf simulator.
If you’re looking for the easiest way to get started without the hassle of DIY setups, we’ve meticulously reviewed and compared various pre-built options for the basement here. This ensures you can quickly find the perfect off-the-shelf setup to suit your specific needs and budget, allowing you to start enjoying your basement golf simulator without any DIY complexities.
Choosing the Right Location
Selecting the optimal space is one of the most important decisions when planning a home golf simulator build. The basement offers unique advantages as the ideal spot to construct your private virtual golf facility.
Basement as an Ideal Spot
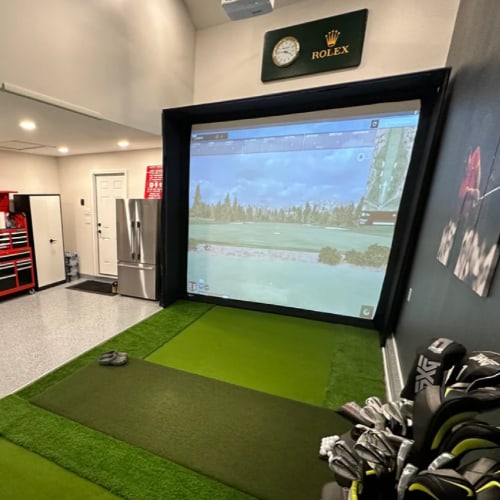
The controlled temperature of a basement is perfect for sensitive electronics like launch monitors and projectors. Minimal humidity fluctuation is also preferred.
With no windows or outside visibility, the basement offers complete privacy for undistracted practice sessions. Sound is also contained.
As an unfinished space, the basement also provides the flexibility for structural changes to accommodate the simulator enclosure. Running cables and wires is also simplified without drywall obstacles.
Space Requirements
The full swing enclosure dimensions vary based on the simulator type. For single-golfer setups allowing free movement, 10′ x 12′ is the minimum recommended size. Larger multi-golfer configurations may require 20′ x 25′ feet or more.
Accounting for a complete swing radius based on ceiling height is critical so you do not hit walls mid-swing. An 8-foot minimum height is recommended; higher is preferred (in the range of 9-10 feet).
If your basement ceiling height is not enough (under 8′), you can still hire a contractor to perform “floor lowering”; this allows the floor to be a bit lower, which translates into more space between the ceiling and the floor. This, however, will cost extra and raise the initial investment, so be prepared for it.
Moreover, mapping unobstructed sight lines from the hitting area to the screen is vital for proper ball visualization.
Evaluating the Layout
Locating water pipes, HVAC ducts and other utilities during planning prevents surprises when constructing. Try to allow space for a computer desk, additional hitting mats/nets and other auxiliary simulator components.
An open layout with few existing walls is ideal for flexibility in positioning the enclosure and screen.
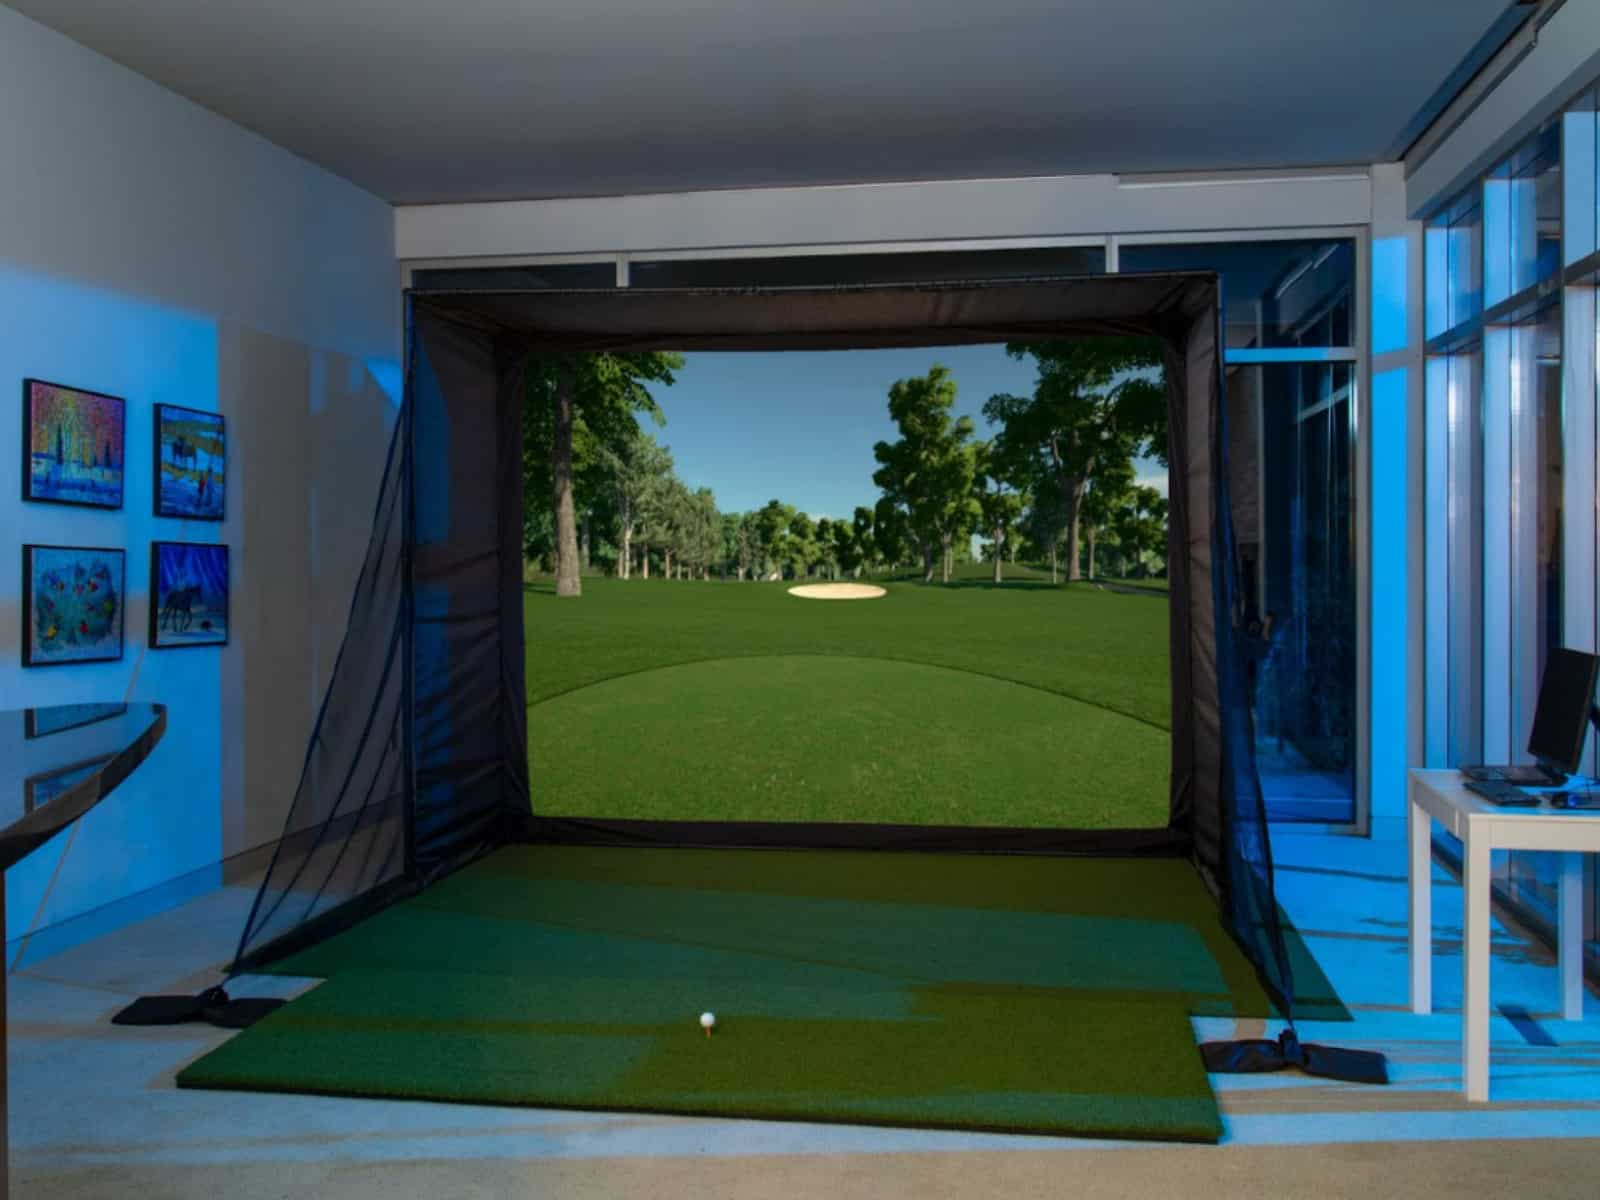
Selecting the Enclosure & Flooring
Constructing the physical structure to house the golf simulator requires using specialized materials able to withstand regular ball strikes. The enclosure framing, walls, lighting as well as flooring necessitate careful selection suited for simulator use.
Materials for Walls & Ceiling
The interior framework can use typical wood or metal studs, but exterior facing walls/ceiling should employ ultra high impact panels rated for safety upon ball contact.
Composite wood or plastic panels also help protect the structure, and installing LED lighting fixtures is also important.
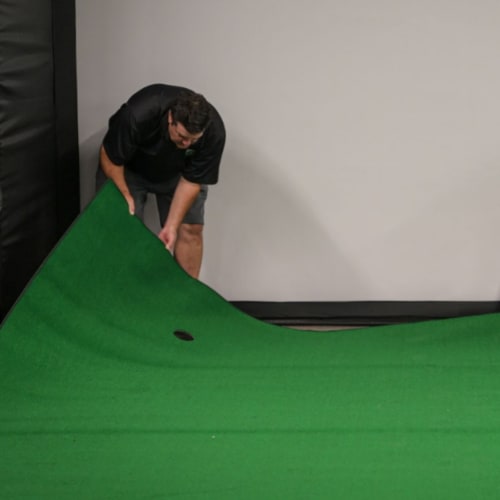
Specialized Flooring Options
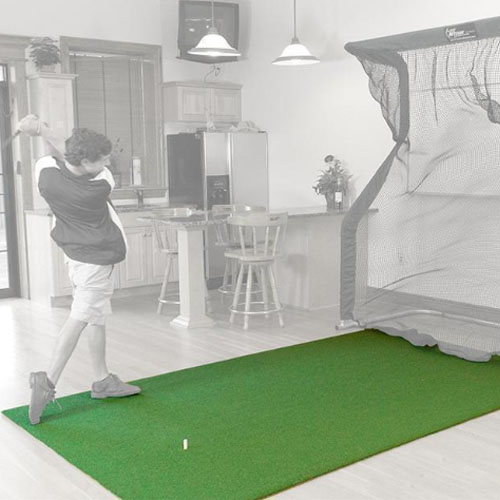
The floor is subject to the most wear from swinging, so using simulator-specific materials is ideal. Having an artificial turf hitting area provides an authentic feel, integrated ball return capabilities, and durability.
Advanced foam and rubber mats are another great option. These can be easily replaced after wear and tear as needed. Learn more about how to build a golf simulator for different flooring options.
Ventilation & Humidity Control
Proper temperature regulation and dehumidification protect sensitive electronics like the launch monitor, projector, and computer over time.
A dedicated dehumidifier and HVAC zone control maintain optimal humidity below 50-60% year-round. You may also get a dual splitter or even a portable AC unit to control heat, cold and humidity levels.
Choosing a Launch Monitor
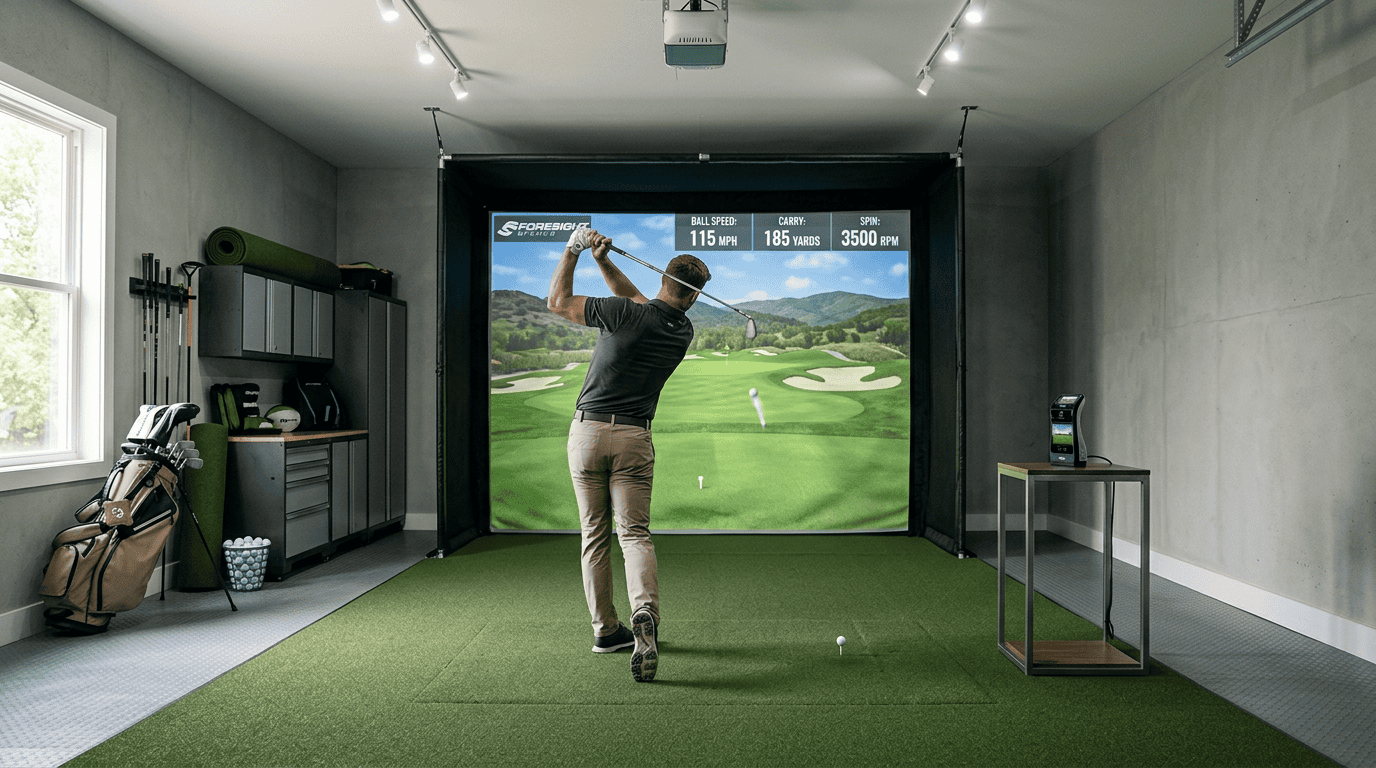
The launch monitor is the high-tech centerpiece of any home golf simulator, analyzing each shot’s detailed ball and club data to render a virtual result. Selecting the right model is critical for accurate performance.
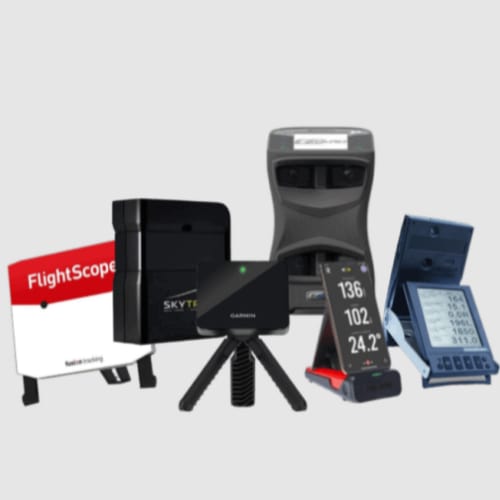
Launch Monitor Technology
Doppler radar systems transmit radio waves to precisely track club and ball metrics like speed, launch angle and direction. High-speed camera systems use advanced imaging sensors to track the ball and club metrics.
These two types of tracking technologies are highly accurate and more expensive. Doppler radar is more accurate outdoors, while photometric systems shine indoors and are more accurate than radar.
Infrared options use light beams to trace ball flight details; they are usable exclusively indoors. Also, they are more affordable than the other types but are slightly less accurate.
Additional Launch Monitor Features
Make sure the launch monitor you choose includes the features you prefer. For instance, auto ball and club recognition detects which club is used and tracks each successive shot without calibration. Just swing and the monitor starts tracking immediately.
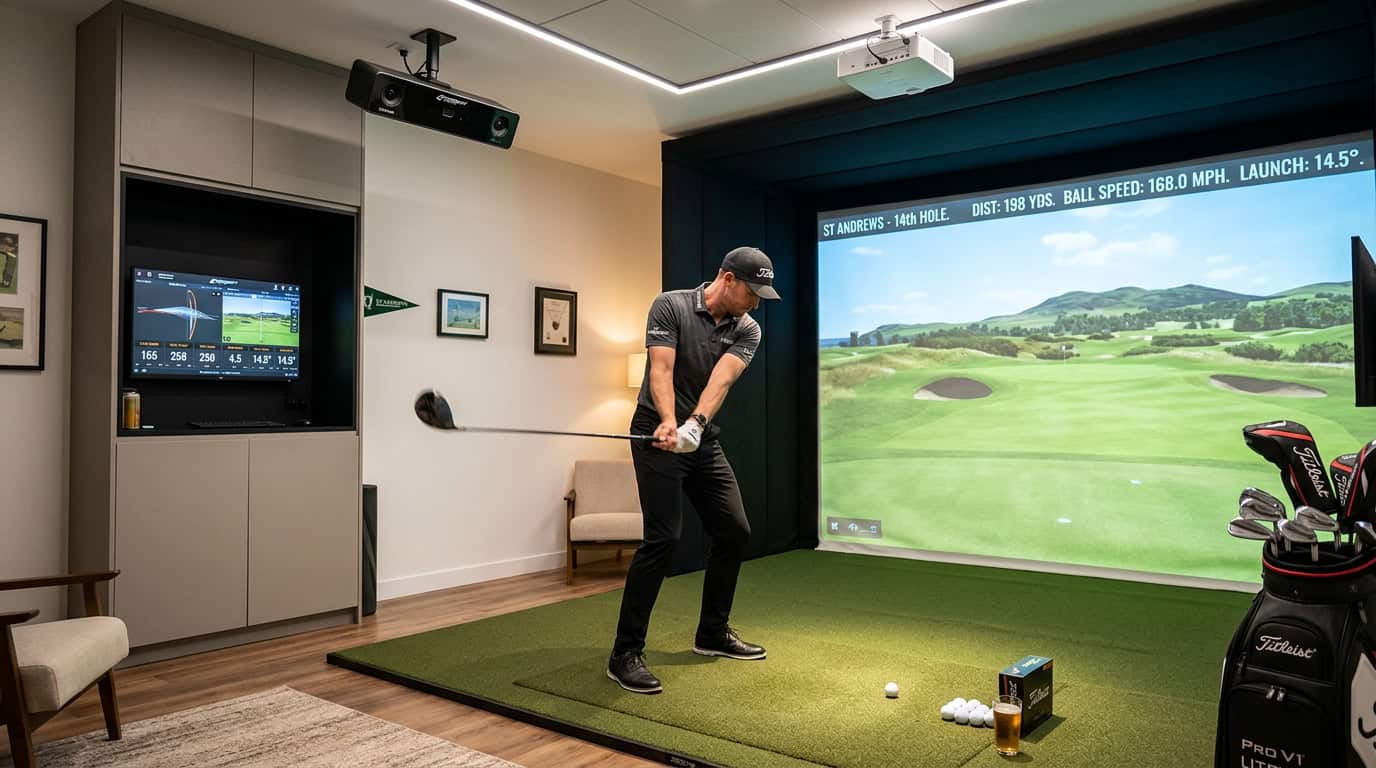
Moreover, detailed swing analysis charts help identify areas to improve impact performance through metrics like club face angle, path direction, etc.
Also, seamless integration with your simulator software to apply shot data into the virtual course result is important to check. Make sure the monitor and software are compatible.
Budgeting For Launch Monitors

Entry-level launch monitors start around $2,000-$3,000 offering decent accuracy and feedback. Mid-range units run $4,000-$7,000 providing enhanced metrics.
High-end models utilize the most advanced technology like dual cameras and dual radar or a mix of various technologies, enhancing precision but costing $15,000+.
Ongoing software licensing, upgrades and technical support average a few hundred dollars annually, so keep them in mind, too.
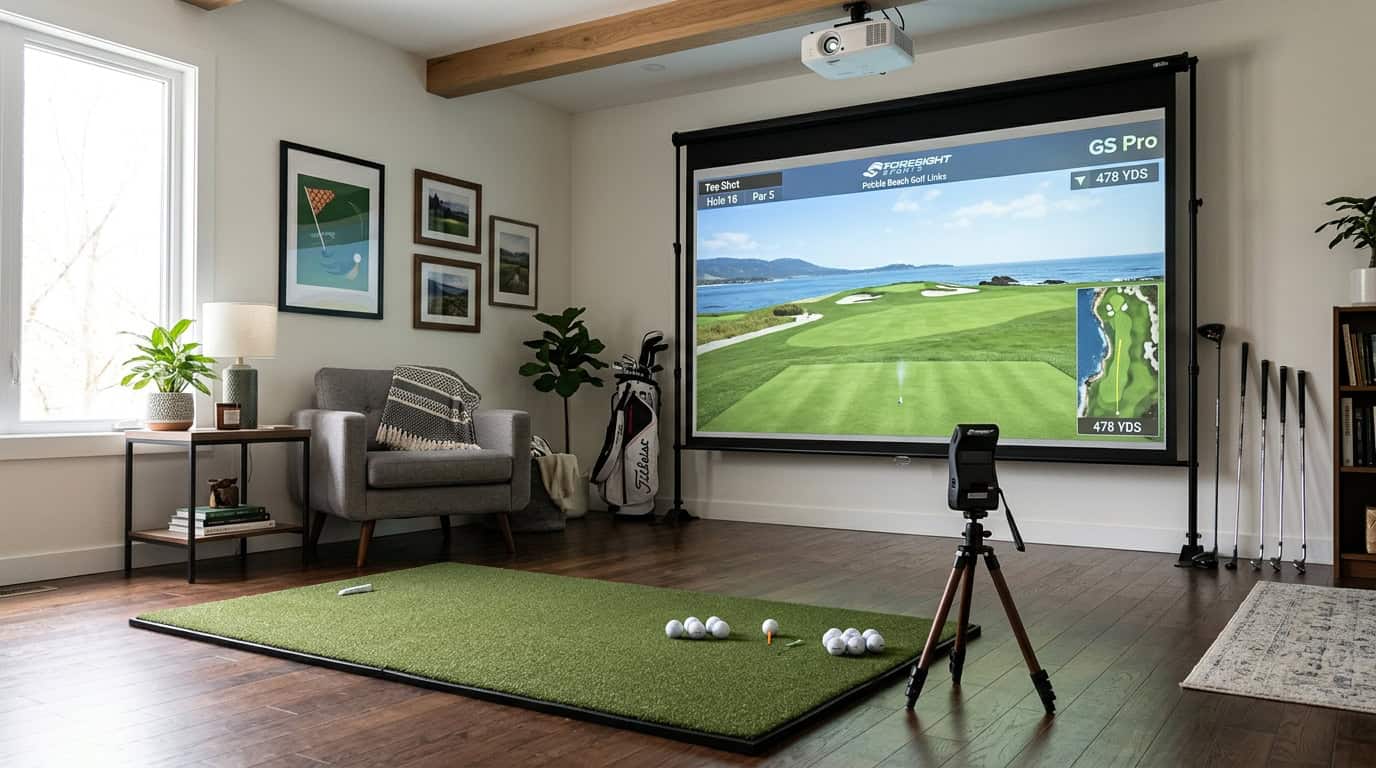
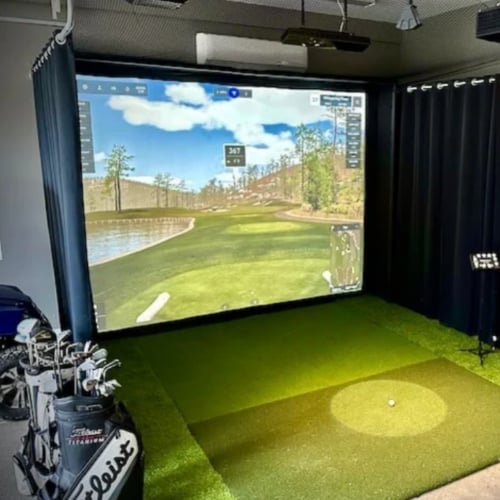
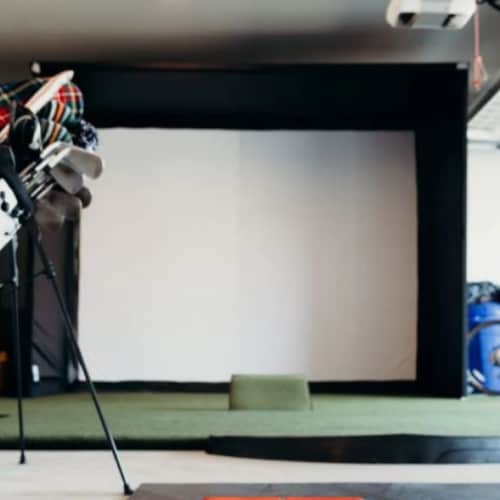
Selecting a Golf Simulator Screen
The simulator screen is where the virtual course and results come to life through high-definition visuals. Choosing an adequate display matched to the available space optimizes realism and accuracy.
Projector-based configurations use HD short-throw projectors to cast imagery onto impact-resistant screens from a few feet away, depending on the enclosure size. The durability of the screen materials for ball strikes and lighting considerations is also important.
Visual Accuracy Needs
High-definition resolution matching the launch monitor and computer capabilities is vital – 1080p up to 4K. Make sure your computer and projector can run the simulation graphics at your desired resolution.
Also, accounting for screen size, dimensions, and image brightness balances realism within your set budget.
Budgeting for Simulator Screens
Projector and screen packages run $3,000-$6,000+ for HD models allowing 10+ feet of width. Short-throw projectors are more expensive than regular-throw units.
Image quality, size, lighting dynamics, platform compatibility, and budget determine the ideal display selection. Qualified installation is also key in providing the best results possible.
Completing the Build
Once the physical enclosure, flooring, launch monitor, screen, and other major components are installed, finishing touches like additional electronics, safety protections, and usage guidelines complete the simulator.
Installation Logistics
Structural modifications to support wiring/cabling, ventilation needs or weight loads require planning with contractors to uphold integrity.
Low-voltage power sources should power screens, launch monitors, and other devices. Lighting circuits may also be necessary. Use conduits/raceways to neatly run cables along the framework.
Configuring all equipment, like the computer, launch monitor, lighting, etc., requires careful positioning and cable management for functionality.
Finally, Enhancing immersion with surround speakers and subwoofers boosts realism during play.
Safety Considerations
Protecting launch monitors, screens and other electronics from stray balls using shielding/padding materials around the bays is a must. These will prevent balls from ricocheting and causing damage and/or injury.
Install padding on the walls and framework corners, and post warning markers indicating club swinging areas to avoid accidents.
In addition, try to secure loose cabling from foot traffic and double-check connections to prevent tripping hazards.
Maximizing the Simulator Experience
Optimizing the setup and capabilities of your golf simulator enhances enjoyment through accurate analysis, engaging variety and overall quality. Calibrating key components and utilizing tools maximizes its potential.
Fine Tuning Components
Regularly calibrate the launch monitor according to usage volume for optimal precision in shot data. Follow the guide steps (provided by the manufacturer) to recalibrate as needed.
Adjust display settings like brightness, contrast, black levels, and colors for proper visualization – employ calibration test patterns.
Set the simulator software preferences to match your skill level and play style. Toggle advanced settings as improvement progresses like automatic parsing of shot data.
Swing Analysis

Many platforms integrate lessons and practice modes analyzing swing mechanics through high-speed video, captured metrics and feedback.
Record swing video from multiple angles to identify improvement areas – use tripods, video bays or self-capture options. Later on, replay the videos in slow motion for analysis and comparison.
Variety of Play
Leading simulator software offers comprehensive course options, entertainment modes and tournament capabilities. For example, multiplayer simulator play with friends and family via games, events and virtual tournaments keeps the experience more exciting while helping develop skills.
For a deeper look at optimizing driver fairway wood performance golf, check out our dedicated guide.
For a deeper look at golf simulator upgrade path, check out our dedicated guide.
Operating & Maintenance
Preserving the full life and functionality of high-performance simulator equipment requires diligent care and upkeep. From usage policies and cleaning to system updates and budgeting for repairs or replacements, ongoing maintenance is key.
Equipment Care
Follow the manufacturer’s cleaning guidelines for launch monitors, screens and other electronics using appropriate methods and non-abrasive materials that won’t scratch.
Use protective pads/covers on sensitive components when not in use, and store hitting mats properly when not deployed to extend longevity.
Software Upgrades & Fixes
Renew launch monitor licensing and simulator software subscriptions when due for continual compatibility and features.
Learn diagnostic techniques and basic troubleshooting to resolve any error messages or calibration issues before needing repair calls.

Budget for eventual replacement costs of worn parts like turf, screens or launch monitors approximate to equipment life cycles. Shop warranty options during the initial purchase to defray costs. Following preventative operating and maintenance procedures maximizes the simulator’s lifespan and preserves optimal performance.
Final Thoughts
Building a golf simulator in the basement is a great way of making good use of a part of the house that is usually neglected. The basement inherently offers many advantages, with its low-light environment, noise reduction capabilities, possibility to route cabling, etc.
However, that same space poses some serious challenges that you need to address so as to make the experience more comfortable. Integrating air conditioning and ventilation systems will help avoid things like excessive heat and cold, humidity and humidity-related issues like dampness and mold formation.
We hope our article managed to provide the important guidelines to start planning your basement golf simulator system. If you still have questions or comments, feel free to contact us.
Thanks for reading!