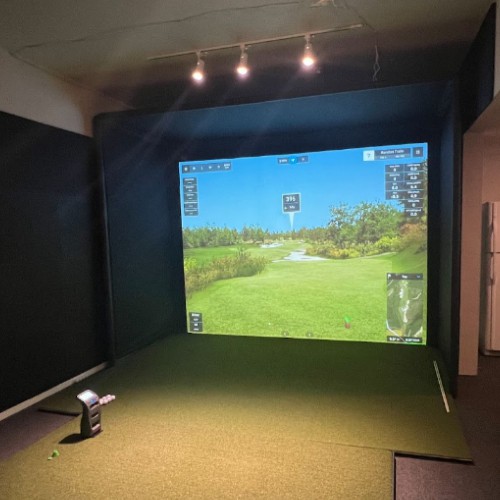
Proper lighting design is a crucial consideration when installing and optimizing a golf simulator. The lighting environment impacts essential performance attributes, including precision, playability, aesthetics, and overall experience.
Compared to outdoor golf facilities, simulators present unique lighting challenges since they are contained indoor spaces. Key factors like brightness, uniformity, color temperature, and glare need to be balanced for ideal conditions.
This detailed article will guide you through the process of adding adequate lighting to your virtual golf system. We will also answer some widely asked questions to ensure you are not missing anything.
Why Proper Lighting Matters for Golf Simulators
The lighting of a golf simulator bay has a significant influence on the realism, accuracy and enjoyment of the virtual golf experience. Without adequate illumination, it becomes difficult to accurately perceive ball flight, interpret course graphics, align shots and gauge distances. Glare can also cause visual distortion.
Optimized lighting promotes better hand-eye coordination, depth perception and visual focusing – elevating scoring precision closer to real on-course capabilities. Thoughtful lighting also enhances the setting with visual comfort and a stylish ambiance to complement the advanced simulator technology.
Key Considerations for Lighting Selection
There are several essential criteria to evaluate when specifying lighting for a simulator installation:
Brightness/Luminosity: Providing adequate light levels for visual clarity while avoiding excessive intensity that causes glare or eyestrain. Your best bet is to custom-tune intensity for room size.
Light Color/Temperature: Selecting appropriate Kelvin temperature for useful daylight replication, visual accuracy or stylized environments.
Uniformity: Promoting consistent illumination distribution to minimize hot spots, shadows and dark areas.
Glare Reduction: Limiting intensity from direct light sources and reflections to avoid visual interference.
Budget: Choosing cost-effective lighting solutions tailored for simulator functionality rather than excessive specifications beyond performance benefits.
Choosing the Right Brightness and Luminosity
Properly calibrating the brightness and light levels for a golf simulator space is vital for optimizing visual performance. This depends on the physical dimensions of the simulator bay or room as well as the luminosity capabilities of the selected lighting solution(s).
Recommended Luminosity Levels
General recommendations for appropriate light levels in a simulator range from 50-100 footcandles for adequate illumination without excessive intensity. However, the ideal luminosity can vary based on specific installation factors such as:
- Size of the simulator bay or room
- Ceiling height
- Lighting fixture luminance output
- Quantity of light sources
Larger spaces or higher ceilings may require higher lumen output lighting to reach the targeted light intensity at play areas. Brighter projector displays can also support lower ambient lighting levels.
Light Placement Guidelines
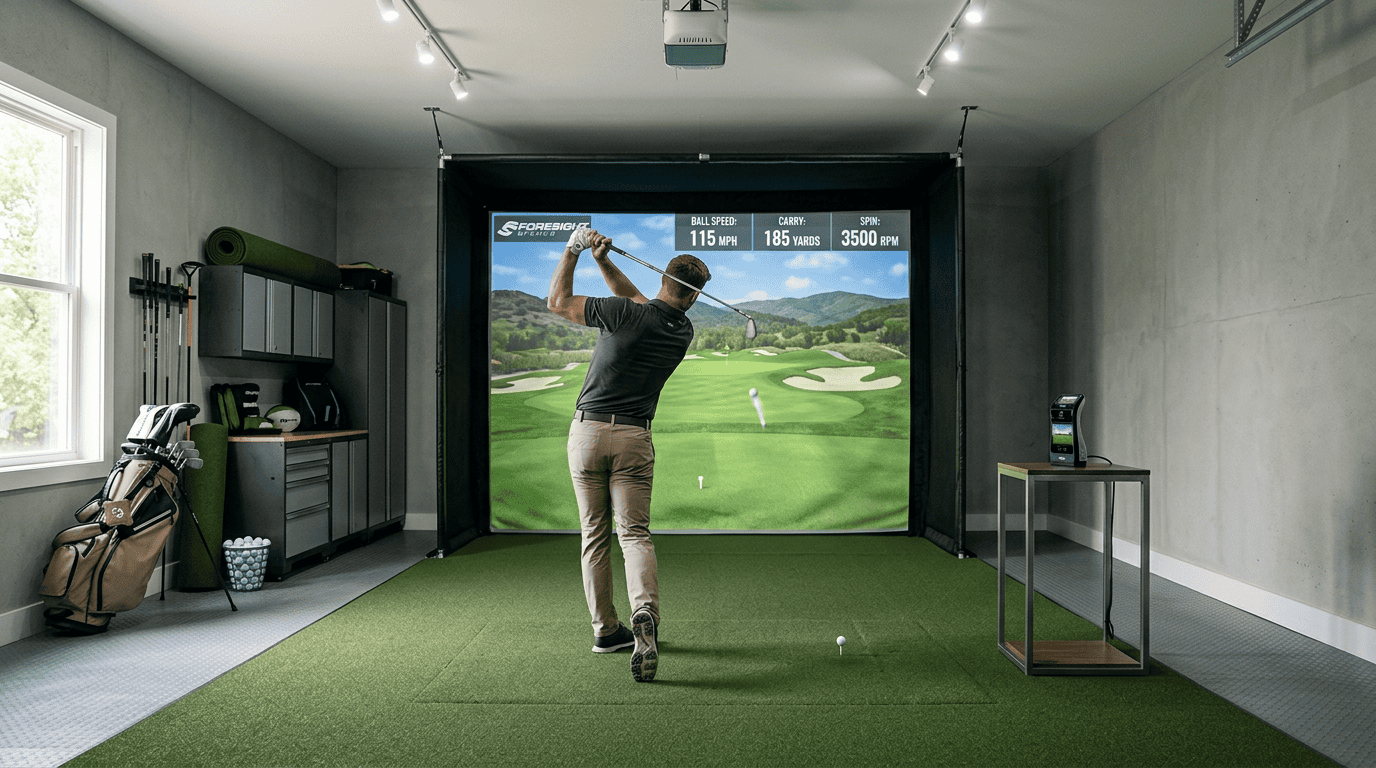
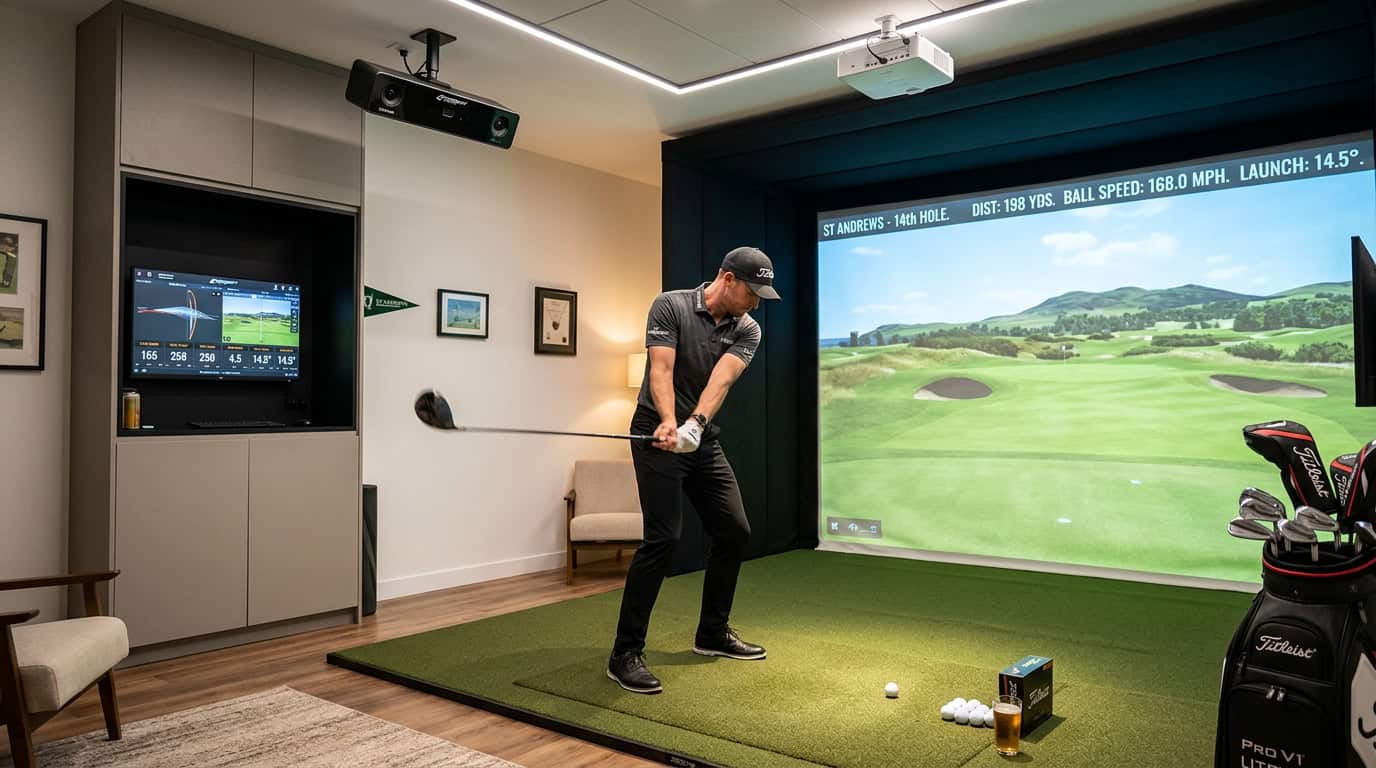
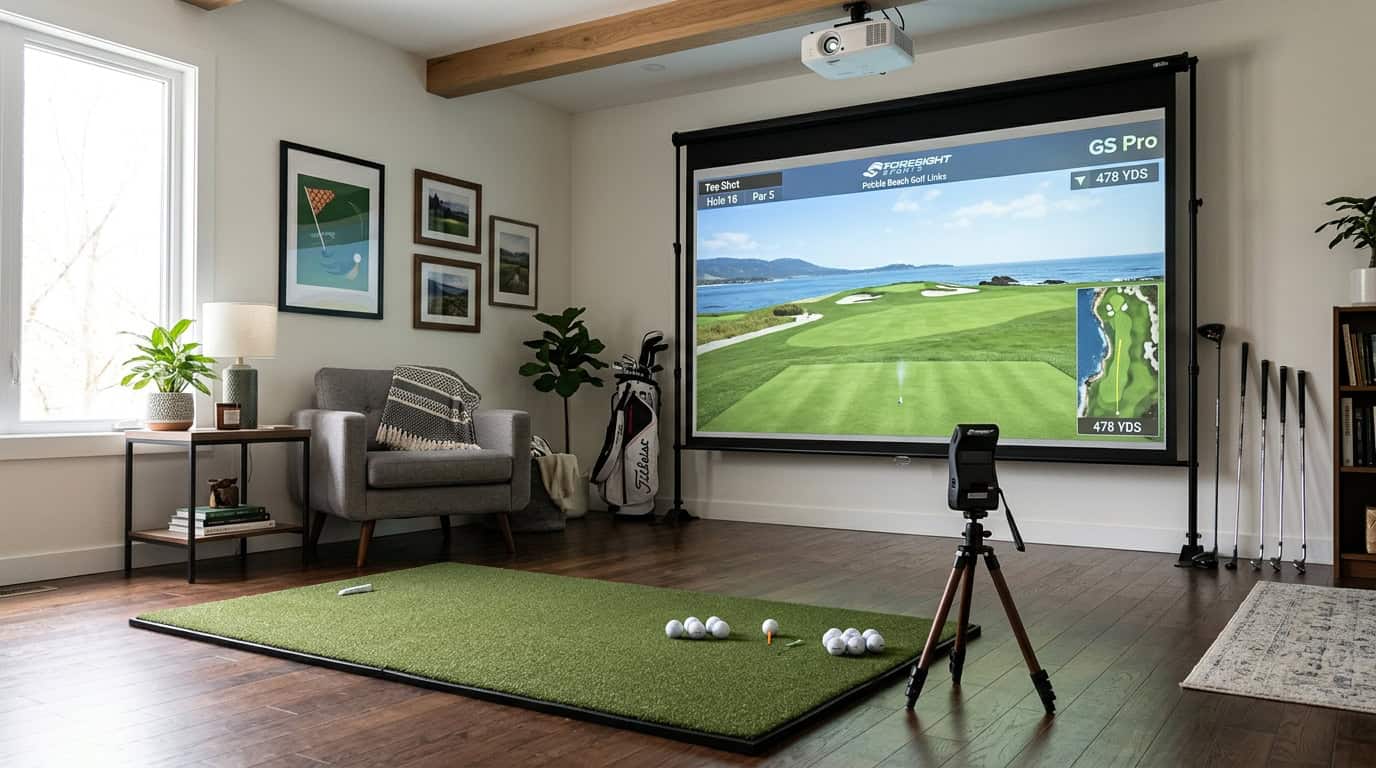
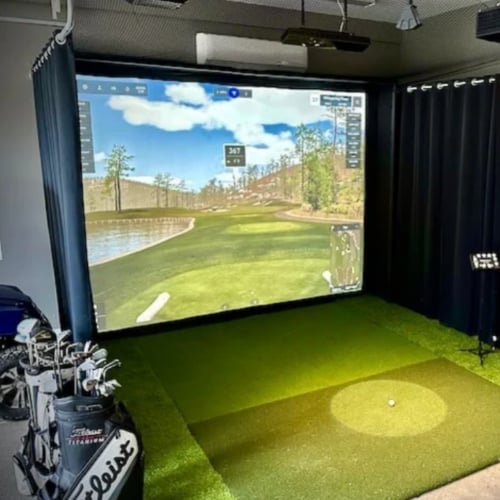
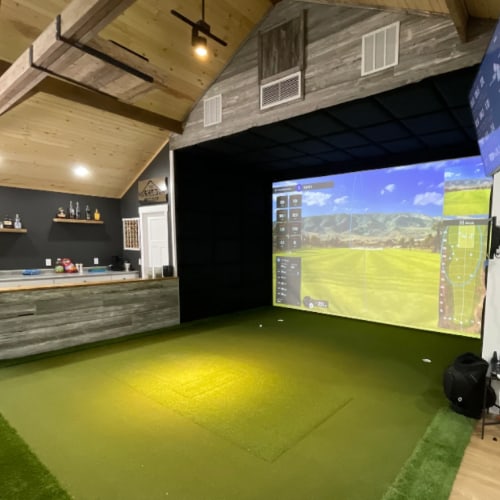
Strategic positioning of lighting equipment according to your simulator layout is crucial for uniformity. Overhead ceiling lights should illuminate walls, floors and hitting areas without interfering with ball-tracking cameras or casting distracting shadows.
Optimizing camera selection is equally important for capturing all the nuances of your swing. Fortunately, a wide range of golf simulator cameras are available to suit your needs and budget.
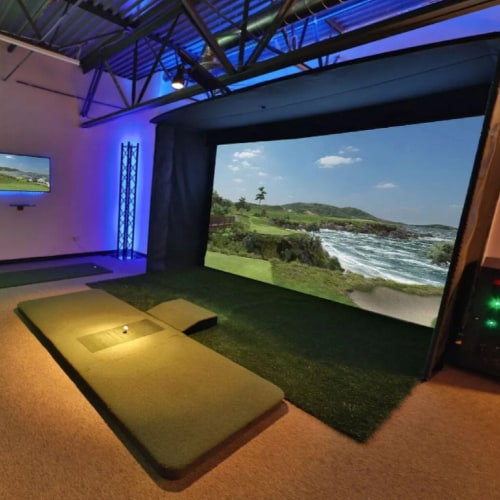
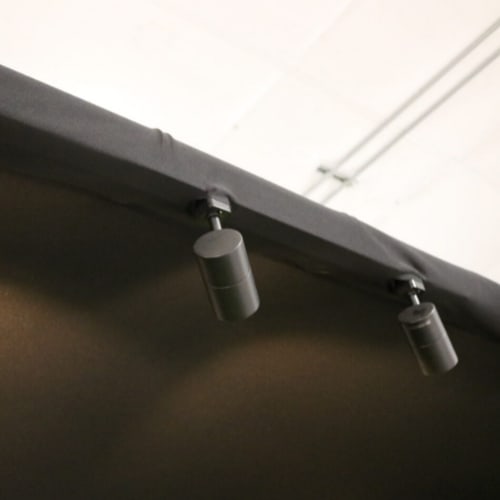
Wall sconces, floor lamps or ground recessed lights can supplement overall coverage and highlight aesthetic details. Light sources should be angled to reduce glare from direct eye contact with bulbs.
Supplemental Lighting Options
In addition to overhead and ground lighting, accent lighting can enhance specialized simulator bay features:
Backlighting – LED strip lighting behind the side walls and hitting screens can be used for silhouette emphasis without glare.
Cabinet Lighting – Low-voltage lighting illuminating equipment cabinets for visibility when accessing controls.
Task Lighting – Focused illumination for storage areas, ball dispensers or add-on amenities like putting greens.
Selecting Light Color and Temperature
In addition to having the proper luminance, choosing lights with the appropriate color temperature profoundly impacts the simulator environment and performance. The spectrum of light colors is measured on the Kelvin (K) temperature scale.
Color Temperature Scale Overview
The Kelvin scale designation relates to the visual warmness or coolness of a light source – ranging from yellowish warmth below 3500K to neutral white daylight in the middle around 5000K and to bluish tones over 6000K.
Lower color temperatures create a soft mood or incandescent lighting looks. Higher temperatures provide the most accurate color and detail rendition. There is no definitively “best” light color but 5000-6500K is generally preferred for simulator visibility.
Recommended Color Temperatures
Here are the recommended uses of different color temperature ranges:
5000-5500K: A balanced neutral white light temperature is ideal for simulator display and graphics clarity, depth perception and hand-eye coordination precision. This range replicates natural outdoor daylight conditions.
3500-4500K: Warm white light can provide an appealing visual ambiance and interior design aesthetics. It may be overly subdued for ideal simulator visibility, so combining it with brighter neutral white task lighting is recommended.
6000-6500K: Cooler daylight temperatures offer the highest visual acuity, but some may perceive it as harsh or sterile. This crisp colored light maximizes detail while minimizing eye strain.
Advanced Adjustability Options
Tunable white lighting allows you to customize or modulate color temperatures for multi-purpose simulator spaces.
Pre-set lighting scenes or dimmable controls to shift from warm to bright daylight with on-demand tapping expand creative options.
Achieving Lighting Uniformity
Uniformity refers to consistent illumination distribution without noticeable brightness variations or extremes (hot spots and dark zones) throughout the simulator space. Uniform lighting promotes proper depth perception, ball tracking and visual acuity for accurate shot analysis.
What is Uniform Lighting and Why It Matters?
Uniform lighting provides an evenly lit environment to permit good visibility in all locations rather than uneven distributions where certain areas are in shadows and others have glare from excessive intensity concentration.
Non-uniform lighting with fluctuations in brightness can strain the eyes as they constantly attempt to adjust while also causing distractions. Inconsistent illumination makes it hard to properly gauge distances or alignment.
Strategies for Consistent Coverage
Effective placement guidelines to improve uniformity include:
- Mounting overhead lights centered rather than perimeter-biased
- Combining multiple angled fixtures for crossed intensity
- Incorporating diffuse reflectors and frosted lens covers to scatter light
- Using light-controlling bay dividers and barriers
Proper aiming to reach all simulator surfaces is essential for balanced coverage. Strategic directional orientation, potentially complemented by accessory lighting, prevents uneven hot spots.
Supplemental Accent Lighting
Accent lighting can supplement the main illumination to selectively highlight specific areas and control contrast ratios for uniformity.
Wall-wash lighting presents uniform vertical surface brightness, while task lighting spotlights floors, equipment or amenities.
Minimizing Glare for Visual Accuracy
Glare occurs when excessive brightness from direct, unshielded light contact with the eyes causes visual discomfort and interference. Controlling glare is imperative for optimizing visibility and playability.
Causes and Effects of Glare
Glare typically results from unobstructed viewing of intense light-emitting surfaces of fixtures. Glare reduces visibility, causing difficulty in focusing properly on ball flights or displays. It strains eyes attempting to constantly adjust to extremes.
Reflective surfaces like glossy display screens, white walls or metallic elements can also redirect intense lighting into the eyes. This reflected glare disrupts visual concentration.
Anti-Glare Lighting Features
Certain adjustable attributes of lighting equipment aid glare reduction can be employed; try the following:
Dimmability – Tuning intensity levels downward for better comfort without under-illumination.
Directional Aiming – Preventing fixture optics from emitting laterally into normal viewing angles.
Glare Shielding Lenses – Using internal baffles, louvered covers and frosted lenses to diffuse output.
Auxiliary Glare Reduction Approaches
Additional room design choices also assist with resolving glare for more comfort and accuracy:
Blackout Shades – These eliminate incoming outdoor light and contain internal lighting inside the simulator.
Polarizing Filters – Display screen covers used to enhance the display clarity.
Matte Finishes – Flat, non-reflective surface paints, textiles and materials absorb and scatter light.
Frequently Asked Questions
In this section of our guide, we will address some common lighting-related questions that arise regarding golf simulator installation and optimization.
Where should the lighting be placed in the golf simulator?
The ideal configuration is overhead ambient lighting supplemented by directional spot lighting or adjustable wall sconces. Centered ceiling lights provide even area distribution while adjustable sides fill shadows as needed without glare. Additional ground recessed lights highlight the floor and equipment.
Does a golf simulator room need to be completely dark?
Complete darkness is not essential, but some light control is recommended. Blackout shades help avoid glare from exterior windows.
Some ambient lighting is preferred for safety and functionality when accessing simulator components and controls.
What is the best lighting type for an indoor golf simulator?
The best lighting type for an indoor golf simulator is full spectrum LED lighting with tunable color temperature functionality, which allows customization from warm, inviting mood lighting to the highest clarity, high-visibility, crisp white light calibrated specifically for simulator play and graphics.
How can lighting be adjusted for different simulator sports?
Tunable white LED systems allow instantly changing the light color and intensity to optimize visibility for the chosen simulator activity, whether golf, baseball, soccer, or even bowling and hockey variants.
Preset lighting “scenes” provide one-touch convenience.
Should special lighting be used for photography/video capture?
Extremely high output lighting, strategically placed for directional modeling and minimally affecting golfer visibility, can facilitate advanced media production.
This supplementary cinematic lighting complements the fully adjustable tunable and glare-minimizing simulator lighting.
Does the lighting need to cover the entire room evenly?
The hitting area and display wall require the greatest uniform illumination while surrounding spaces can utilize lower intensity, more stylistic accent types lighting cabinetry, storage areas, etc.
Transitions should be gradual, not extreme differences.
Can smart home systems control the lighting?
Absolutely – today’s state of the art golf simulation facilities integrate with home automation systems for voice activated, scheduled and app-based lighting controls of color, intensity and area zoning both for convenience and energy savings when not actively hitting balls.
Final Thoughts
Properly designed and installed lighting tailored for golf simulators has a profound impact on functionality, aesthetics and the overall experience. Attaining recommended illumination levels for visibility without glare based on room dimensions is key. Meanwhile, choosing appropriate Kelvin temperature lighting balances ideal visual performance, ambiance and multi-purpose flexibility.
Promoting consistent illumination distribution through fixture placement, aiming and diffusing minimizes extremes for uniform coverage. Preventing visual interference by controlling intensity, limiting reflections and diffusing output eliminates glare.
By working these lighting attributes for visibility, precision and comfort – golf simulators can closely replicate on-course technique practice and scoring. If you still have questions, please contact us.
Optimizing your golf simulator setup extends beyond lighting and physical components. Capturing the nuances of your swing is vital for effective feedback and performance analysis. Here, sophisticated swing tracking cameras come into play. For an in-depth exploration of swing tracking camera options, check out our in-depth guide to choosing golf simulator swing cameras.
For those who want to take the next step beyond lighting and into actual assembly, we have a comprehensive resource. Our guide on constructing your golf simulator setup covers everything from selecting the right equipment to detailed instructions for building your simulator.
Thanks for reading!