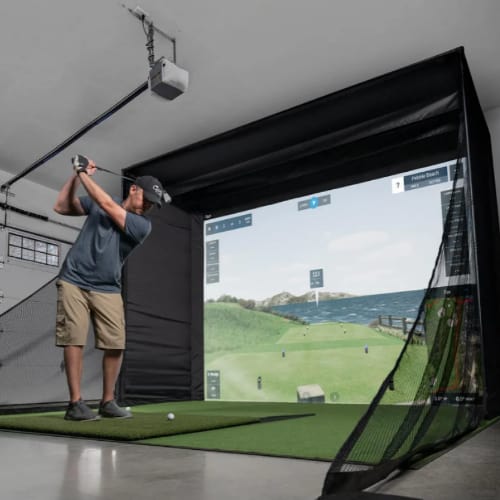
Have you ever wondered what it takes to build your own golf simulator at home? With so many options for launch monitors, screens, software, and enclosures, it can be incredibly confusing to decide which direction to take. The costs can also vary wildly depending on the setup.
In this comprehensive DIY golf simulator guide, we will break down everything you need to know before taking on such an ambitious project. We will answer the most common questions about constructing a simulator. You’ll also learn the key factors that impact overall pricing and functionality.
Overview of golf simulator components
The core pieces you need to build a functional DIY golf simulator are the following:
- Enclosure – Contains the swing area and screens. It can be a freestanding or permanent structure.
- Impact Screen – Specialized screen to catch and see ball impact.
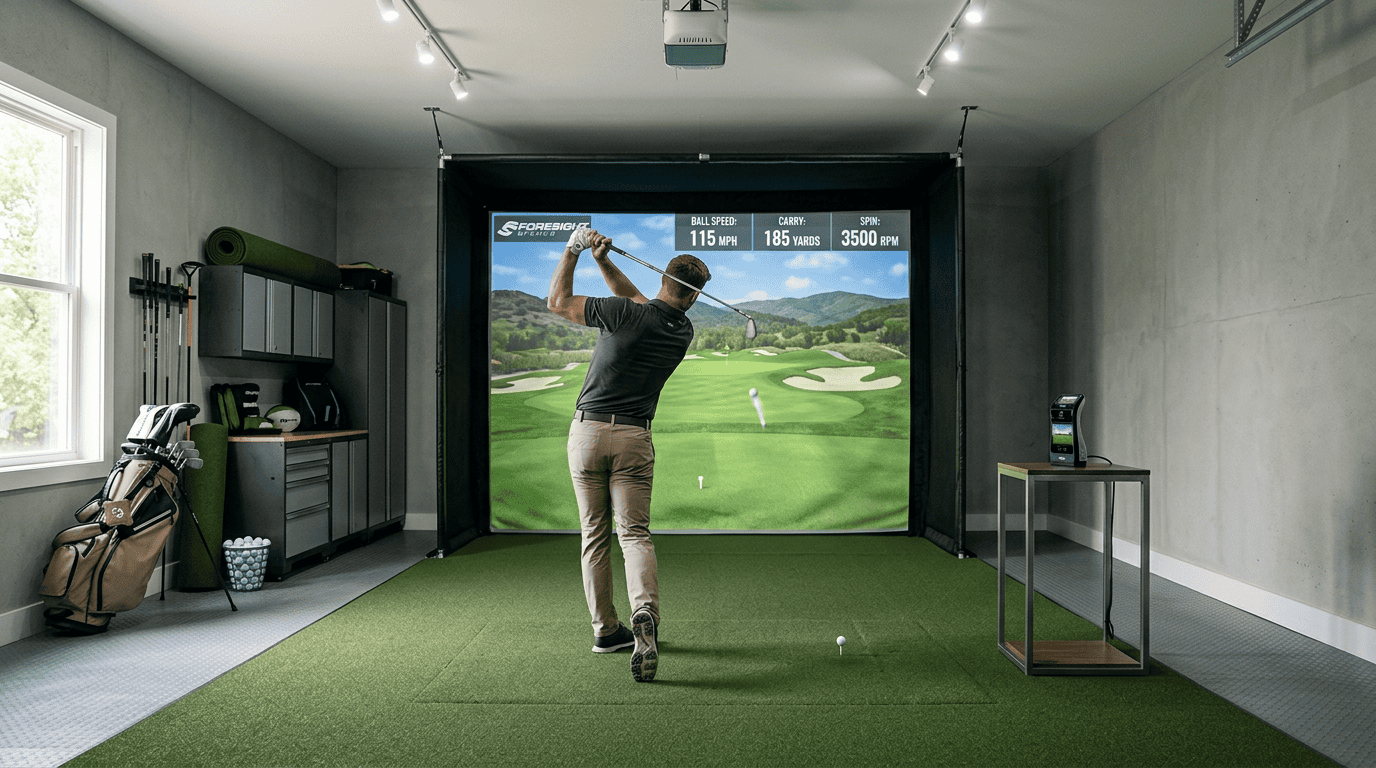
- Launch Monitor – Helps track crucial ball and club metrics.
- Golf Mat – Artificial hitting surface that helps make the feel more authentic.
- Projector – Displays the simulator software graphics and courses.
- Computer – Runs the simulator software and handles swing analytics.
- Simulator Software – Provides courses, physics, scoring, etc.
When these elements are configured together into an integrated system, you have a playable simulator able to analyze club/ball data and scores.
The Goal of This DIY Guide
The mission of this article is to provide a framework for constructing an affordable golf simulator using basic components without complex electronics or robotics.
Our budget DIY goal is to keep total costs reasonable while including the most crucial elements like an enclosure, monitor, screen, mat, and software. This will allow you to get started with virtual golf and always upgrade later!
How Much is the cheapest DIY Golf Simulator Going to Cost in Total?
Depending on your budget and selected components, the entire system with all the necessary components may cost as low as $5,000-$6,000. Even a full version of the sim software is included at this price point. If you already own a gaming computer or laptop, you can save around $1,000.
The minimum prices you should expect are as follows:
- Gaming laptop or desktop: A minimum of $1,000 to $2,000. If you already own a capable computer, it will save you a lot of money.
- Hitting mat & landing turf: Expect to pay around $1,500 for a quality hitting mat and a landing pad. Going for a higher-end hitting mat will raise the price.
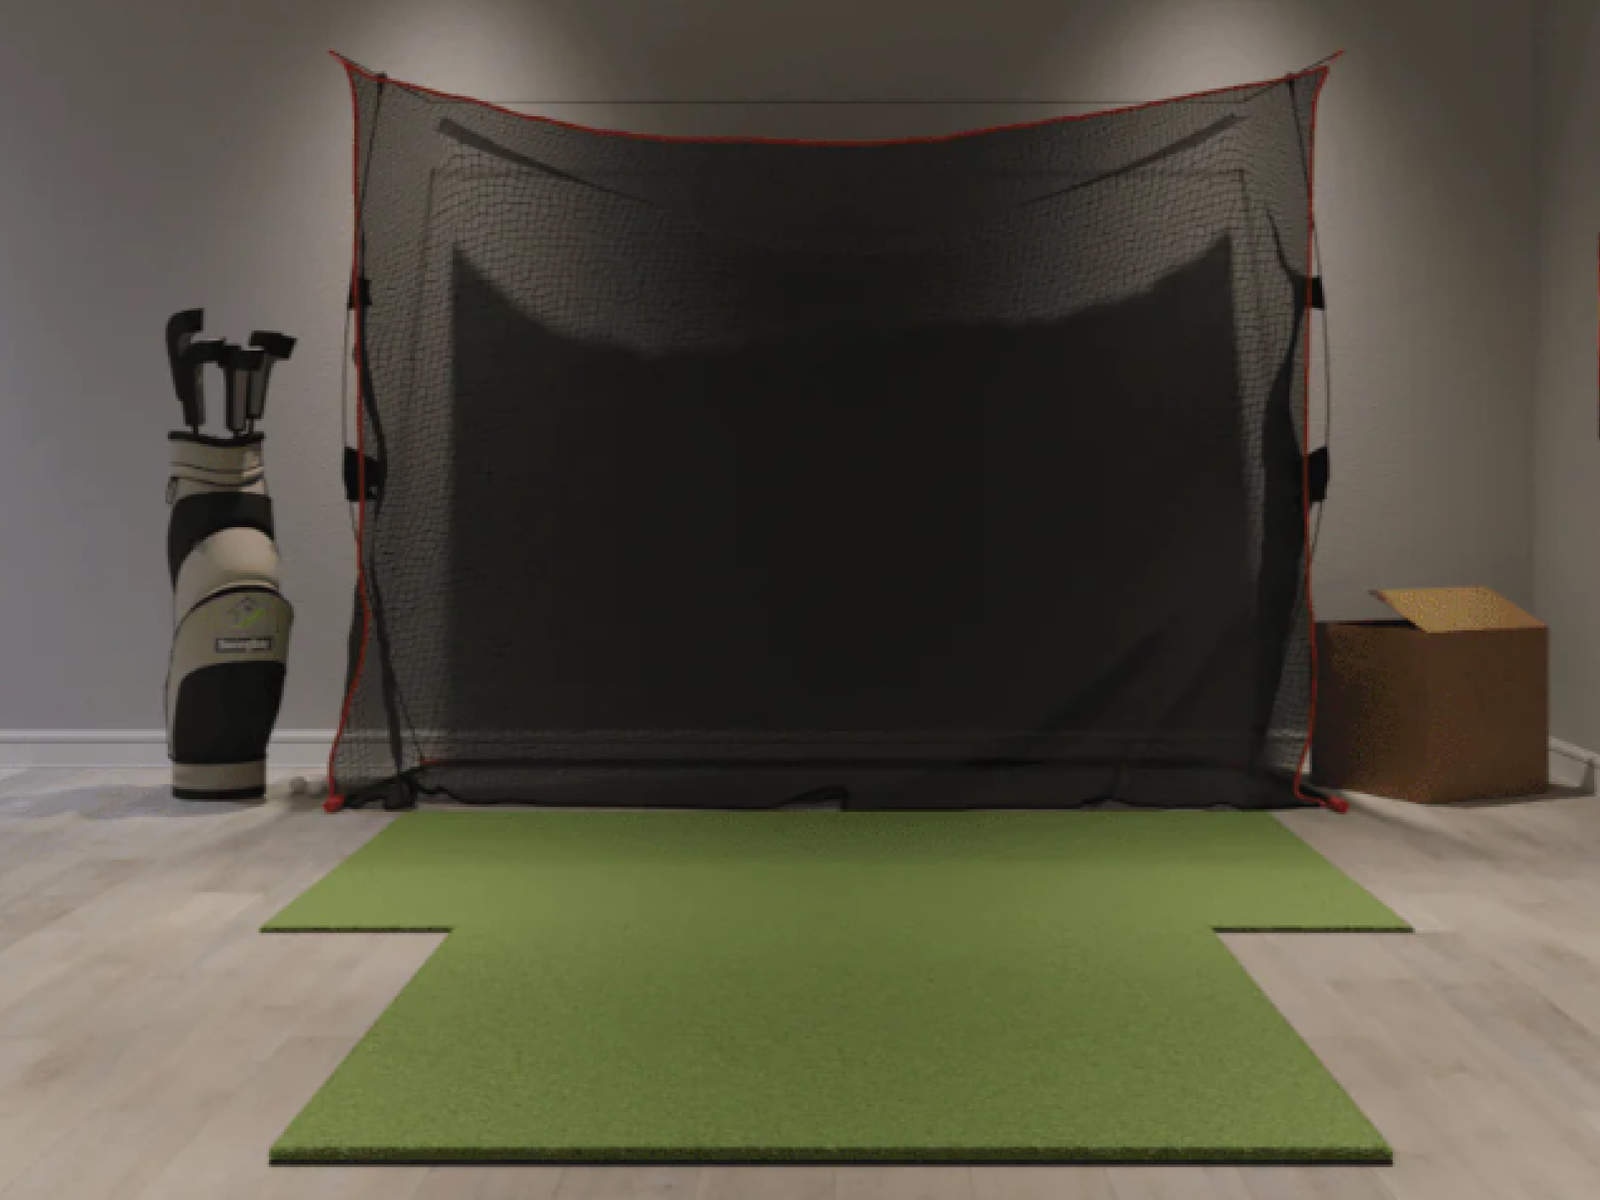
- Impact screen & netting: Going with an impact screen and side nets instead of a full enclosure will help you save some money. The problem is that buying the items separately will cost almost the same as a cheap DIY enclosure. We prefer going with something like Carl’s Golf Sim Enclosure with Screen at around $1,000.
- Launch monitor: Expect to invest at least between $600-$2,000 on a system with decent value from Skytrak, Flightscope or Garmin.
- Software: You can buy a 3rd party simulator software or opt for yearly subscriptions. We suggest getting TGC2019 at a one-time payment of $995 for the best value for money.
- Projector: We recommend spending at least $1,000+ on a quality projector from Benq, Viewsonic, Optoma, etc.
Alternatively, if you opt for a practice package without a screen or projector, you can save additional money; you can even hook the software to a smart device instead of buying a laptop or computer.
Planning Your DIY Golf Simulator
Before starting to build your DIY golf simulator, it’s important to thoroughly plan out key aspects like the physical space, enclosure options, impact screen choice, turf, and other components. Rushing ahead without considering room constraints or equipment selections often leads to frustration later on. Plan Your DIY Golf Simulator first.
Space Requirements
The dimensions and layout of the room you choose dictate many future decisions, so carefully measure to ensure adequate space. Typical minimum recommendations are:
- 10 x 12 feet for the actual swing area and follow-through
- 8-foot ceiling clearance for a full driver swing
- Allow 4-5 feet of space behind and perpendicular to the hitting area for the projector placement
Also, survey existing infrastructure elements when picking a simulator installation site:
- Conveniently located power outlets – projectors use significant electricity
- Ventilation paths for possible fans/AC units
- Windows that can be blacked out for ambient light control
- Available storage space for nets, mats and frames when not in use
With measurements complete, evaluate different layout options given your room shape and any permanent structures. Often, placing the impact screen centered on the shorter wall with the turf mat pointed down the longer axis of the room provides maximum swing capacity.
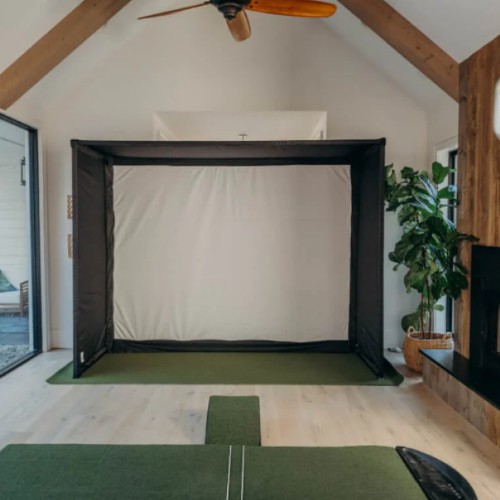
Enclosure and Screen Options
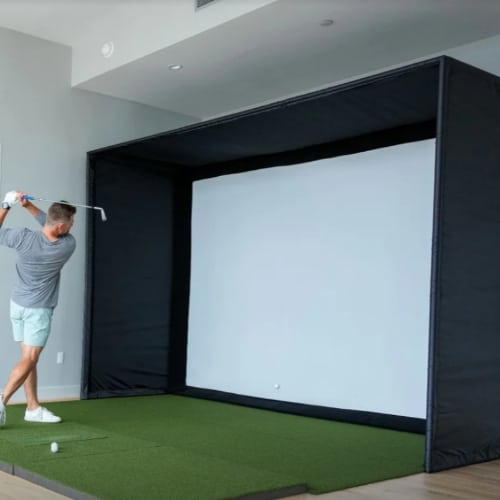
For containment of golf balls and visualization, free-standing net tunnels anchored to the floor work well and can be removed to reclaim space. Fixed enclosures built from wood, PVC or iron piping frames have a more integrated, polished look. The material, dimensions, and assembly style enable customization.
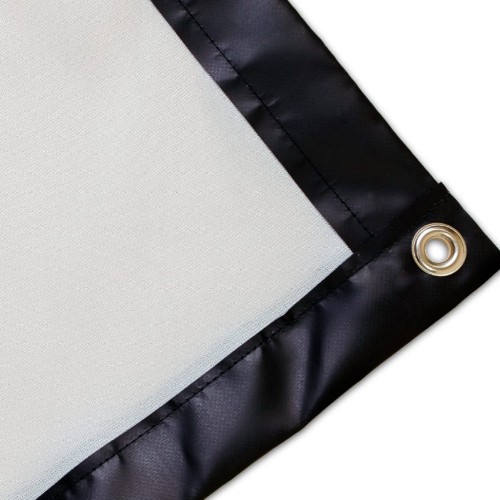
Impact screen materials range from basic tarpaulins pulled tight to rigid ultra-white screens designed specifically for video projection. Proper tensioning and support using stronger frames is vital to reduce vibration upon ball impact.
If you want to know more, we have a guide on DIY golf sim enclosure build to help you create the enclosure yourself and keep spending under control.
Hitting Mats
These artificial turf mats simulate grass-hitting surfaces found on driving ranges and courses. Opt for larger widths and depths to enable shots from variable foot stances and club lies.
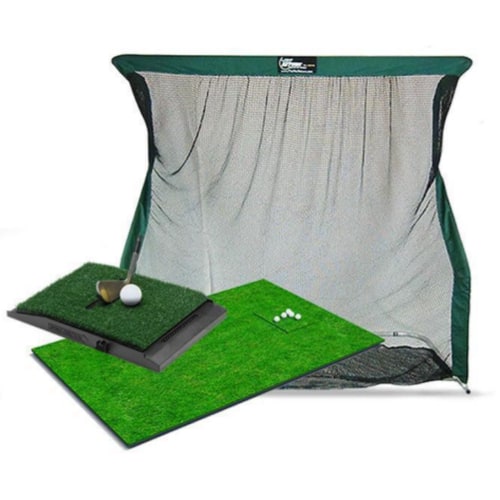
Mats with embedded optical sensors (like the Optishot 2) or electrical contacts can also precisely track clubhead and ball metrics like launch angle, speed, spin, etc.
Creating a flat, level sub-base for the golf mat is vital for straight PUTTS and consistent sensor accuracy. An ultra-realistic simulation can use an interchangeable top layer with varied premium artificial grass textures.
If you’re not sure of which option to go with, feel free to check our reviews of 10 excellent golf sim hitting mats with various sizes and price points.
Computer and Projector
The computer and projector are vital components that enable software visualization and interactivity for your DIY golf simulator.
Most mainstream mid-range Windows laptops or desktop PCs made in the last 3-4 years can readily run simulator software and graphics. Key specifications to aim for are:
- Intel i5 or i7 processor
- Dedicated GPU like NVIDIA GTX or Radeon RX
- 8-16GB RAM
- Solid state storage
- HDMI output capable of 1080p or 4K resolution
When selecting a projector, give preference to 3LCD or DLP models designed for home theater usage with good connectivity options.
Important traits to consider are:
- High lumen output of 3500+ for vivid image brightness
- Native 1080p resolution or 4K for crispness
- Low input lag for simulator responsiveness
- Lens shift or positioning flexibility for placement
- Keystone correction to square the image
Use projector calculator tools to properly match desired screen dimensions, throw distance, and picture size. Install in line with impact screen surface following guidelines.
Alternatively, you can choose from our reviewed golf sim projectors one that suits your needs and budget; also, have a look at our guide on how to choose a screen size.
Launch Monitor
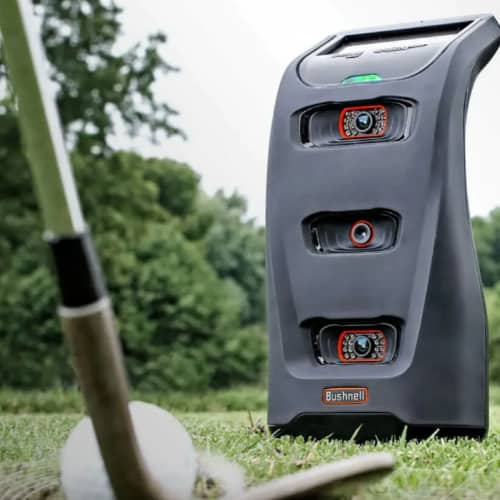
Choosing a specific launch monitor has a huge impact on the accuracy and realism of the simulation process. Try to pick a system with decent value for the money.
Excellent launch monitors with unbeatable value include the original Skytrak, the Flightscope Mevo +, Garmin’s Approach R10, and the Rapsodo MLM2Pro.
For more options, check our list of recommended golf launch monitors, tested and reviewed. Choose one that best suits your budget.
Building Your DIY Golf Enclosure
After planning out the space and components for your simulator, it’s time to construct the physical enclosure that will house the system. The framework needs to securely support the weight of impact screens while allowing for portability or a permanent installation.
If you want a complete package with all the parts to build the enclosure yourself, you might be interested in Shop Indoor Golf’s DIY golf sim enclosure kit; Carl’s Place also offers various Fittings and a pipes Kit if you want to design the enclosure by yourself.
Frame Construction
Materials you can use to construct the enclosure/screen frame include the following:
Wood
Versatile plywood or 2×4 frames that are relatively affordable and easy to work with can be used. The frame can be customizable to the available space.
PVC
Durable, lightweight plastic piping that can be configured into modular cages. PVC is lighter and cheaper than the other materials, but it is slightly less durable.
Iron Pipes
Robust steel pipes coupled into a cage skeleton structure that you can use to attach your screen, side netting, etc. This type of frame is very stable and durable, but heavy; it won’t be very portable.
Consider the intended mount (free-stand or fixed), room dimensions, ceiling height, and screen size when planning the frame. Oversize the length and width 2-3 feet beyond the hitting area for safety. Paint the structure for a professional appearance.
Impact Screen Installation
Impact screens attach to enclosure frames to visualize simulations, catch balls and quantify the impact.
Use sturdy anchor points, reinforced braces, and tensioned ties to mount screens flush and minimize vibration. Screens may be permanently fixed or detachable.
For portable enclosures, collapse and quick assembly are ideal. Consider luminance, cost, durability, and performance when selecting screen materials. We recommend using polyester mesh for a good balance of performance and price.
Adding Netting
Nets minimize ball spray and absorb impact alongside screens. They can be attached to the enclosure ceiling, sides, and back.
Use thick, high-density netting on areas players may strike. Attach the netting to the frames securely with ties, hooks or sleeves. We suggest using something like the Net Return’s universal side barrier netting.
Installing Simulator Software
Once the physical structure, computer, projector and other components are set up, it’s time to get the simulator software loaded up and configured properly.
Choosing Simulator Software
Free Options – Very basic options that come with your launch monitor can be enough if you only need basic tracking and performance metrics.
Paid Packages – Unlock better graphics, physics, game modes, and scoring with packages like E6 Connect, The Golf Club 2019 and others.
Make sure the software and your launch monitor are compatible, and evaluate limited free trial versions first before purchasing packages costing $200-$3000 annually depending on the offered features.
You may also want to have a look at our article reviewing golf simulator software options.
Computer and Connectivity

Connect your computer’s video/audio out to projector inputs using HDMI cables for minimal lag. Ensure stable, high-speed internet access via WiFi or ethernet for software connectivity features and updates.
For your tracking system, which sends data to the software analytics, use the recommended cords/cabling or Bluetooth connectivity accessories.
Configuring and Calibrating
Adjust the software preferences for handedness, clubs and difficulty, and adjust the swing sensitivity physics and configurations to match your speeds, angles and typical ball flight.
Moreover, don’t forget to calibrate the launch monitor sensors properly.
Adding Golf Courses
Search publisher course libraries for favorite real-world courses to practice and play rounds on. User-generated courses (by the players themselves) are also available in software like TGC 2019.
Downloaded selections become available right in the local software instance. Some titles feature live course updates, tournaments and events.
You might start with the courses included with your monitor purchase out of the box and keep the costs lower. After that, you may add other course packs down the road.
Usage and Future Upgrades
Once built, it’s time to start leveraging your DIY golf simulator. Enjoy software play, analyze your swing and consider realistic enhancements. Here are a few more steps you can take to improve the entire virtual experience:
Adding Realism
The following are some optional elements that are capable of enhancing your virtual golf rounds:
Audio – A surround sound system will immerse you in the course. You will be able to hear all the sounds around you, from the wind to the birds and the clubs hitting the ball, etc.
Lighting – While the sim room needs lower lighting, stage lights that match the sun’s position can help make the game more realistic. It is also recommended to use LED spotlighting over the hitting area.
Decor – You can add some accessories around the simulator space to enhance aesthetics; use artificial grass flooring, plants around the mat, etc. The possibilities are endless.
Future Upgrades
In the future, consider better tracking devices for swing analytics, enclosed backyard bay nets enabling sunlight play, auto ball tees, a better projector, etc.
Additionally, getting a subscription to more advanced simulator software unlocks more improvements and course updates as technology progresses.
These future upgrades are not compulsory, but they can greatly impact the entire home golf experience.
We cover latest golf simulator putting technology PGA in more detail in a separate article.
For a deeper look at essential golf simulator software features, check out our dedicated guide.
Frequently Asked Questions
This section covers common questions that arise around constructing and using homemade DIY golf simulators:
Is Building a Simulator Difficult?
The construction process is reasonably straightforward for hobbyists if you are comfortable with basic tools and some light framing. Having an extra set of hands helps.
The software and calibration take more precision.
What Budget Should I Expect?
It really depends on what components you need or want. You should expect anywhere from $3,000 and up for a full system. If you want a more realistic and immersive system, you will need to invest more money to get better components.
Buying used or refurbished components can help lower the initial investment, and choosing a Net practice system (with no screen or projector) will lower it even further.
Can I Use My Existing Computer and Projector?
Definitely; if the devices are 1080p/4K capable and less than 5 years old, they will probably work fine.
Testing gaming performance helps gauge simulator readiness.
What Simulator Software Is Best?
Leading 3rd-party options (usable with most launch monitors) include GSPro, E6 Connect, TGC2019, Creative Golf, and Perfect Golf. Compare features and courses as capabilities and prices vary significantly.
How Often Are Software and Courses Updated?
Subscription packages feature more frequent improvements than the free versions of the software. Updates refine physics, expand course collections, and fix bugs.
Final Thoughts
Building a DIY golf simulator might seem daunting, but with careful planning and this guide, you can (and will) achieve something impressive. Embrace the journey, celebrate your accomplishment and most importantly, have fun enjoying your personalized golf experience!
If you’re considering building your golf simulator in a shed, check out our article on golf simulator shed for man-cave ideas, size considerations, customization options, and budget planning.
In the end, you should expect to spend around $5K for a full sim package with everything you need to enjoy virtual golf; choosing a portable practice system will bring the price even lower to around $2,5K – $3K. Will golf simulators get cheaper in the future? It’s possible as technology advances and becomes more affordable.
If you’re on a tight budget and wondering about the cheapest golf simulator available, our article explores the most affordable options.
We hope this detailed guide managed to provide everything you need to embark on this DIY journey. If you still have questions, please let us know, and we will assist you the best we can.
Thanks for reading!