Golf is more fun when your gear just works. That’s why a solid setup guide can make the difference between smooth practice and frustrating misreads. You don’t want to waste swings on bad data.
Each step matters, from the first charge to fine-tuning your SkyTrak calibration. The process isn’t complicated, but skipping one detail can throw off your results.
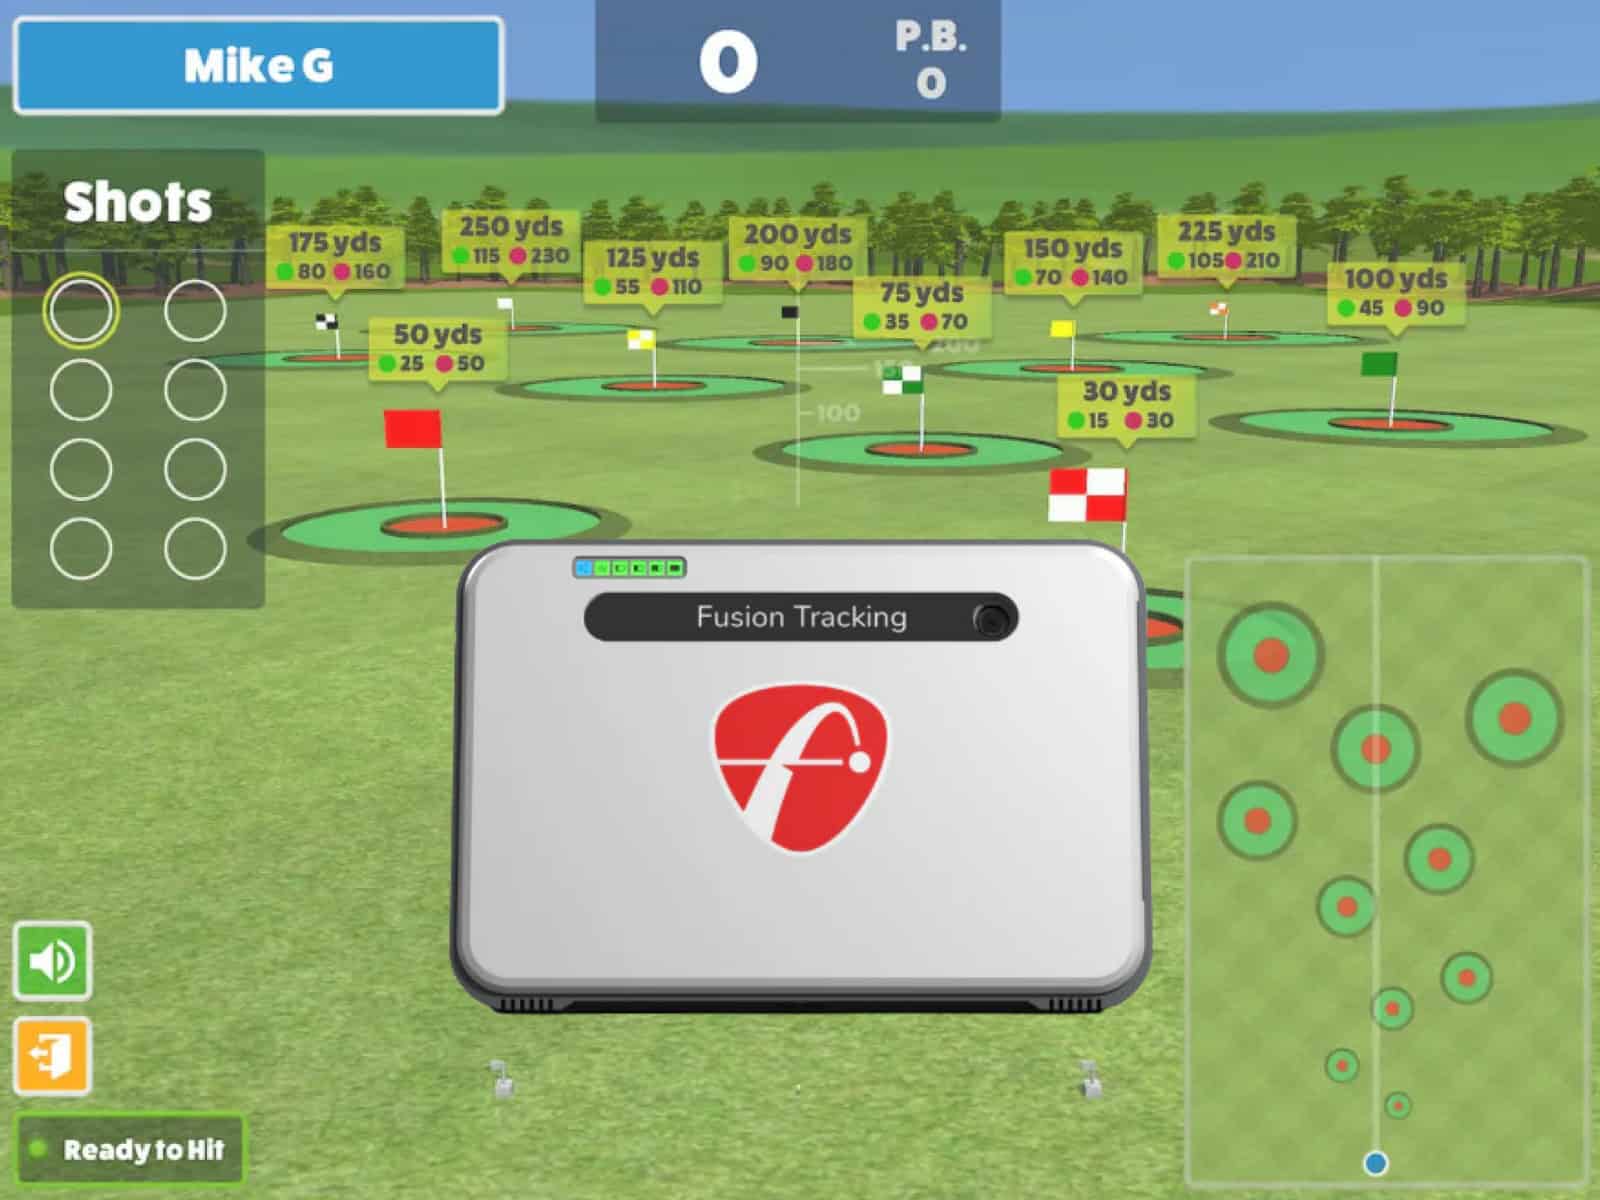
Here, you’ll find a SkyTrak quick start guide that shows you how to connect, align and calibrate your device for accurate shot tracking every time you play.
Charging and Registering Your SkyTrak+
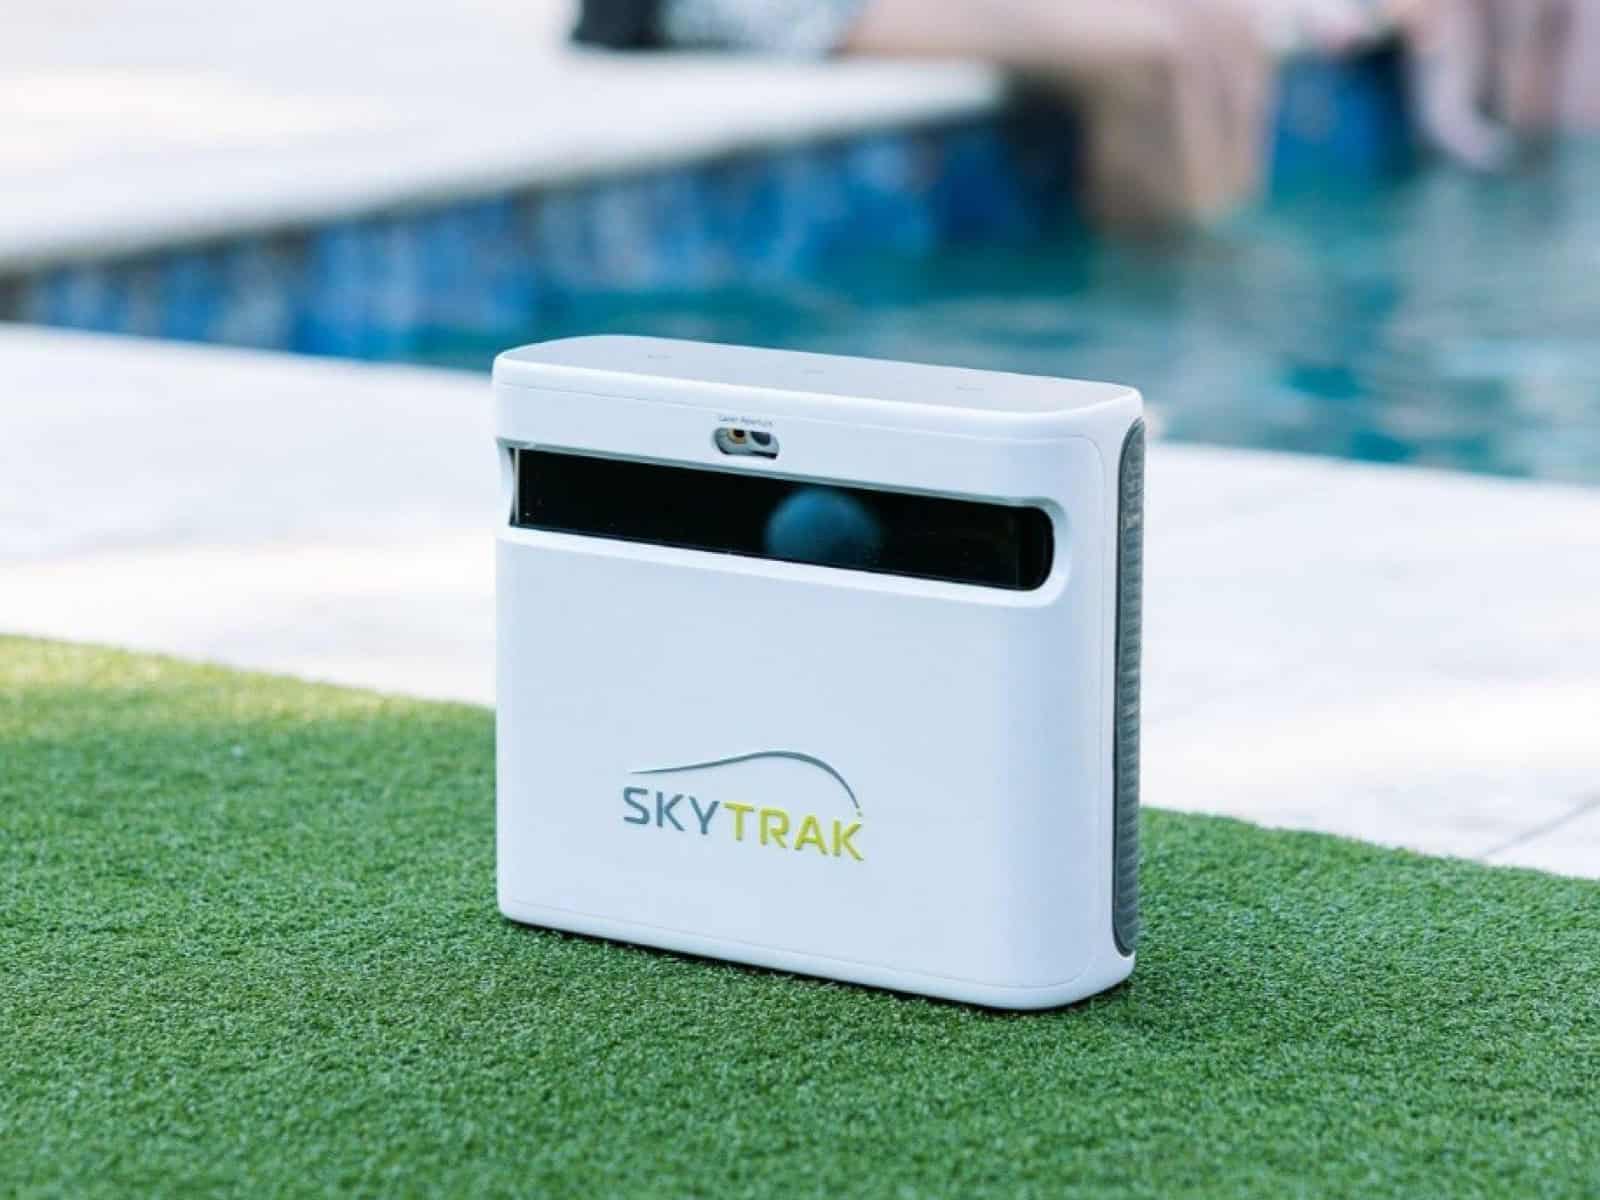
Before you take your first swing, give your SkyTrak+ a full charge. Use the included cable and plug it into a standard outlet. The first charge can take up to six hours. A steady yellow light means it’s charging; when the light goes out, you’re ready to go.
Next, download the SkyTrak app from the App Store, Google Play or the PC link on skytrakgolf.com. This is your control center for setup, play modes and updates. Open the app, create your account, and follow the prompts to register your device—this ties your SkyTrak+ to your profile and unlocks access to all features.
Think of this as the ignition key: without a full battery and a registered device, you can’t move forward. Once this step is done, the rest of the setup will feel like smooth sailing.
Connecting Your SkyTrak+ to a Device
Once your SkyTrak+ is charged and registered, it’s time to connect it to your preferred device. You have three options: Direct Mode, Network Mode and USB.
- Direct Mode creates a straight link between the unit and your device. It’s ideal when you don’t need internet access.
- Network Mode connects through your home Wi-Fi, letting you use the app and access online features at the same time.
- USB Mode offers the most stable connection, making it perfect for PCs or when wireless signals are weak.
If the device doesn’t connect on the first try, restart both the SkyTrak+ and your device, then try again. Switching connection modes can also solve stubborn pairing issues.
Preparing and Aligning the Hitting Area
Your SkyTrak+ can only track shots accurately if it’s set up in the right place. A small shift in position or angle can throw off your numbers. Follow these instructions:
- Place the unit on a flat, stable surface level with your hitting mat or tee base. Avoid setting it directly on soft carpet or anything that might sag under its weight.
- Align the front of the device parallel to your target line. Using an alignment stick or straight edge makes this much easier.
Give yourself enough room to swing freely. That means checking not just the width and length of the hitting zone, but also overhead clearance, especially if you’re using a driver. A clear space around you keeps you and your investment safe.
Ball Placement and Launch Readiness
Your SkyTrak+ reads the ball’s flight from a specific point. Get this wrong, and even the best swing won’t give you the right numbers.
Watch for the red laser dot; this is your target. Place the ball directly on it. For irons, keep the ball centered over the dot. For drivers, make sure the red dot sits at the base of the tee.
Ball logo facing the unit helps with spin and launch data, a small detail that makes a big difference in accuracy.
Avoid crowding the sensor with tees, alignment sticks or other objects. If the unit can’t see the ball clearly, your data will suffer. A clean, open hitting area gives your SkyTrak+ the best chance to capture each shot precisely.
To enhance your understanding of how to address issues when your SkyTrak+ isn’t reading your swing correctly, you might find it useful to explore the topic of SkyTrak+ shot detection issues.
Calibration for Accurate Data

A precise setup isn’t enough, as you need calibration to get trustworthy numbers. Skipping it can leave you wondering why your perfect shot reads like a shank.
Steps to calibrate SkyTrak+ (before every session, unless the unit is never moved):
- Place the SkyTrak+ exactly where you intend to play.
- Open the SkyTrak app and start the calibration process.
- Follow the on-screen prompts to adjust the unit’s position.
- Confirm that the guides in the app show correct alignment.
- Save the calibration settings.
- Hit a few test shots to verify realistic ball speed, launch angle and spin.
- If readings seem off, repeat the process.
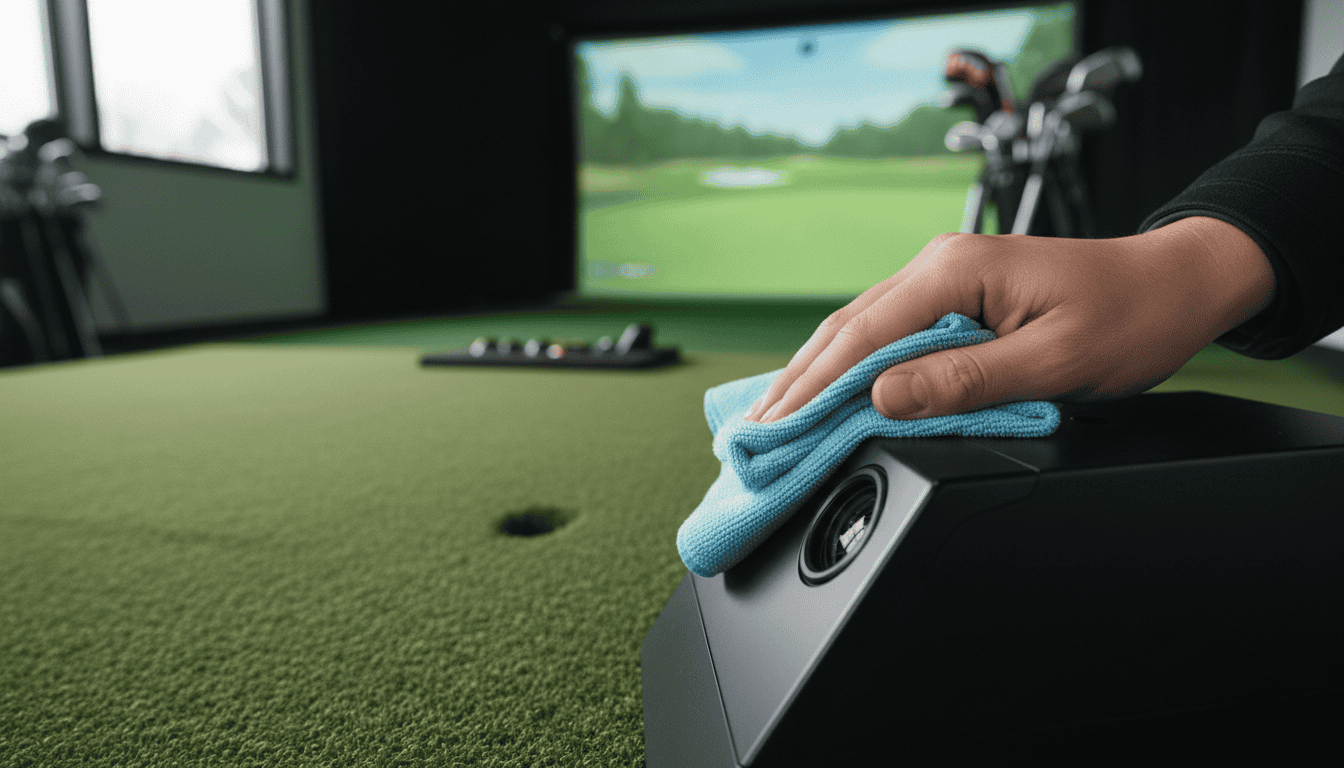
Care, Maintenance and Storage
Your SkyTrak+ will only perform as well as you care for it. A little attention between sessions keeps it accurate and ready.
Wipe the lens gently with a microfiber cloth. Avoid using paper towels or anything abrasive that might scratch it. Keep the unit dry at all times; moisture can ruin sensors and electronics. If you’re practicing in a garage or outdoors, bring it inside when you’re done.
Heat and cold can affect performance. Store your SkyTrak+ in a temperature-controlled space, away from direct sunlight or freezing conditions. Charging habits matter too, so avoid running the battery flat before recharging, and plug it in after each practice session.
When not in use, place it in a padded case or safe spot where it won’t get knocked over. Treat it like a trusted caddie: look after it, and it’ll look after your game.
Frequently Asked Questions
Here are the most common queries golfers ask, along with clear, straightforward answers to help you get the most from your device.
Can I use SkyTrak+ outdoors and still get accurate readings?
Yes, but make sure the unit is shaded from direct sunlight and has a clear view of the ball. Bright light can interfere with the sensors, so consistent lighting improves accuracy.
How do I know if my SkyTrak+ needs recalibration?
If your shot data looks unrealistic for your swing or ball flight, it’s time to recalibrate. This is a quick process in the app.
What happens if I place the ball outside the red laser dot?
The unit may not register your shot, or the readings could be inaccurate. Always position the ball directly on the laser dot.
Can I connect SkyTrak+ to multiple devices?
Yes. You can pair it with different devices, but you’ll need to log into your SkyTrak account on each one.
Does SkyTrak+ require a subscription for basic functionality?
No. You can use the basic practice range without a subscription, but advanced features and game integrations require one.
How can I reduce shot detection errors indoors?
Ensure the hitting area is well lit without harsh shadows, and keep the space between the ball and the unit clear of objects. This helps maintain precise calibration.
Is there a way to quickly switch between right- and left-handed modes?
Yes. In the app settings, change the handedness option before the next shot. This ensures accurate readings for both righties and lefties. Remember that placement must be changed, as the unit has to face the player.
Final Thoughts
Getting the most from your SkyTrak+ comes down to doing the basics right every time. Charge it fully, set it up on a stable surface, align it with care, and keep up with your skytrak calibration routine. Small habits here mean big gains in accuracy.
Think of this guide as more than just instructions—it’s a checklist that ensures every session delivers reliable numbers.
In understanding the full functionality of your SkyTrak+, recognizing the importance of its LED indicators can significantly enhance your experience. For a detailed explanation of what each LED color means, explore our guide on SkyTrak+ LED colors & alerts.
If you have ay questions or comments, feel free to contact us.
Thanks for reading!