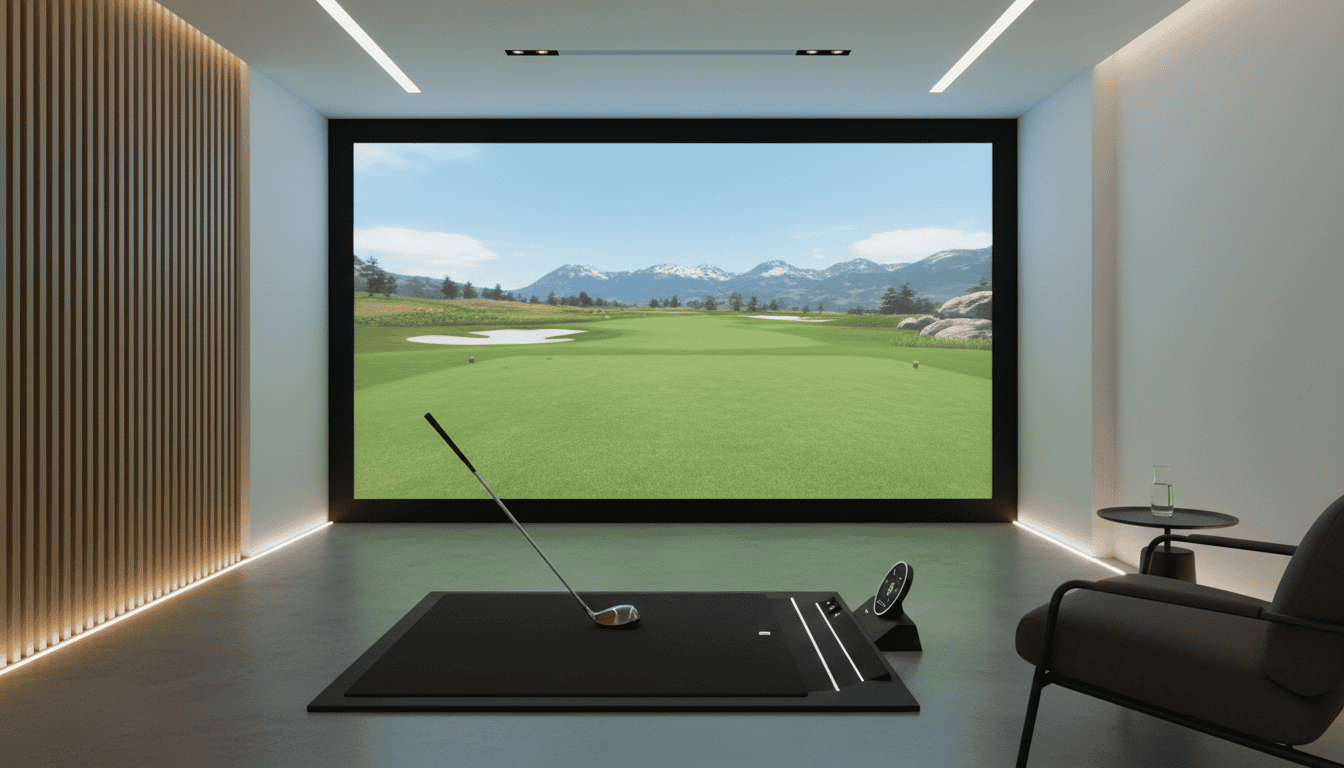
Setting up your SkyTrak+ with a projector is the key to turning a garage or spare room into a true golf simulator. You want the picture to be sharp, the image to fit the screen and the whole thing to feel like a real course instead of a glitchy video game.
However, if your projector isn’t lined up right or the settings are off, you’ll end up with shadows, skewed lines or a blurry mess. That’s like playing Pebble Beach with sunglasses smeared in sunscreen.
This guide strips it down to what matters: how SkyTrak connects to your device, the right throw distance, mounting tricks, alignment tweaks, and quick fixes.
How Does SkyTrak Connect to a Projector?
Getting SkyTrak+ talking to your projector isn’t as direct as you might think. The launch monitor sends data to your device, and your device handles the video feed. Understanding this path will save you from frustration and help you choose the best setup.
Connection flow explained
Here’s the first thing you need to know: SkyTrak+ never talks directly to the projector. Instead, it sends shot data to your device—PC, Mac, iPad, or Android. That device then pushes the video signal out to the projector. Think of it as a relay race where SkyTrak hands the baton to your computer or tablet, and that device carries it over the finish line to the screen.
For smooth play, a wired HDMI link is king. It gives you the most stable picture and the lowest lag, which matters when you’re watching ball flight in real time. Wireless casting might sound tempting, but it usually adds a split-second delay. That delay is enough to make your swing replay feel out of sync.
Common connection methods
- PC to projector: Use a simple HDMI cable. This path is the most stable and least fussy.
- Mac to projector: Many models need a USB-C to HDMI adapter. Choose one that supports video and power.
- iPad to projector: Plug in Apple’s Lightning or USB-C Digital AV Adapter, then connect HDMI to the projector. Make sure your adapter has power pass-through, or your battery will die mid-round.
- Android to projector: Some devices support USB-C to HDMI directly; others need a special adapter.
Planning Your SkyTrak Projector Setup
Before you buy a projector, you need a plan. The wrong choice leaves you with shadows on the screen or an image that won’t fit. A few minutes of prep can save you hours of frustration later.
Throw ratio and screen fill
Throw ratio sounds complicated, but it’s simple math. Divide the distance from the projector lens to the screen by the screen’s width. That number tells you if the image will fit. Most golf sim projectors use short-throw lenses, with ratios around 0.5 to 1.1. The sweet spot for SkyTrak setups often falls between 0.69 and 0.83.
Use a calculator from Optoma or ProjectorCentral to check your numbers. Punch in your screen size and distance, and you’ll know exactly where the projector belongs. Skip this step, and you might end up with a picture spilling over your frame.
Room layout considerations
Now think about your space. Measure tee-to-screen distance first, because it sets the boundaries for where you can mount the projector. Low ceilings or a garage door opener overhead might force you to adjust your plan.
Swing clearance matters too. You don’t want your driver cutting through the light beam every time you take a rip. Place the projector high or off-center enough to stay out of the swing path. If you get this wrong, your golf sim turns into a shadow puppet show.
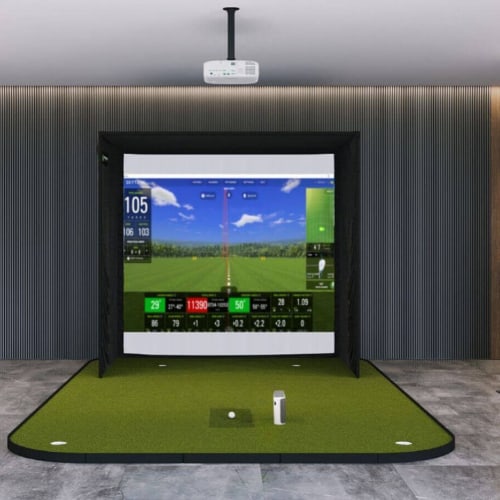
Mounting Options for the Projector
The wrong projector mount position leads to shadows, glare or worse—your club hitting the hardware. Two common approaches work best in a SkyTrak projector setup: ceiling mount or floor enclosure.
Ceiling mount setup
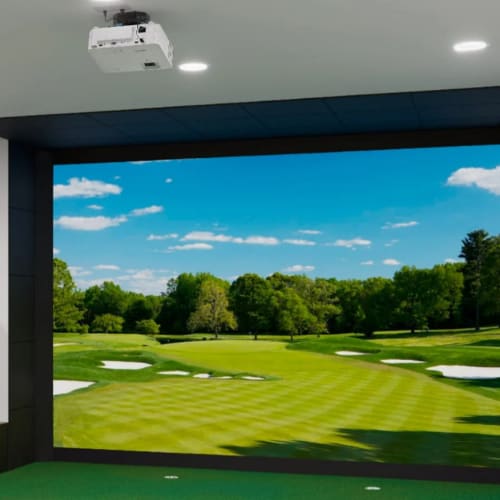
A ceiling mount keeps the projector safe and out of your swing path. Position it slightly off the hitting line, then use lens shift or light keystone correction to square the image.
Less keystone means sharper edges, so rely on physical adjustments first. With enough ceiling height, this option feels clean and uncluttered, almost like the room was designed for it.
Floor enclosure setup
If your ceiling is too low or crowded with garage doors and lights, a floor enclosure may fit better. These housings protect the projector from mishits while keeping the beam centered on the screen. The box sits low and out of the way, making it easier to avoid swing interference. Just be sure the enclosure doesn’t block airflow, or your projector may overheat.
Visual Alignment for the Best Results
Getting the picture square is half science, half art. Even the best projector looks sloppy if the image drifts or stretches across the screen. Your eyes will spot the problem instantly, and it will nag at you every swing.
Getting the image square
Start with the screen itself. Make sure it’s pulled tight (but not too tight), like a drumhead. A loose screen creates wrinkles that mimic keystone errors, and no amount of projector tweaking will fix that.
Next, rough-aim the projector. Center it horizontally with the screen, then level it. Don’t sweat perfection here—this step just puts you in the ballpark before fine-tuning.
Fine adjustments
Now comes the detail work. Use lens shift first. It lets you move the image without bending it, keeping edges crisp. If you must use keystone correction, keep it small, as too much softens the corners.
Finally, check your aspect ratio. Match the projector’s output to your screen’s shape: 16:9 for wide setups, 16:10 for a touch more height or 4:3 if your room is more square. Pick the wrong one, and you’ll either waste screen space or stretch the image unnaturally.
Optimizing Image Quality
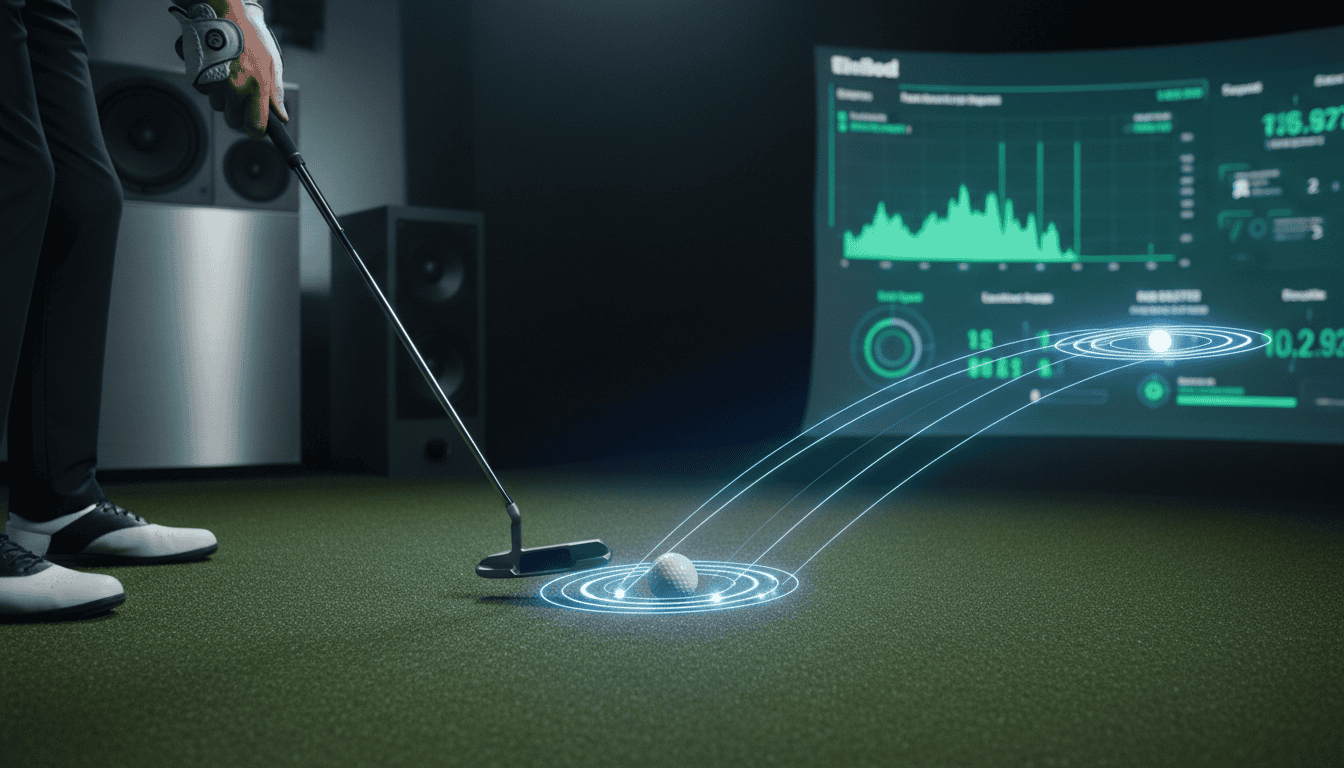
A crisp picture makes your simulator feel real. Without it, even the best swing data falls flat. Fine-tuning resolution, brightness and focus gives you the clarity you need to see every shot clearly.
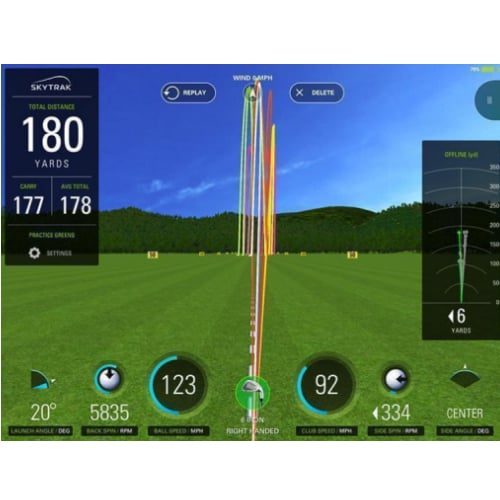
Resolution and refresh rate
Start by matching your device’s output to the projector’s native resolution. If your projector runs at 1080p, keep your computer there too. For smoother ball flight, aim for 60Hz refresh rate or higher. If your hardware supports 4K and you have the graphics power to run it, go for it. Otherwise, 1080p60 is plenty sharp for golf.
Brightness and color settings
Light levels in your room matter. For most indoor setups, projectors with 2,500 to 3,500 lumens do the job. Too dim, and the image looks washed out; too bright, and you’ll get glare.
Pick a color preset like “Cinema” for natural tones, then adjust from there. Reduce sharpness and dynamic contrast slightly to avoid glowing edges around the ball.
Focus and calibration
Give your projector time to warm up before you set focus. After 10 minutes, adjust until text and scoreboards are clear corner to corner. Use the edges of on-screen text, not the center, as your guide. That way, you’ll catch blurriness before it ruins your view.
SkyTrak Optoma Projector Setup Tips
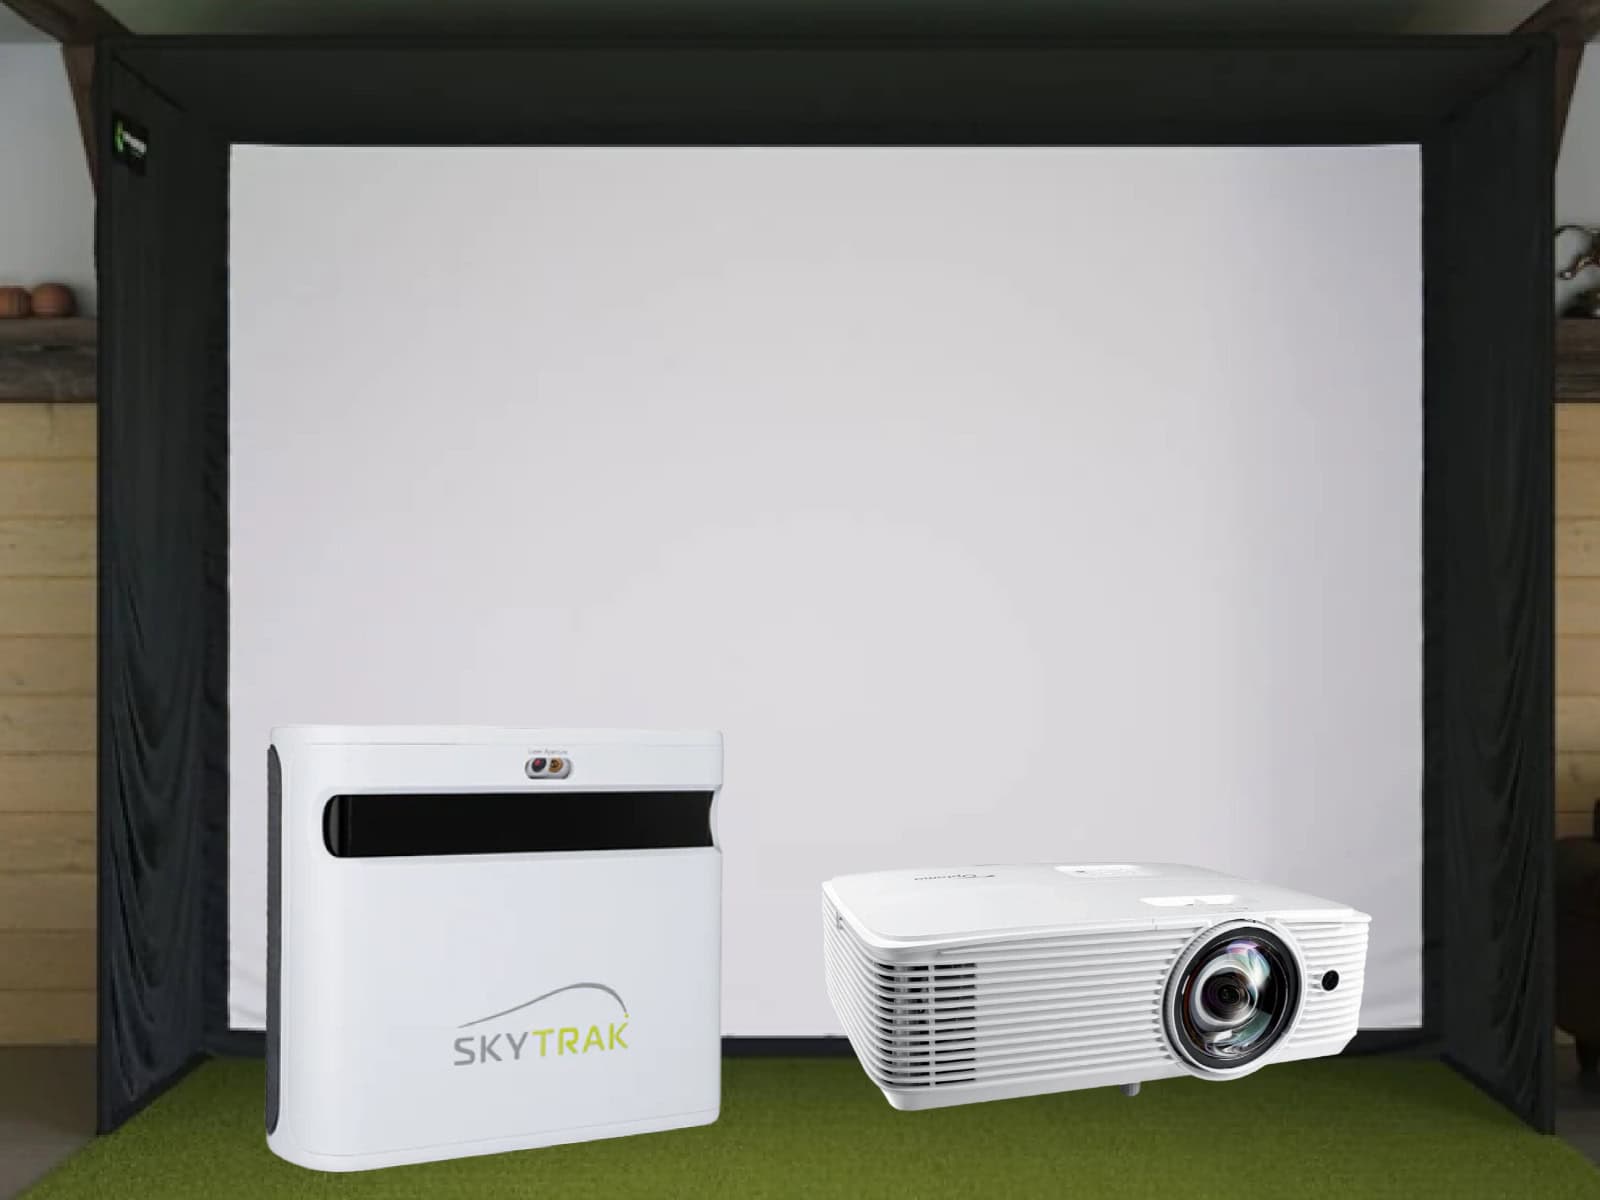
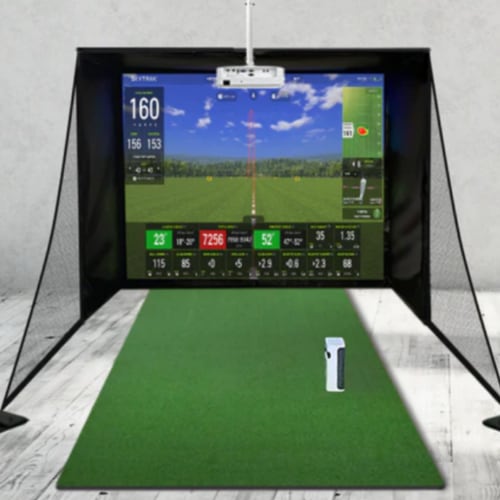
Optoma projectors have become a go-to choice for golf sims, and for good reason. They’re short-throw, bright and easy to line up with a screen. Pairing one with your SkyTrak+ gives you a reliable picture without the constant tweaking some other brands require.
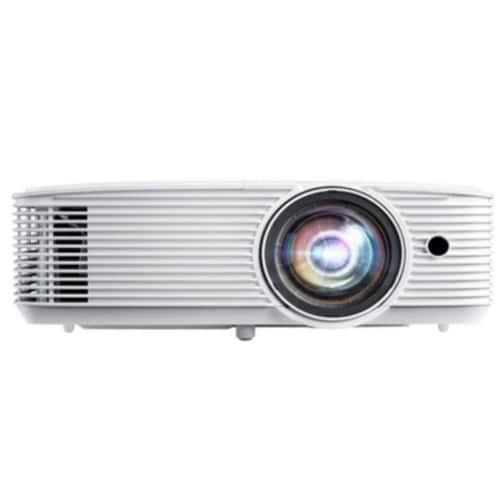
Popular models like the GT1080HDR or GT2000HDR deliver strong performance in most home setups. To figure out exact placement, use a distance calculator. Enter your screen width, then slide the numbers until you see the right lens-to-screen distance. This keeps you from guessing and re-mounting the unit after the fact.
When installing, remember that Optoma beams tend to be forgiving but still prefer center alignment. A small offset can be corrected with lens adjustments, but too much will soften the image. Protect your investment by mounting securely or housing it in a floor case if ceiling space is tight.
Troubleshooting Common Projector Problems
Even with careful setup, things can go sideways. The good news is most issues with a SkyTrak projector setup have simple fixes once you know what to look for.
- Image not filling the screen: Check the throw distance again. If the projector sits too close or too far, the image won’t match your screen size. Use a calculator to confirm the sweet spot.
- Skewed visuals: Make sure the projector is level. Start by centering it horizontally with the screen. Use lens shift to fine-tune, and keep keystone correction as low as possible.
- Blurry corners: Re-square the projector before adjusting focus. A slack screen or heavy keystone correction often causes soft edges.
- Flickering or blanking: Swap the HDMI cable for a certified high-speed version. Keep it short to reduce signal loss, especially if you’re running 4K.
- iPad battery drain: Always use Apple’s adapter with power pass-through. Without it, the iPad can show video but run out of juice fast.
Frequently Asked Questions
Before you power up your SkyTrak+ simulator, a few common questions can save you time and frustration. Here are clear answers to the issues golfers ask most.
What’s the ideal throw distance for a SkyTrak projector setup in a 12-foot studio?
In a 12-foot space, aim for a short-throw projector positioned about 8 to 10 feet from the screen. Use the throw ratio formula or an online calculator to set it precisely so the image fills your screen without overshooting.
Can I use wireless casting instead of HDMI for SkyTrak+?
You can, but it’s risky. Wireless casting often adds lag, which makes ball flight feel delayed. A wired HDMI connection gives you a smoother, real-time picture that keeps your swing and the display in sync.
What’s the difference between using an Optoma projector and other brands with SkyTrak+?
Optoma projectors are popular for golf sims because of their short-throw lenses and strong brightness levels. Other brands work, but many users find Optoma models easier to align with a hitting bay and more forgiving in small spaces.
How does SkyTrak connect to a projector if I only have a MacBook with USB-C ports?
Plug a USB-C to HDMI adapter into your MacBook, then connect it to the projector. Make sure the adapter supports video output, not just charging. Some adapters also allow power pass-through, which keeps your MacBook from draining mid-session.
Is a 4K projector worth it for SkyTrak+ or is 1080p enough?
A good 1080p projector at 60Hz delivers plenty of clarity for golf simulation. A 4K projector shines if you have a large screen or want to use the room for movies too, but it also demands more graphics power from your computer.
How do I prevent my swing from casting shadows on the impact screen?
Keep the projector mounted above or slightly off-center from your hitting area. Short-throw projectors help by projecting a large image from a shorter distance, reducing the chance of your body blocking the light.
What projector settings should I use for both golf simulation and family movie nights?
Set brightness high enough for golf play in a lit room, then switch to a “Cinema” or “Movie” preset for movies. That mode balances color and contrast, giving you a softer, more natural look when the lights are down.
Final Thoughts
Perfecting a SkyTrak projector setup is about more than just turning it on and pointing it at the screen. Every detail matters: connection path, throw distance, mount choice, alignment, and picture tuning. When you piece them together, the result is an image that feels sharp, balanced and immersive.
The payoff is immediate. You strike a ball and watch it fly across a clear, square picture that fills your impact screen edge to edge. No shadows, no blur, no lag. It feels natural, like standing on a real tee box.
Once you’ve nailed the setup, the SkyTrak+ doesn’t just show shot data; it pulls you into the game. And that’s when practice stops feeling like work and starts feeling like play.
Before setting up your projector, double-check the SkyTrak+ system requirements. Verifying device and operating system compatibility ensures that your launch monitor communicates smoothly with your computer or tablet, preventing connection issues during simulator use.
Thanks for reading!