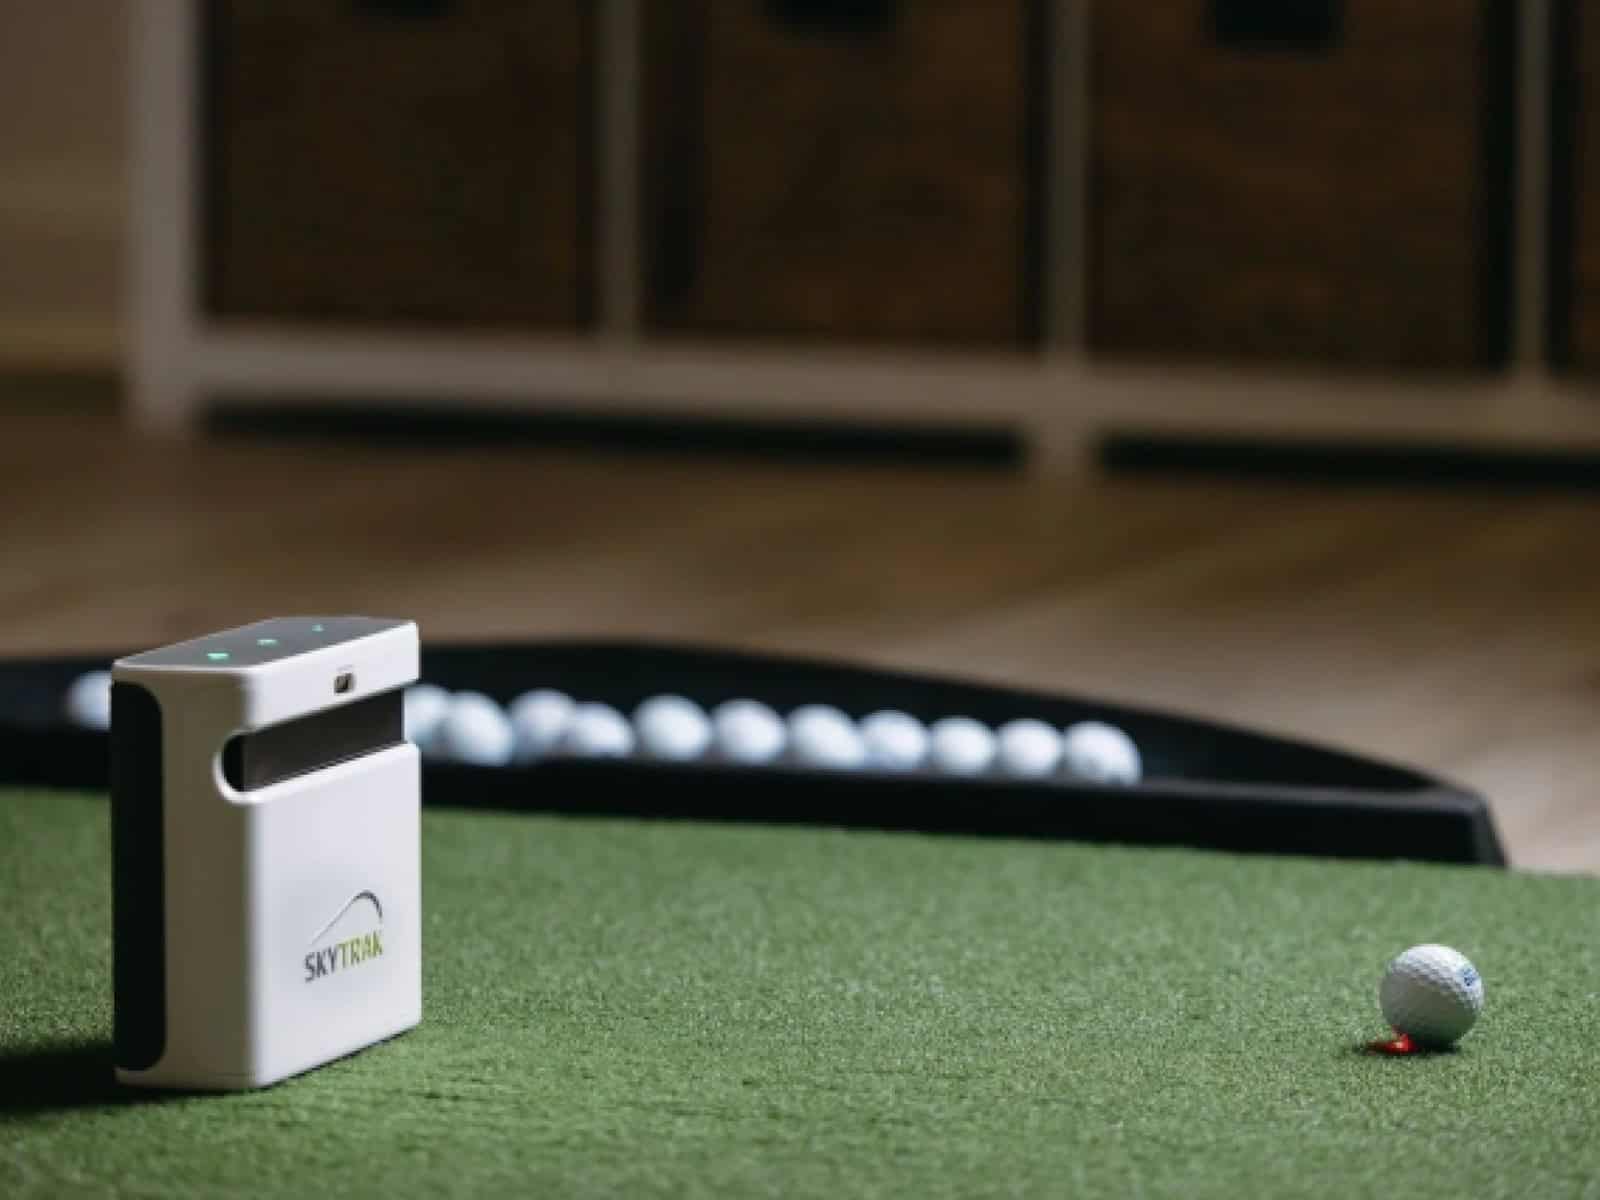
Ball position can make or break your SkyTrak+ experience. Place it right, and you’ll get crisp, reliable numbers every swing. Miss the sweet spot, and you’ll be chasing down why the data looks off.
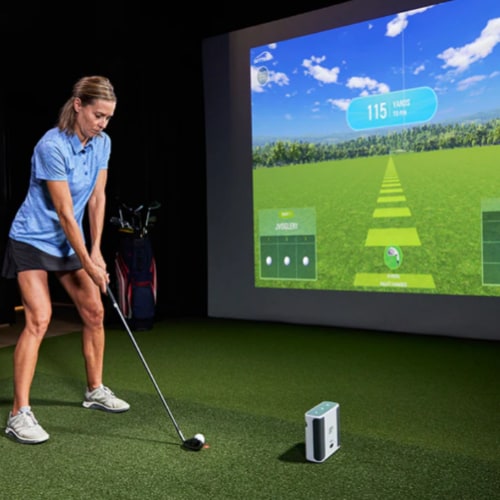
Think of the laser dot as your bullseye. That’s where to place SkyTrak’s focus—on a ball set just right for your club and swing speed. You’ll also want to know how far the unit sits from the screen so your readings stay true, whether you’re in a tight garage bay or a wide sim room.
In this guide, you’ll learn the exact skytrak ball placement for drivers, wedges, and putters, how far should SkyTrak be from screen setups, and small tweaks that keep your readings sharp shot after shot.
Leveling and Aligning the SkyTrak+ for Accuracy
First things first—your SkyTrak+ has to sit flat and steady. Use the Device’s Level feature in the app and aim for 0° on both roll and tilt. Even a slight lean can throw off readings, so adjust the feet or shim the case until it’s dead level with your hitting surface.
Next, you want the unit perfectly parallel to your target line. Lay down an alignment stick or two to guide you, or use the two-dot Alignment Mode in the app to match the lasers to your intended ball flight.
Once you’ve found the sweet spot, lock it in. Mark the floor or mat with tape so you can drop the unit back in place every time. This saves you from guessing where to place it after moving it.
Finally, keep it still. If your hitting mat shifts during practice, it can nudge the unit off-line without you noticing. Secure the mat and the unit so they stay put—because when it moves, your numbers start lying.
Optimal Ball Placement for Different Clubs
Getting the ball in the right spot for each club type can make the difference between spot-on readings and frustrating misreads. Small adjustments based on swing speed, loft and shot type will help you get the most accurate data possible from your SkyTrak+.
Standard Position for Most Shots
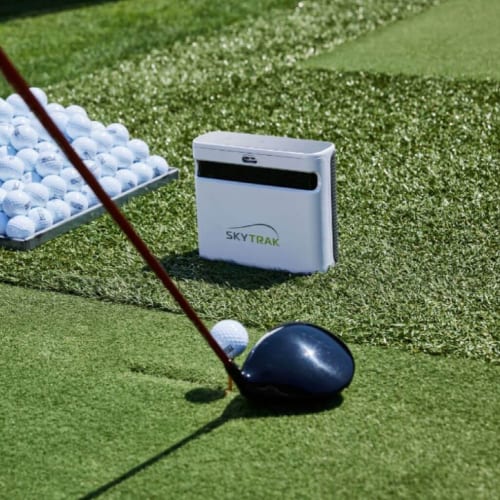
The laser dot is your starting point for consistent readings. For most clubs, place the ball directly on the dot. This ensures SkyTrak+ captures launch, spin and speed data accurately without extra adjustments.
Drivers
Swing speed plays a role here:
- If you have a faster swing, position the ball slightly behind the dot to give the sensors more capture time.
- Standard swing speeds work well with the ball on the dot.
- For slower swings or when seeking a higher launch, move the ball slightly ahead of the dot.
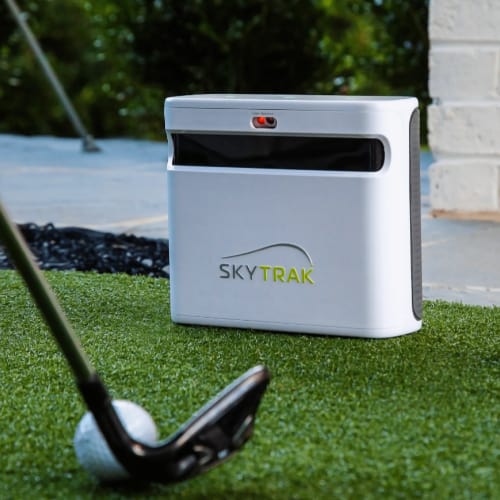
Wedges
High-launch shots from wedges can be tricky to track. Place the ball about one inch forward of the dot, and keep the logo facing the SkyTrak+ lens. This position improves detection and reduces missed reads for lob and sand wedges.
Putters
For putting on simulator greens, the ball should be just a touch closer to the dot, especially on thicker hitting surfaces. This adjustment ensures smooth roll detection and more reliable data for short game practice.
Ball Orientation and Marking for Better Spin Data
Getting spin data right starts before you swing. SkyTrak+ reads the ball’s surface patterns, so how you position it matters. A poorly placed logo can mean the system struggles to track rotation, costing you accuracy in shot feedback.
Facing the Logo Toward the Lens
Turn the ball so the logo faces directly toward the SkyTrak+ lens. This gives the camera a clear, consistent mark to follow, especially in fast-spinning wedge and iron shots.
Without this, the device works harder to find a reference point, which can affect spin readings.
Using Marked Lines for Consistency
If you want to perfect alignment, draw a straight line on the ball with a marker. Use this line the same way every shot: parallel to your target line and visible to the SkyTrak+.
This method can also help during putting practice, where roll consistency matters.
Choosing the Right Ball Condition
Scuffed or dirty balls throw off the image recognition. Stick to clean, white balls when possible.
In addition, discolored covers or heavy wear can mask the logo and reduce tracking reliability. Keep a small batch of balls in good condition for practice.
Once you’ve nailed orientation and marking, the readings become more trustworthy, and you might start noticing shot patterns you’ve never seen before.
Lighting and Environmental Considerations
Light plays a bigger role in SkyTrak+ accuracy than most golfers realize. The cameras rely on a clear visual of the ball, so the right conditions help the system capture every detail without error.
Indoor Lighting Setup
Indoors, aim for even lighting over the hitting area. Avoid harsh spotlights that create glare on the ball’s surface or shadows in the hitting zone.
Bright LED panels work well when mounted overhead and slightly in front of your swing position. This keeps the lens clear of direct light while illuminating the ball.
Outdoor Lighting Conditions
Outdoors, sunlight can be both friend and foe. While natural light is bright enough, direct beams into the SkyTrak+ lens can cause misreads.
Position your setup so the sun is behind you or use a canopy to block the lens from direct rays. This approach is especially helpful in mid-day or late-afternoon sessions.
Shading for Better Accuracy
If you can’t control the sunlight’s direction, create a shaded hitting zone. Even a portable shade tent or an umbrella clamped to the mat can make a big difference. This improves sensor visibility and reduces glare from reflective golf balls.
Perfecting your lighting is as important as nailing ball placement. The more consistently the unit sees the ball’s surface, the more trustworthy your shot data becomes.
Troubleshooting Ball Positioning Issues
Repeated misreads, unusually high or low spin or sudden distance changes can point to bad placement. If you’re hitting solid shots but the data feels off, the ball might be too far from the laser dot, angled wrong or outside the optimal zone.
Quick Fixes
First, check your ball placement. Move the ball so it’s directly on or just slightly around the dot, and make sure the logo faces the lens. Think of it as keeping the ball in the “camera’s sweet spot.”
Recalibrating the Setup
If problems keep showing up, re-level the device and confirm alignment. A tiny shift in angle can change how the system sees the ball. This is especially important if your mat moves during practice.
Adapting for Swing Speed and Shot Type
Fast swings may need the ball slightly behind the dot to give the sensors more time to capture. High, soft shots (like lobs) often benefit from being a touch forward.
If you continue experiencing misreads even with proper placement adjustments, it may not just be about ball position. In such cases, reviewing common SkyTrak+ shot detection issues can help you identify whether lighting, sensor alignment, or software calibration is causing the problem.
Our guide to How to Troubleshoot Inconsistent Shot Reading in Multi-Player covers the subject in depth.
Frequently Asked Questions
Before diving into specific answers, it’s worth noting that small details in ball position, lighting and setup can make or break your SkyTrak+ readings. The following questions address the most common placement and accuracy issues golfers run into.
Can I use colored golf balls with SkyTrak+ without losing accuracy?
Yes, but stick to balls with a clear logo or high-contrast marking. Solid colors without markings can make it harder for the system to track spin, especially at higher speeds.
How does tee height impact driver readings on SkyTrak+?
A tee that’s too high can push the ball above the camera’s optimal view, while a low tee can change launch conditions. Keep the ball centered at the height recommended for your club, and align it with the laser dot for accurate readings.
Does ball position change when switching between indoor and outdoor use?
It can. Outdoors, lighting and surface differences might require micro-adjustments. Indoors, placement tends to be more consistent as lighting and surface height stay the same.
How close can I place the ball to the laser dot without affecting readings?
Anywhere within a few inches is fine, but closer to the dot usually means better detection. Too far away and the camera may miss key data, especially on high-spin shots.
Will placing the ball logo at an angle still provide accurate spin data?
It depends on visibility. If the logo is still clearly facing the lens, readings will be accurate. A partially hidden logo can cause the system to struggle tracking rotation.
How do I know if poor readings are from ball position or from lighting issues?
Test in good lighting first. If misreads continue, adjust your ball placement. If lighting fixes the problem, your placement was likely fine.
Should I adjust ball position when practicing different shot shapes?
Yes. Draws, fades and specialty shots can benefit from subtle tweaks (like moving the ball slightly back or forward) to give the cameras the best view without changing your swing mechanics.
Final Thoughts
Getting the most from your SkyTrak+ comes down to consistency. The goal is always reliable shot data you can trust.
Think of your space as part of the equation. The right skytrak distance from screen (10′-12′) and a steady routine will keep your practice sessions smooth and productive.
If you treat setup as part of your pre-shot routine, accuracy becomes second nature. The more deliberate you are, the less you’ll need to wonder how far should the unit be from screen or if your ball is in the sweet spot. Get those details right, and you’ll spend more time swinging and less time troubleshooting.
For some golfers, accuracy issues are solved with setup tweaks, but others may face connectivity interruptions that prevent SkyTrak+ from working altogether. If that happens, refer to our SkyTrak+ network troubleshooting guide for step-by-step solutions to Wi-Fi and connection problems.
Thanks for reading!