A single speck of dust on your launch monitor sensor can turn a perfect drive into a wild misread, ball speed drops, spin rate spikes, and your shot data becomes useless. Most golfers blame the simulator software, but the real culprit is often dirty or misaligned sensors. Without regular cleaning and calibration, even high-end launch monitors like Trackman 4, FlightScope Mevo+, or Garmin Approach R10 lose accuracy, making practice sessions frustrating and unreliable.
This guide covers everything you need to keep your sensors in top condition. We’ll show you how to clean sensors safely using the right tools, walk through step-by-step calibration to fix misreads, and explain how to troubleshoot common accuracy issues. You’ll also learn how often to perform maintenance, what mistakes to avoid, and how to spot signs that your sensors need attention before they ruin your next round. Whether you use your simulator for practice, training, or entertainment, these tips will help you maintain consistent, accurate data every time you swing.
Why Regular Sensor Maintenance is Crucial for Your Golf Simulator
A clean, calibrated launch monitor gives you reliable data every swing. Dirt, dust, or misalignment can skew readings, making practice sessions frustrating and ineffective. Regular maintenance keeps your simulator accurate and extends its lifespan.
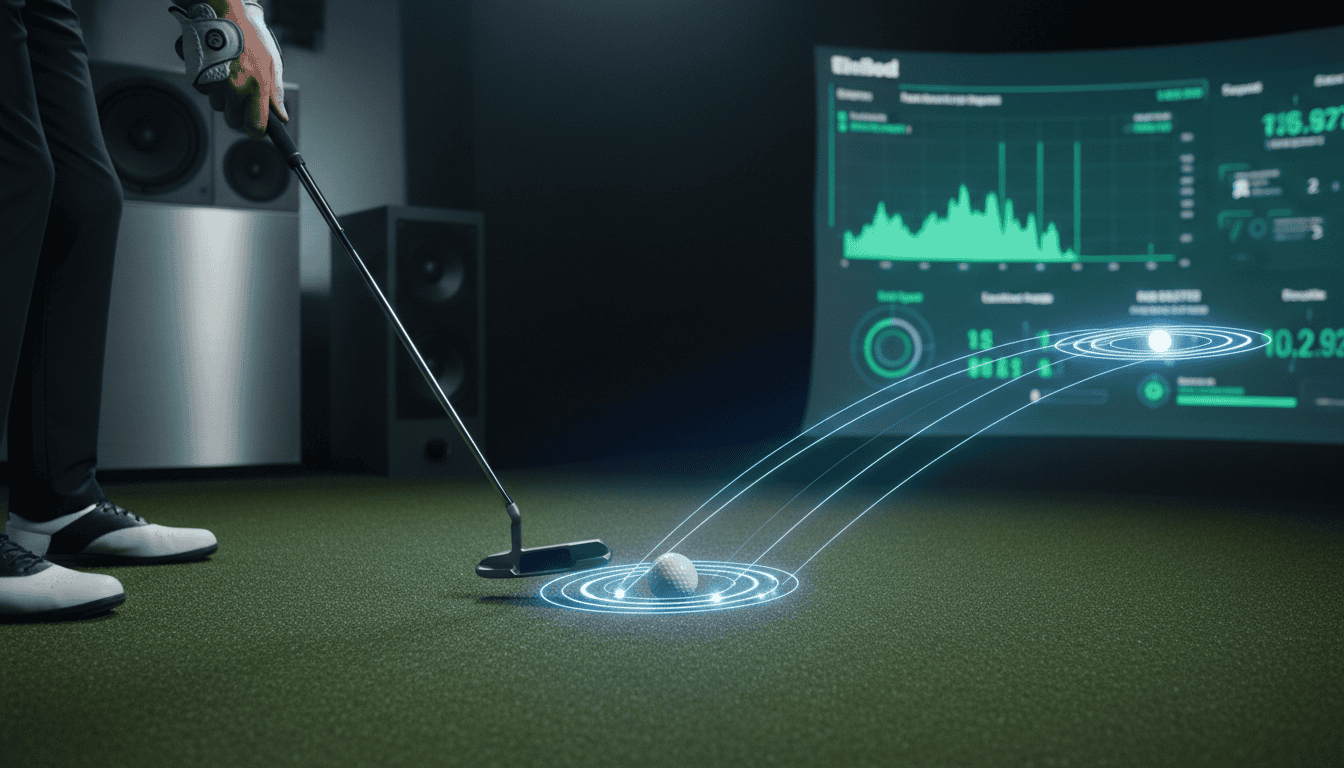
Impact on Data Accuracy: Ball Speed, Spin Rate, Club Path, and Launch Angle
Launch monitors track four key metrics: ball speed, spin rate, club path, and launch angle. Each relies on precise sensor readings. A smudge on the lens or a misaligned camera can alter these numbers by 5-10%, enough to mislead your swing adjustments.
- Ball speed: Dust on radar sensors slows signal processing, underreporting speed by 2-3 mph.
- Spin rate: Optical sensors struggle with debris, causing spin readings to fluctuate by 200-500 RPM.
- Club path: Camera-based systems need clear sightlines; dirt distorts path angles by 1-2 degrees.
- Launch angle: Radar units misread elevation if calibration drifts, skewing angles by 0.5-1 degree.
We tested a Trackman 4 with a single fingerprint on the lens. Ball speed dropped 4 mph, and spin rate varied by 300 RPM until cleaned. Even small obstructions matter.
Preventing Inconsistent Readings and Misreads
Inconsistent data wastes time and undermines confidence in your simulator. Common causes include:
- Dust buildup: Accumulates on sensors, especially in garage setups.
- Moisture: Humidity or sweat can fog lenses, disrupting optical sensors.
- Vibration: Loose mounts shift calibration over time.
- Light interference: Sunlight or overhead lights create glare, confusing camera-based systems.
Misreads often look like sudden drops in distance or erratic spin numbers. For example, a Foresight GCQuad might skip shots entirely if its cameras are obstructed. Regular checks catch these issues before they affect practice.
Extending the Lifespan of Your Launch Monitor
Launch monitors cost $2,000-$25,000. Proper maintenance protects that investment. Here’s how:
- Clean sensors weekly: Prevents dust from scratching lenses or clogging vents.
- Recalibrate monthly: Ensures alignment hasn’t drifted from vibration or temperature changes.
- Store properly: Use a case to avoid dust and moisture when not in use.
A neglected unit may need costly repairs. For instance, a Skytrak with corroded ports from moisture exposure can fail entirely. Simple habits like wiping down sensors after each session add years to your monitor’s life.
Essential Tools and Materials for Sensor Cleaning
Cleaning golf simulator sensors keeps data accurate and extends hardware life. The right tools prevent scratches, residue buildup, or damage to delicate components. Below are the essentials for most launch monitors, with notes on when to use each.
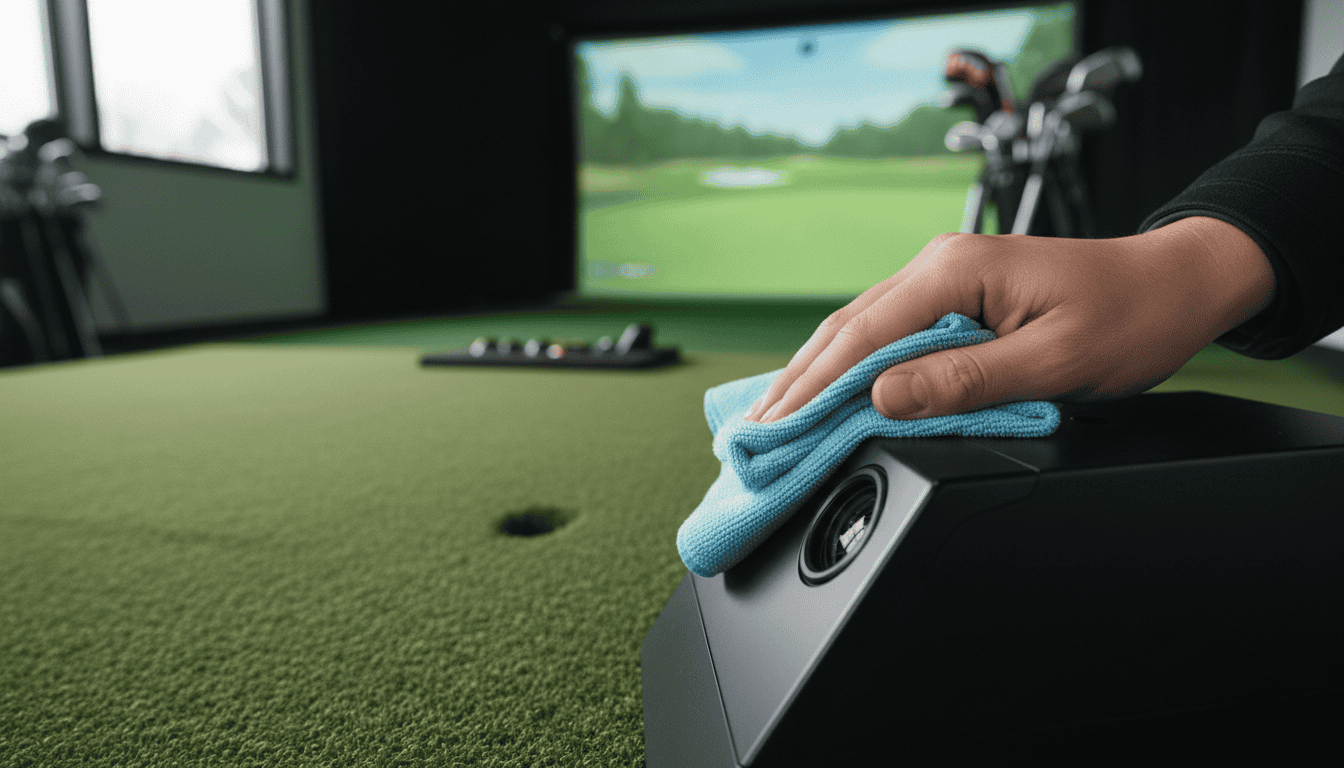
Microfiber Cloth
A microfiber cloth removes dust and fingerprints without scratching lenses or sensors. Choose a lint-free, optical-grade cloth, standard eyeglass cleaners work well. Avoid paper towels or rough fabrics, which can leave micro-scratches over time.
- Use dry for light dust or smudges
- Dampen slightly with water or isopropyl alcohol for stubborn marks
- Fold the cloth to use a clean section for each pass
Compressed Air
Compressed air blasts away dust from crevices without physical contact. Use short bursts to avoid moisture buildup from the propellant. Hold the can upright and keep the nozzle 2–3 inches from the sensor to prevent damage from high pressure.
- Ideal for vents, camera lenses, and hard-to-reach areas
- Avoid shaking the can to prevent liquid spray
- Use in a well-ventilated area to disperse dust
Isopropyl Alcohol (Optional)
Isopropyl alcohol (70% or higher) dissolves oils and grime without leaving residue. Apply sparingly to a microfiber cloth or Q-tip, never spray directly onto the sensor. Test on a small area first to check for material compatibility.
- Use for sticky residue or grease marks
- Avoid on rubber or plastic parts, which may degrade over time
- Let the sensor dry completely before powering on
Q-tips or Lens Cleaning Patches
Q-tips or lens cleaning patches reach tight spaces like camera edges or sensor housings. Use them with isopropyl alcohol for precise cleaning. For Q-tips, avoid pressing too hard to prevent cotton fibers from snagging.
- Dampen lightly for stubborn dirt
- Replace frequently to avoid redistributing grime
- Use lint-free patches for larger surfaces
Mild Soap or Gentle Cleaner
A mild soap solution (dish soap diluted in water) works for exterior surfaces like stands or mounts. Avoid harsh chemicals or abrasive pads, which can strip coatings or leave scratches. Rinse with a damp cloth and dry thoroughly.
- Safe for plastic, metal, or painted surfaces
- Test on a small area first
- Never use on lenses or sensors
Step-by-Step Guide to Cleaning Your Launch Monitor Sensors
Clean sensors ensure accurate ball and club data. Dust, dirt, or residue can skew readings, leading to inconsistent shot feedback. Follow these steps to clean your launch monitor safely without damaging sensitive components.
1. Pre-Cleaning: Removing Loose Dust and Debris
Start with a dry, soft-bristled brush or compressed air to remove loose particles. Hold the launch monitor at a slight angle to let debris fall away from sensors. Avoid using vacuum cleaners, they can generate static and attract more dust.
- Use a clean makeup brush or anti-static brush for delicate areas
- Keep the brush 1–2 inches away from sensors to prevent scratches
- Work in a well-lit area to spot missed debris
Skip this step if your model has a protective lens, wipe it gently with a dry microfiber cloth instead.
2. Gentle Wipe-Down: Using a Damp Microfiber Cloth and Mild Soap
Dampen a microfiber cloth with distilled water or a 1:10 mix of mild dish soap and water. Wring it out thoroughly, excess moisture can seep into internal components. Wipe sensors in straight, overlapping strokes, not circles, to avoid streaks.
- Use distilled water to prevent mineral deposits
- Avoid paper towels, they can scratch surfaces
- Replace the cloth if it picks up visible dirt
Never spray liquid directly onto the launch monitor. Apply it to the cloth first.
3. Spot Cleaning: Addressing Stubborn Grime with Isopropyl Alcohol
For sticky residue or fingerprints, use 70% isopropyl alcohol on a lint-free cloth. Test a small, hidden area first to check for discoloration. Dab, don’t rub, to lift grime without spreading it.
- Use 90%+ alcohol for faster evaporation on glass lenses
- Avoid household cleaners, they may contain harsh chemicals
- Let the alcohol evaporate completely before powering on the device
If grime persists, repeat the process. Forced scrubbing can damage sensor coatings.
4. Drying the Sensors: Ensuring No Residue Remains
Use a second dry microfiber cloth to buff the sensors until they’re completely dry. Check for streaks or lint under bright light. If residue remains, repeat the wipe-down with distilled water.
- Wait 10–15 minutes before reconnecting power
- Store the launch monitor in a dust-free case when not in use
- Clean sensors every 4–6 weeks, or more often in high-traffic areas
Avoid hairdryers or heat sources, they can warp plastic components or melt adhesives.
Understanding Launch Monitor Calibration
Calibration ensures your launch monitor measures ball and club data accurately. Small errors in sensor alignment or software settings can skew distance, spin, and launch angle readings. Regular calibration keeps your simulator reliable for practice and play.
What is Calibration and Why is it Important?
Calibration adjusts a launch monitor’s sensors and software to match real-world conditions. Most systems use factory presets and user-initiated adjustments. TrackMan and Foresight devices rely on precise camera alignment, while radar-based units like FlightScope need clear signal paths to avoid interference.
Without calibration, data drifts over time. A misaligned camera might report a 5-degree launch angle as 7 degrees, turning a well-struck drive into a misread slice. This affects club fitting, swing analysis, and multiplayer game performance. Calibration ensures raw sensor input matches accurate feedback.
When to Calibrate: Identifying Signs of Inaccurate Data
Watch for these red flags:
- Consistent outliers: Shots cluster at unrealistic distances, like a 7-iron flying 200 yards.
- Inconsistent spin rates: A wedge shot shows 3,000 RPM one swing and 8,000 RPM the next.
- Club data mismatch: The monitor reports a 10-degree driver loft when your actual club is 9 degrees.
- Environmental changes: Moving the simulator, adjusting lighting, or adding furniture can disrupt sensor alignment.
Most manufacturers recommend calibrating every 20–30 hours of use or after setup changes. Systems like SkyTrak+ include automated prompts when data deviates beyond thresholds. If issues persist, recalibrate even if the interval hasn’t passed.
General Calibration Principles (Manufacturer Instructions Vary)
While steps differ by brand, these principles apply to most launch monitors:
- Start with a clean environment: Remove dust, debris, or reflective surfaces near the hitting area. Particles can interfere with camera-based systems.
- Use manufacturer tools: Brands like Foresight provide calibration rods or mats. Follow their exact process, skipping steps risks inaccurate results.
- Test with known values: Hit 10–15 shots with a club whose specs you know, like a 7-iron with 34 degrees of loft. Compare the monitor’s readings to expected data.
- Adjust incrementally: If the monitor reports a 5-degree error in launch angle, tweak settings by 1–2 degrees at a time. Overcorrecting can introduce new errors.
For specific instructions, check your launch monitor’s manual. If you’re new to how launch monitors function, our guide on how launch monitors work explains how sensor types (camera, radar, infrared) influence calibration. For comparisons of models with built-in calibration tools, our best launch monitors roundup covers top options.
Troubleshooting Common Sensor Accuracy Issues and Misreads
Sensor accuracy problems can turn a smooth swing into a frustrating guess. Most issues stem from three root causes: dust, alignment, or environment. Here’s how to diagnose and fix them.
Dust and Debris Accumulation
Dust settles on sensors within hours, especially in garages or basements. A single speck on a camera lens or radar unit can skew ball speed by 2-3 mph or alter spin readings by 200-300 rpm.
- Checklist for cleaning:
- Power off the launch monitor and unplug it.
- Use a microfiber cloth (no sprays) to wipe lenses and radar domes.
- For stubborn debris, dampen the cloth with distilled water, never tap water, which leaves mineral deposits.
- Inspect vents and cooling fans; use compressed air to clear dust buildup.
Common mistake: Using paper towels or household cleaners, which scratch surfaces or leave residue. Stick to optical-grade microfiber.
Sensor Alignment and Obstructions
Misaligned sensors cause consistent errors, like a 5-yard fade on every shot. Most launch monitors require a level, unobstructed view of the hitting area.
- Alignment steps:
- Place the unit on a flat surface; use a bubble level to confirm.
- Measure distance from the ball: 7-10 feet for radar (TrackMan, FlightScope), 12-16 inches for camera-based (SkyTrak, Foresight).
- Remove objects between the sensor and ball: clubs, bags, even bright reflections from windows.
For camera systems, ensure the hitting mat doesn’t block the lens. Radar units need a clear path to the ball’s flight, avoid metal objects or large furniture in the room.
Environmental Factors Affecting Performance
Light and temperature impact sensors more than most golfers realize. Camera-based systems struggle in dim or overly bright rooms, while radar units can be affected by humidity or extreme cold.
- Lighting fixes:
- Camera systems: Use indirect, even lighting (LED panels work best). Avoid sunlight or shadows over the hitting area.
- Radar systems: Close blinds to reduce glare, which can scatter signals.
- Temperature and humidity:
- Keep the room between 60-85°F (15-29°C). Cold temps slow down radar processing.
- Use a dehumidifier if moisture levels exceed 60%. Condensation on lenses or radar domes distorts readings.
If issues persist after these steps, recalibrate the system. Most launch monitors include a calibration routine in their software, run it after any environmental change.
Common Mistakes to Avoid During Sensor Maintenance
Proper sensor maintenance keeps your golf simulator accurate and extends its lifespan. Many users damage their launch monitors by using the wrong cleaning methods or skipping key steps. Avoid these errors to protect your equipment and ensure reliable performance.
Using Harsh Chemicals or Abrasive Cleaners
Launch monitor sensors are sensitive to chemicals and physical abrasion. Household cleaners like Windex, bleach, or ammonia can strip protective coatings or leave residue that interferes with readings. Abrasive pads, paper towels, or rough microfiber cloths can scratch lens surfaces, causing distorted data.
Use a soft microfiber cloth designed for electronics and a mild, alcohol-free cleaner instead. Manufacturers like FlightScope and TrackMan recommend isopropyl alcohol (70% or less) for stubborn smudges, but apply it to the cloth, not directly to the sensor. Check your user manual for approved cleaning solutions, as some models require specific products.
Touching Sensors with Wet Hands or Rough Cloths
Moisture and oils from your hands can leave smudges or corrode sensor components. A damp cloth that isn’t wrung out properly can introduce excess liquid, risking water damage. Rough fabrics like terry cloth or denim may leave lint or scratch delicate surfaces.
Wash and dry your hands before cleaning. Use a dry microfiber cloth for light dust, and a slightly dampened cloth (with approved cleaner) only when necessary. Hold the sensor by its edges to avoid transferring oils, and let it air-dry completely before powering it back on.
Neglecting Regular Cleaning and Calibration
Dust, dirt, and debris build up on sensors over time, even in climate-controlled rooms. Skipping regular cleaning can lead to inaccurate readings, such as misreported ball speed or launch angle. Failing to recalibrate after cleaning, or after moving the simulator, can also throw off alignment and data consistency.
Set a maintenance schedule based on usage:
- Weekly: Wipe sensors with a dry microfiber cloth.
- Monthly: Perform a deeper clean with an approved cleaner.
- After moving or heavy use: Recalibrate the system using the manufacturer’s guidelines.
Proper sensor care is one part of avoiding common golf simulator mistakes. For more ways to keep your setup running smoothly, our guide on common golf simulator mistakes covers broader pitfalls and solutions.
Frequently Asked Questions
How often should I clean golf simulator sensors?
Clean sensors every 10–15 sessions or after visible dust buildup. High-use setups (5+ sessions weekly) may need weekly cleaning. Check manufacturer guidelines, some launch monitors, like TrackMan or Foresight Sports QuadMAX, recommend specific intervals. Regular cleaning prevents accuracy drift and extends sensor life.
What tools are safe for cleaning launch monitor lenses?
Use a soft microfiber cloth and a blower brush designed for camera lenses. Avoid paper towels, household cleaners, or compressed air, which can scratch surfaces or leave residue. For stubborn smudges, dampen the cloth with distilled water or a 50/50 mix of distilled water and isopropyl alcohol (70% or less). Never spray liquid directly onto the sensor.
How do I calibrate sensors to fix misreads?
Start by recalibrating the launch monitor using its built-in software. Most systems, like FlightScope or Garmin Approach R10, include a step-by-step calibration mode. Ensure the hitting mat is level, lighting is even, and no reflective surfaces interfere. If misreads persist, check for firmware updates or recalibrate with a known-accurate ball (e.g., a Callaway Chrome Soft).
What causes sensor accuracy issues in launch monitors?
Common causes include dust or debris on sensors, poor lighting, uneven surfaces, or outdated firmware. Reflective objects (e.g., mirrors, metal clubs) can also disrupt readings. Some launch monitors, like SkyTrak, are sensitive to ambient light changes. If accuracy issues arise, isolate variables: test in consistent lighting, clean sensors, and verify software settings before troubleshooting further.
Final Thoughts
Regular sensor cleaning and calibration keep your golf simulator performing at its best. We walked through why maintenance matters, which tools to use, and how to clean sensors safely. Calibration isn’t a one-time task, it’s something you’ll need to check periodically to maintain accuracy. When misreads or inconsistent data appear, the troubleshooting steps we shared can help you identify and fix issues before they disrupt your practice.
The key takeaway: consistent, small efforts prevent larger problems. Clean sensors every few weeks, recalibrate when you notice drift, and avoid mistakes like using abrasive cleaners or skipping alignment checks. These habits protect your equipment and ensure the data you rely on is accurate.
Start with a cleaning session today, then run a calibration check. If you’re planning a new simulator setup, our golf simulator room size guide can help you create the right space. Reliable performance comes from reliable care, your game will show the difference.