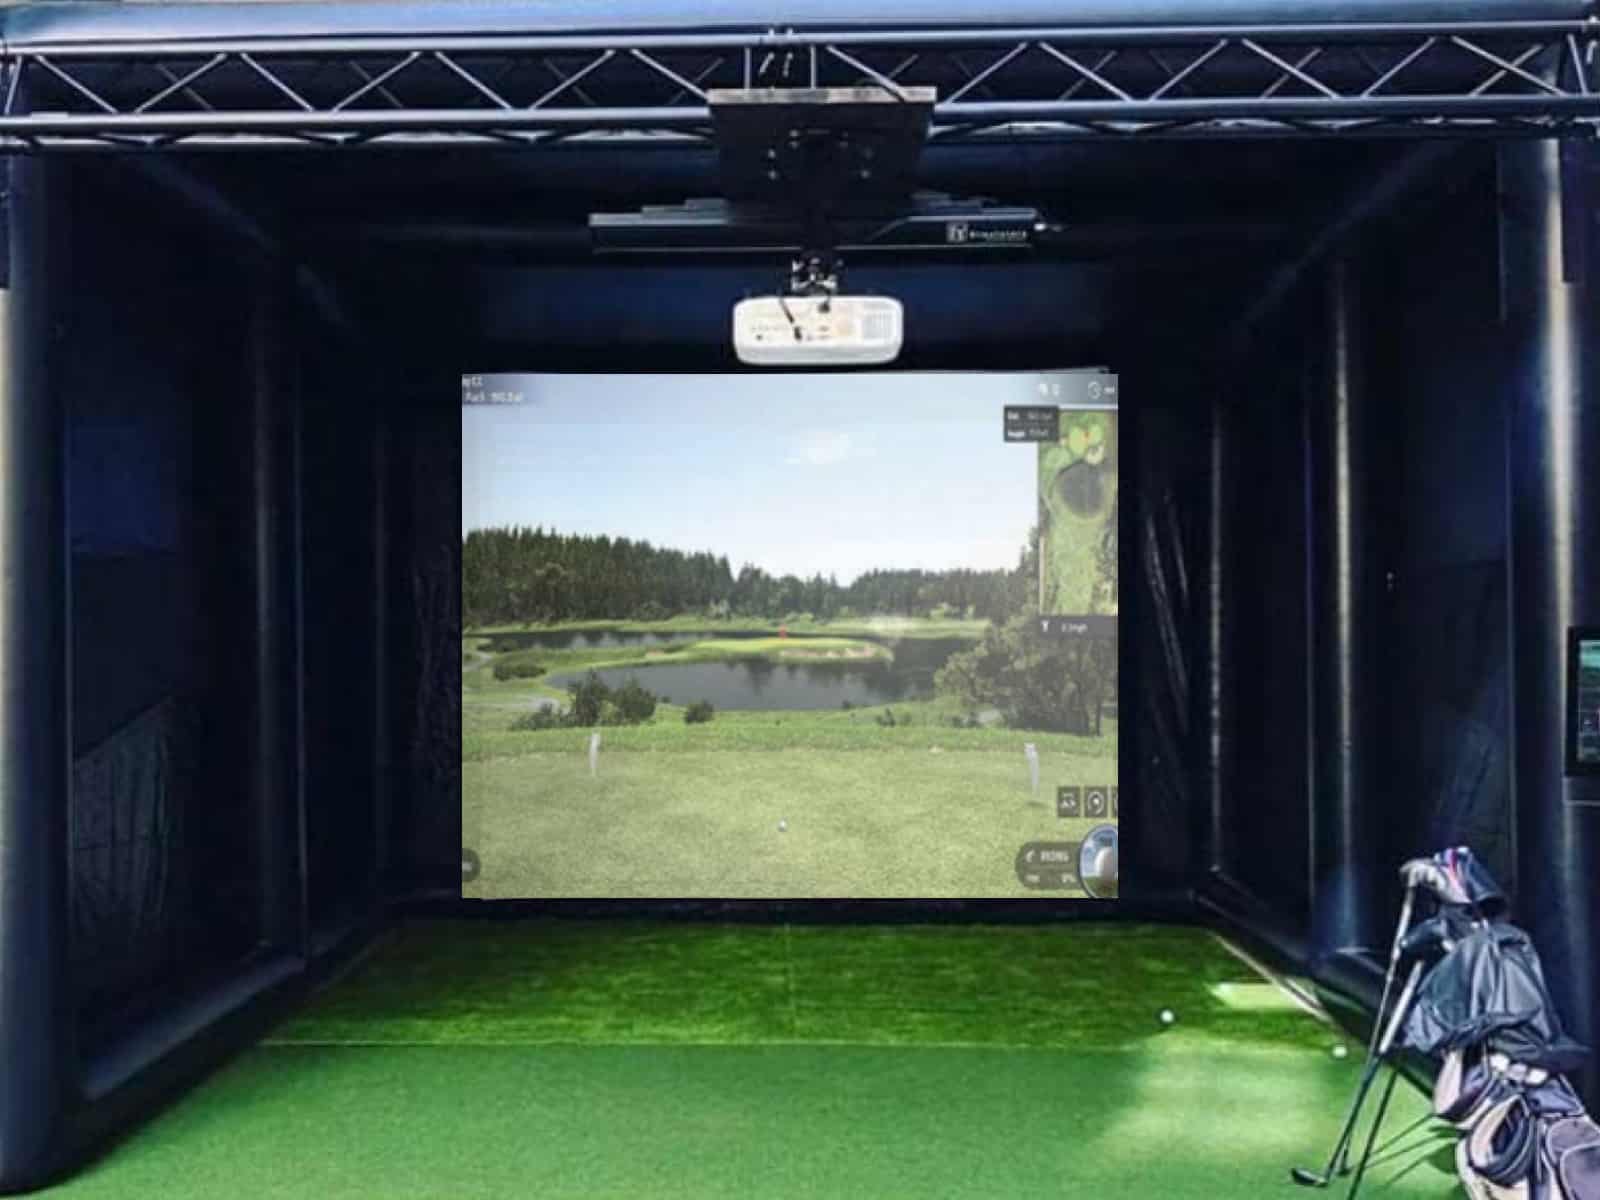
An inflatable golf simulator tent is a temporary, portable structure that creates an indoor-like golfing experience in your own backyard. These innovative tents house the key technology needed to accurately track your golf shots and simulate playing on virtual courses around the world using your available outdoor space.
Investing in an outdoor golf sim tent can be a great way to save indoor space since the entire package is installed outdoors. So, how can you build one, and what are the criteria to keep in mind when planning for an inflatable golf sim tent?
This article will provide answers to all those questions and more; it will guide you through everything there is to know before you start planning a golfing space in your backyard.
How Does an Inflatable Golf Simulator Tent Work?
An inflatable golf simulator tent is comprised of an air-supported frame covered in durable fabric panels. Structurally, it resembles a bounce house or other temporary inflatable structure. Once set up and powered on, a blower continuously pumps air to maintain the frame’s shape and keep the walls erect.
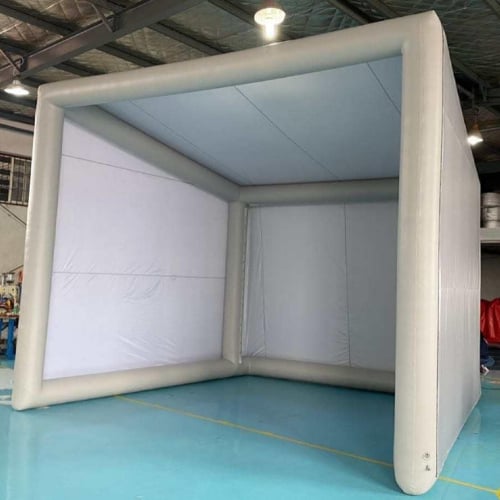
Inside this temporary enclosure, key components like a golf hitting mat, projector/screen, launch monitor, and netting transform the space into a high-tech golf simulator bay. As you strike golf balls off the mat towards the screen, the launch monitor tracks key shot data like ball speed, launch angle and curve. This information gets interpreted by the simulator software to show how your shot would play out on a virtual course.
Some key benefits inflatable simulator tents offer over traditional indoor simulators or outdoor driving ranges include:
- Convenient access – Practice or play full rounds whenever you want from home rather than driving to a club or facility
- Portability – Fully enclosed design allows you to set up/take down quickly and store the tent when not in use
- Outdoor enjoyment – Get fresh air and sunshine along with the high-tech simulation experience
- Realistic practice – Use your own clubs and balls while accurately tracking shots just like on a real course
- Entertainment space – Turn your backyard into a fun hangout spot for golfing with friends or solo practice
- Saving indoor Space – No need to dedicate any room or indoor space to your sim package
With advancements in inflatable materials, frame engineering and simulator technology, today’s inflatable golf tents deliver an incredibly realistic and convenient experience previously only found at indoor training facilities.
Key Components of an Inflatable Golf Tent
There are several key components that work together to create the complete golf simulator experience inside an inflatable tent structure:
Frame
The inflatable frame establishes the walls and roof using a series of interlocking inflatable beams. These maintain the tent’s shape when filled with continuous airflow from a blower motor. Frame materials typically feature durable PVC or polyester fabric coatings.
Blower
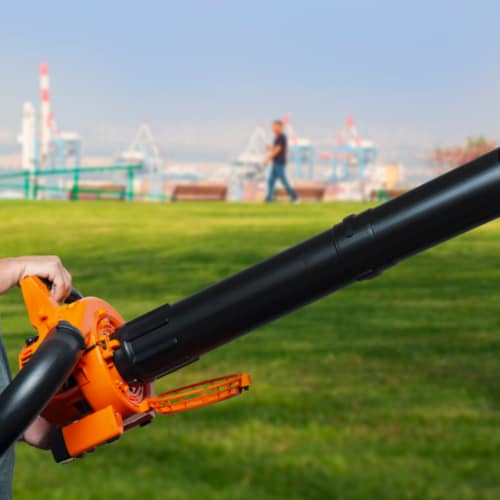
To keep the walls erect, an electric or gas-powered blower provides a constant stream of air into the frame structure.
Blowers need to match the size of the tent and run nonstop when inflated.
Hitting Mat
Special turf or rubber golf hitting mats allow you to strike balls cleanly without damaging clubs. It is recommended to use mats that match standard lengths from golf tees and feature realistic grass textures for an enhanced and realistic feel.
Launch Monitor
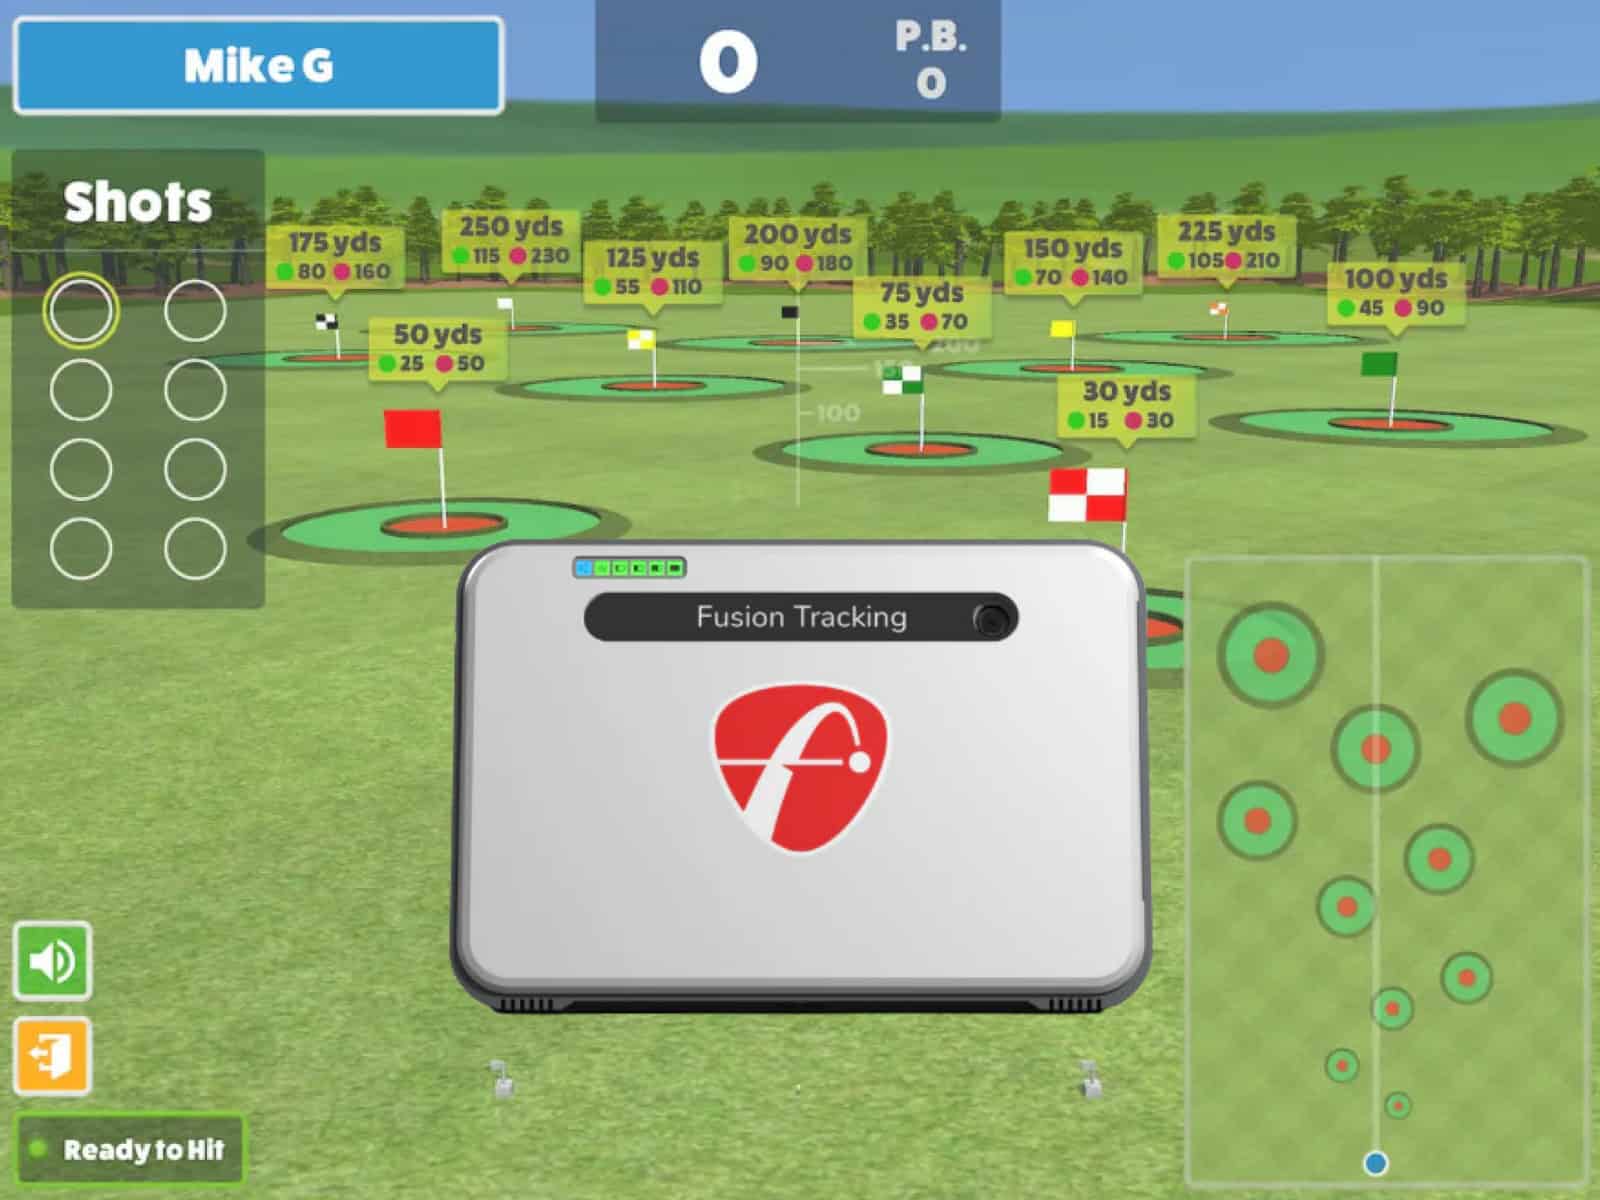
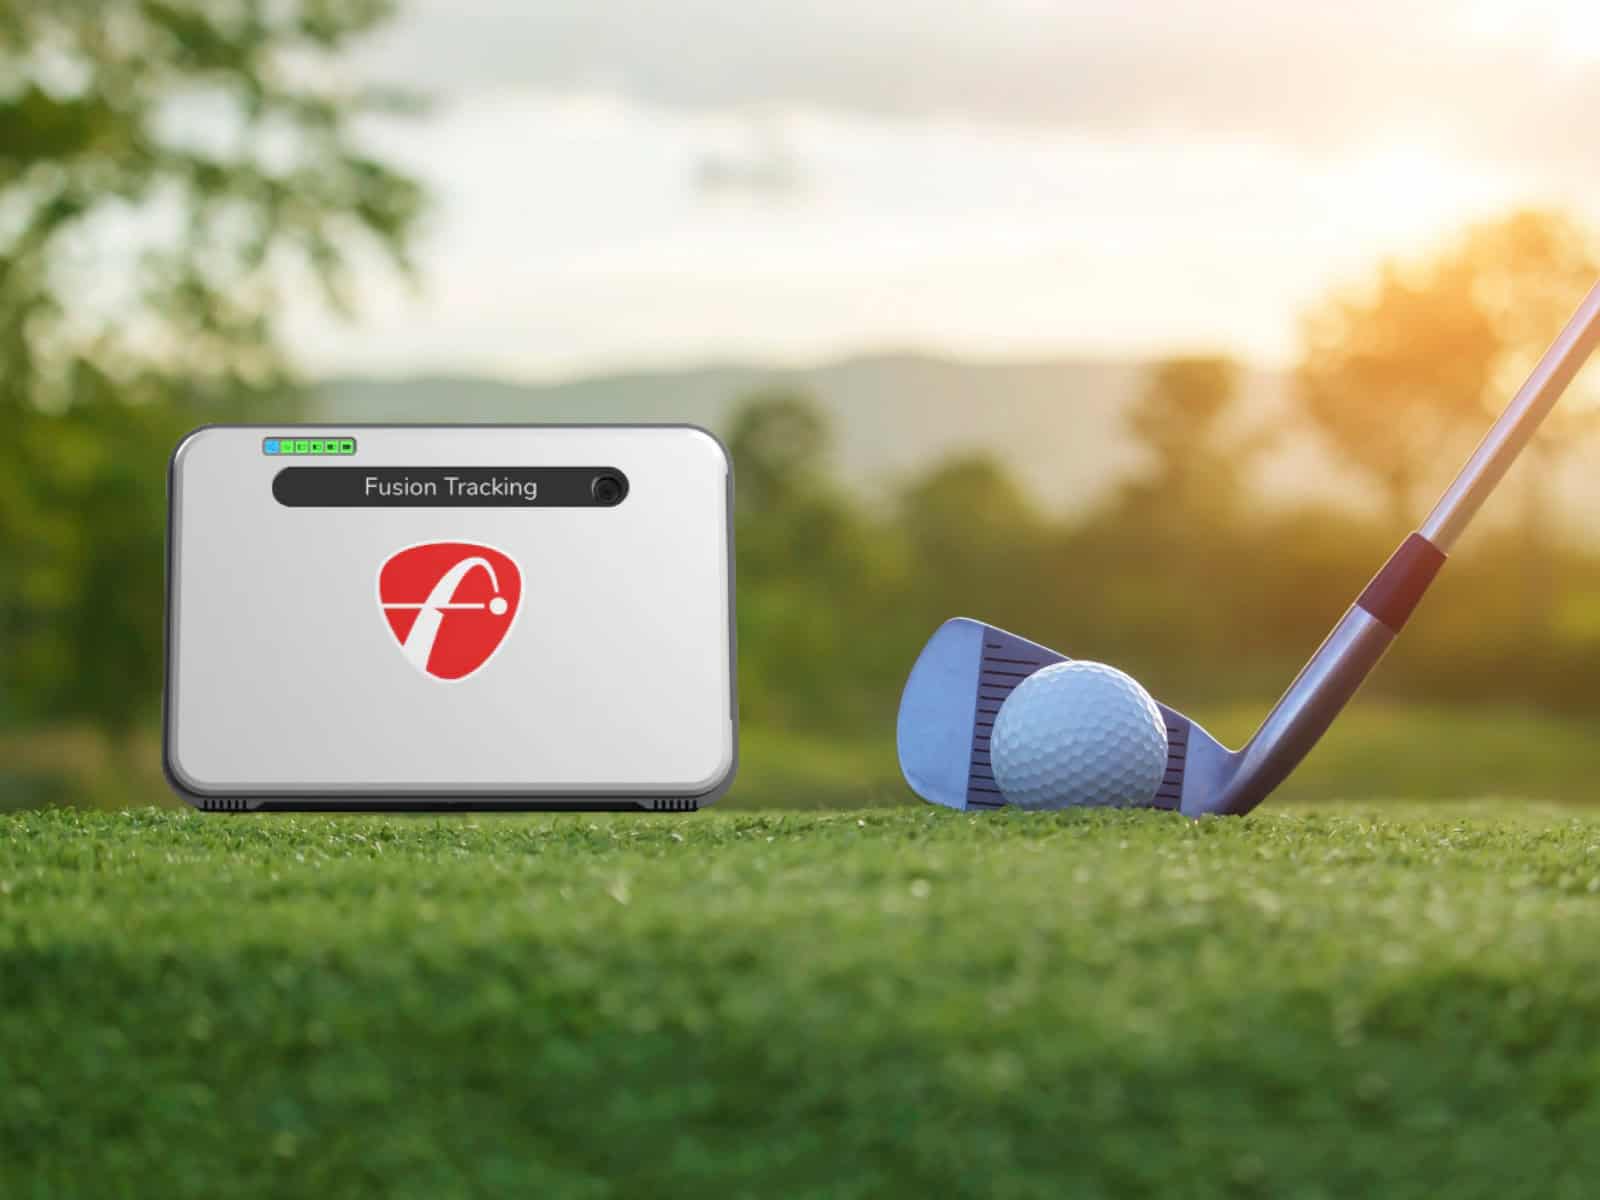
Radar-based launch monitors sit behind the hitting area to precisely track key shot data, including ball speed, launch angle, curve, etc. This data feeds into the simulator software. Radar units are best because they are extremely accurate in an outdoor setting.
Projector & Screen
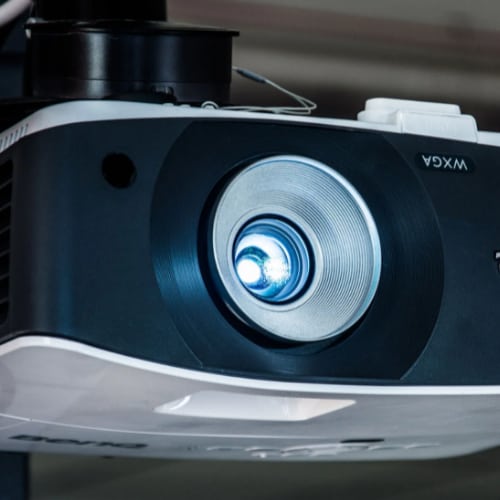
A high-brightness projector displays the virtual golf course onto the screen in front of the mat. The larger the projected image size, the more immersive the simulator experience.
Consider an absolute minimum of 3,000+ lumens to have clear and visible images despite ambient lighting.
Netting
Heavy-duty netting protects the side walls and roof of the tent from wayward shots, preventing damage. Nets can be removable or built-in as part of the fabric walls.
Speakers, Lighting & More
Most inflatable golf tents allow the integration of other accessories like sound systems, interior lighting, heating/cooling, dividers, etc. to further enhance the simulator bay environment.
Choose the accessories to include based on your needs, preferences and budget.
The combination of these elements within an inflatable enclosure allows anyone to practice golf shots and play rounds as if hitting on real courses. The portability also makes them easy to set up and take down wherever sufficient yard space exists.
Key Factors to Consider Before Purchasing A Golf Tent
Deciding if an inflatable golf simulator tent is right for your needs and space involves evaluating a few key considerations beforehand. Assessing your available backyard area, portability requirements, and the durability of different tent models will help determine the best fit.
Available Space

The first major consideration is ensuring you have an adequate outdoor area to set up and use an inflatable golf tent. Tents come in a range of footprint sizes, typically starting from 10 x 10 feet up to 20 x 20 feet or larger. Consider the following:
- Tent position – There needs to be sufficient flat cleared space in your yard to accommodate the tent’s base dimensions. Any slope or uneven grade makes setup difficult and less stable.
- Safety buffer zone – Allow an extra 10 feet of buffer space on all sides for safety from errant golf shots. This zone ensures you minimize risks of balls leaving the tent area.
- Overhead clearance – Check for any overhanging tree branches or powerlines that could obstruct the tent ceiling and limit swing height. You need vertical clearance of at least 12 feet.
- Zoning laws – Your local zoning laws may prohibit or restrict the placement of temporary structures like inflatable tents. Check guidelines and homeowners association rules first. Permits may be required.
Proper space dimensions allow you to take full golf swings safely and give virtual balls realistic carry and roll after striking shots off the hitting mat.
Portability
Inflatable golf tents provide great portability compared to fixed indoor simulators. You still need to assess your specific needs around moving the tent.
Transportation
Smaller tents up to 12 x 12 feet may be packed down into a carrying case to transport in a minivan or SUV. Larger options may require a truck bed or trailer to move while deflated/packed.
Assistance
Check tent bundle options, including carrying cases with wheels or added labor services to help with setup/takedown.
Larger tents often require 2+ people to handle.
Outdoor storage
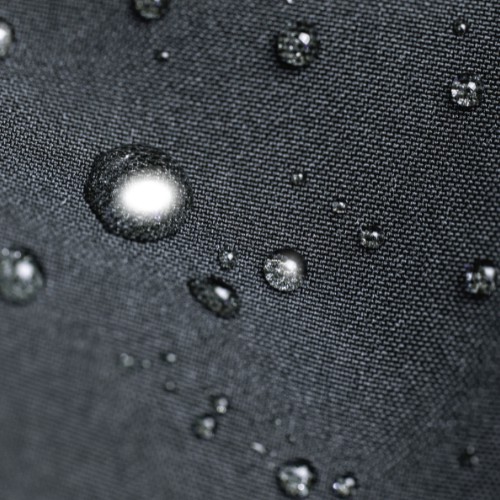
When not in use, tents need proper storage space. Leaving erected outside exposes them to potential wind/rain damage. Choose durable waterproof storage bags to keep your investment safe for a longer period of time.
Quick setup/takedown
From unzipping the storage bag to full inflation can take as little as 2 minutes with simple designs. More complex tents take 10-15 minutes. Plan accordingly, and choose blowers with a capacity that fits the size and needs of your tent.
Evaluate both your physical strength and vehicle capacity to determine realistic portability needs. This also helps narrow suitable tent sizes and feature options.
Durability
Inflatable simulator tents reside outdoors and endure elements like the sun, wind and rain. Assess each tent’s construction and materials to match your climate and use cases:
- Frame/wall fabric – High-quality Oxford polyester or PVC materials resist UV rays and moisture longer than cheaper blends. Multiple interior tether points add stability.
- Wind resistance – Trainer-level tents handle moderate wind gusts up to 15-20 MPH. More rugged designs meet 35+ MPH for high weather resistance.
- Anchoring points – Proper anchoring ties down the tent frame to prevent wind lifting. More anchoring loops provide better stability and strength.
- Warranties – Average 1-2 years of warranty coverage on workmanship. Top providers offer up to 4 years for weather damage, with pro-rated discounts after the initial period.
Prioritizing durability ensures your inflatable tent provides many years of reliable entertainment and practice use despite outdoor elements.
Feature and Accessory Options
Beyond the core tent structure itself, inflatable golf simulators allow integrating a variety of components to enhance the virtual golf experience. Assessing factors like launch monitor accuracy, climate controls, audio-visual setups, and more helps match the right feature set to your needs and budget.
Launch Monitors
The launch monitor hardware is the brains analyzing each shot’s key data like ball speed, launch angle and spin rate. Consider the following:
Basic vs Advanced Options
Entry-level monitors start under $500, tracking basic shot metrics. Mid-range units from $800-$2,500 offer more detailed analytics for skill improvement.
High-end tour-level monitors cost over $5,000 and provide plenty of data points related to different shot types. Consider your skill level and available budget to choose a suitable tracking device.
Radar vs Camera (Photometric) Tracking
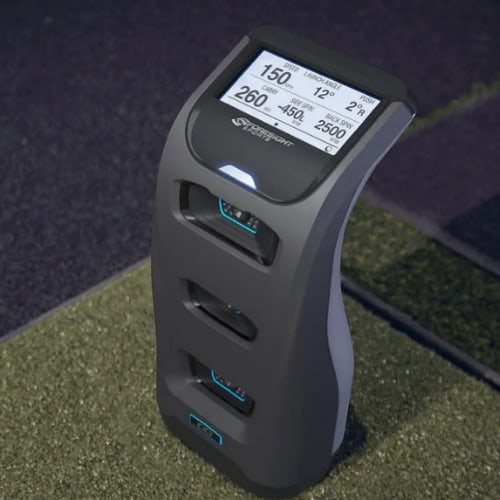
Doppler radar monitors sit behind nets, using Doppler tracking to measure initial ball metrics off the clubface. Radar units provide the best accuracy outdoors, but they require more length and longer flight time to provide the best accuracy.
Photometric camera monitors need clear line-of-sight downrange for tracking. They don’t require too much length, as they usually track the data during and after the impact moment. Photometric units are known to be affected if their lens comes in direct contact with the sun’s rays. Still, modern units from Foresight Sports, provide almost the same level of accuracy both indoors and out.
Built-In Display
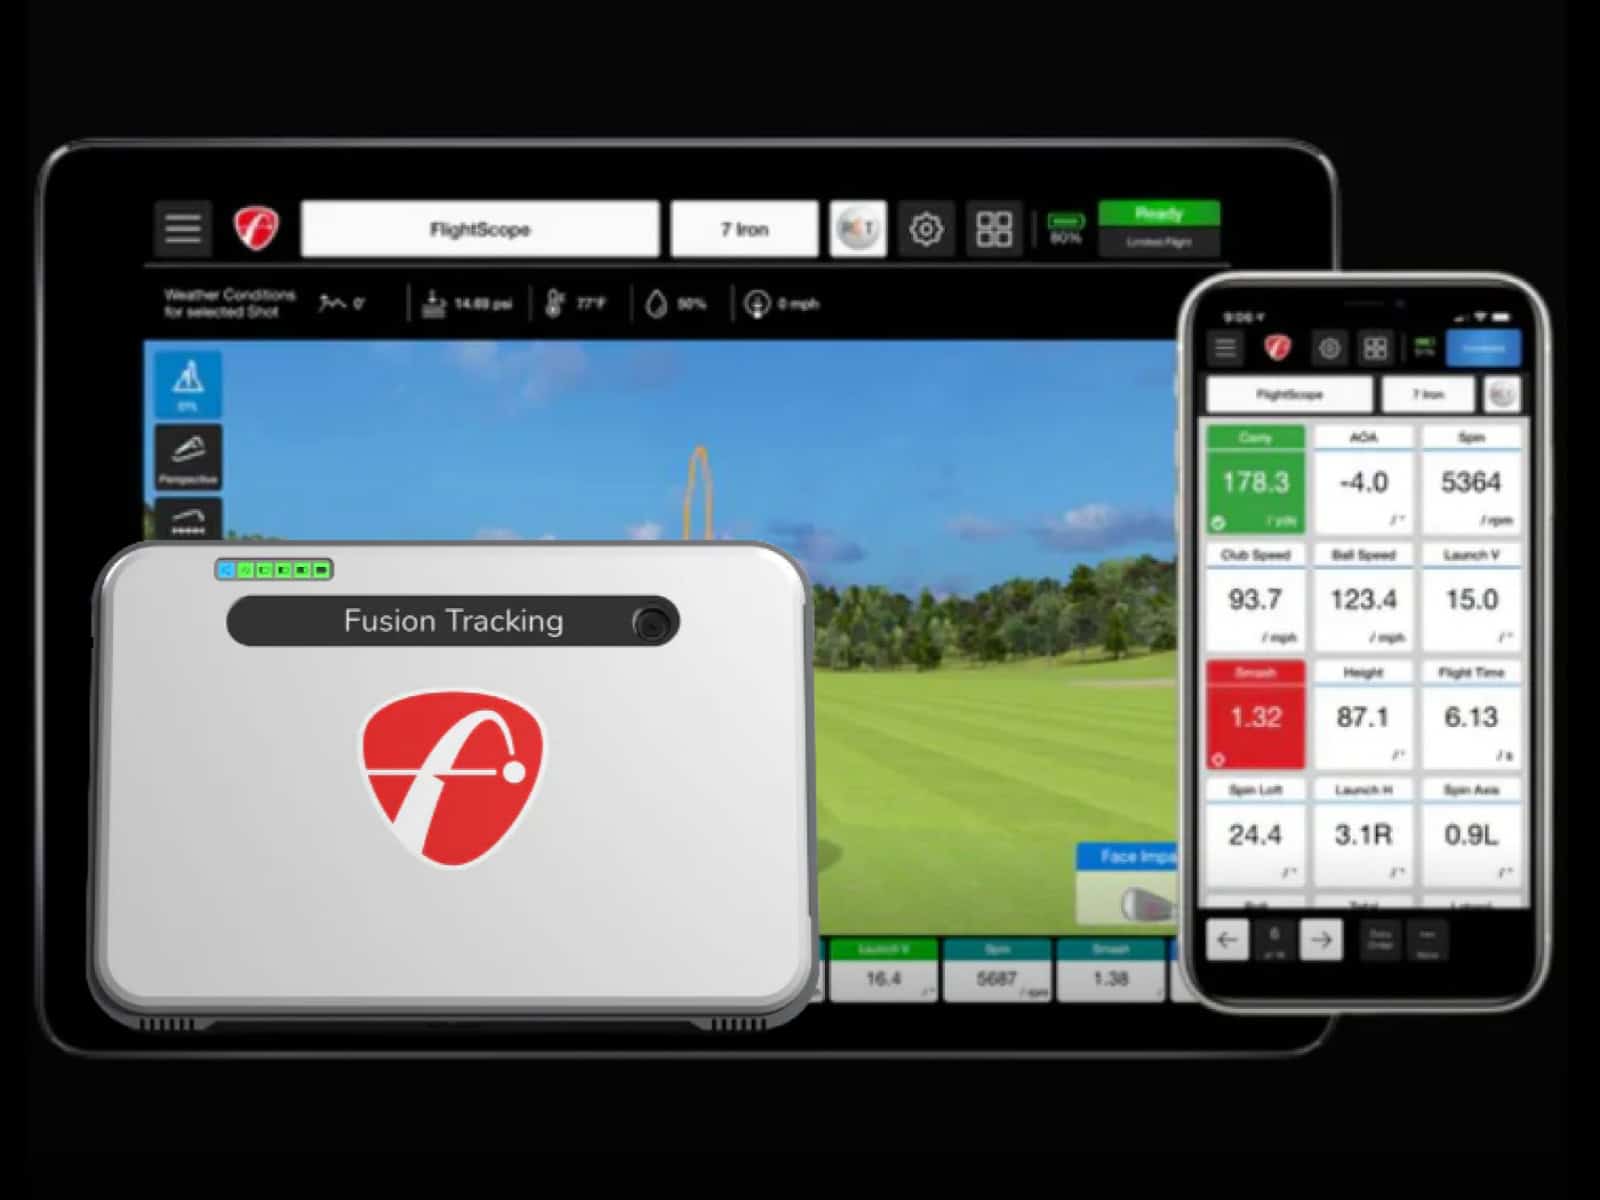
Some monitors, such as the FS GC3, GCQuad, Uneekor EYE MINI, Full Swing Kit, etc. show data locally on integrated LCD displays. Other launch monitors provide the tracked data wirelessly streamed to mobile apps, and tablets make great external displays to easily review shot metrics.
More advanced launch monitors enable analyzing shot shape, quality of strike and club delivery metrics for dialing in your swing. Invest in a launch monitor that offers features and metrics that best suit your skill level and personal needs.
Hitting Mats
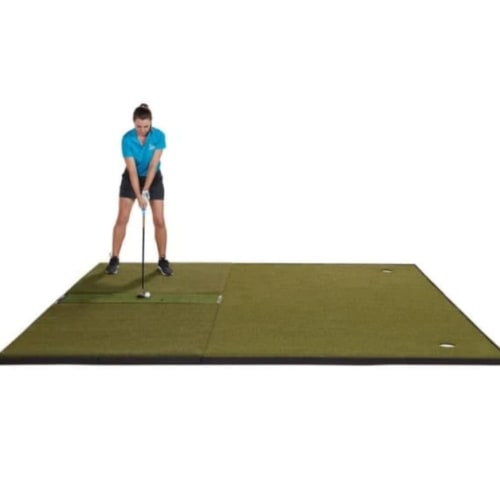
Hitting mat composition affects feel underfoot and ball bounce behavior; these are different types of mats based on their materials:
- Fiber Turf Mats – Synthetic turf materials most closely mimic grass, providing realistic divots and chip shots. These allow the use of regular balls.
- Rubber Top Mats – These are more forgiving rubber mats that ease fatigue but produce lower ball bounce than turf. They typically require using practice balls.
- Ball Tray Mats – Hybrid designs with turf tops and closed ball trays prevent balls from scattering while retaining true chip/divot action.
Mats come in a variety of lengths and thicknesses. Ensure to select appropriate dimensions to match the tent space and desired tee positions.
Projectors & Screens
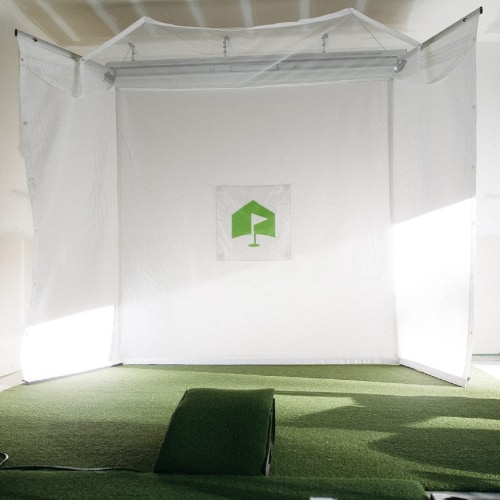
Visually displaying the virtual courses requires sufficient projection quality and screen size:
- For 10′ x 10′ tents, 4500+ lumen 1080p projectors paired with 10-foot diagonal screens suffice.
- Larger tents demand over 5000+ lumen projectors and 12-15 foot screens for adequate imagery.
- Side angle screens (vs straight back) allow more room for swing, as do retractable screen options.
- Screen materials should balance vivid colors and daylight visibility, including backlight blocking.
With 4K projectors and ultra-short throw lenses now available, visual fidelity continues to improve.
Climate Control Features
Maintaining comfortable golfing conditions inside relies on heating, cooling and dehumidification:
- Small electric or propane heaters adequately warm smaller tents. Integrated HVAC systems heat and cool large facilities.
- Exhaust fans and roof vents circulate fresh air. Strategic vent placements prevent screen glare.
- Dehumidifiers help avoid mugginess and potential mold growth on the hitting mats and other components during storage.
Automated climate controls tuned for year-round use may suit regions with extreme seasons and weather conditions.
Additional Accessories
Other optional accessories you can use in your inflatable golf sim tent also exist:
- Dividers – Interior partitions properly separate adjacent hitting bays for teaching pros or group sessions.
- Audio – Bluetooth speakers (preferably portable) enhance the golf experience with natural course background noise or driving music.
- Lighting – Supplemental LED rope lighting or ceiling strips allow nighttime usage.
- Safety nets – Extra side barriers and ceiling nets provide additional ball containment protection.
Consider which accessories best align with your needs and budget to create the ultimate backyard golf simulator tent environment.
If you’re looking to elevate your setup even further, exploring our golf simulator accessories guide can provide valuable insights.
How To Choose The Best Inflatable Tent for your Golf Simulator?
With a solid understanding of inflatable golf tent capabilities and considerations around space, portability, durability, and features, you can now confidently evaluate options and make a purchase decision.
Keep the following additional tips in mind:
Rank Features By Priority
Create your own hierarchy of the most important aspects based on how you plan to use the simulator tent:
- Frequent users may prioritize durability and extensive climate controls.
- Those lacking space could rank portability and quick setup/teardown the highest.
- Golfers focused on improving may emphasize advanced launch monitor accuracy over other attributes.
Ranking user priorities guides smarter tradeoff decisions when selecting tent models and packages.
Determine Your Budget

Inflatable golf tent packages range tremendously in pricing:
- Basic single-person pop-up tents start under $2,000.
- High-end tour simulator models approach $20,000+ with extensive accessories.
- Most consumers buy in the $3,500 to $7,500 range.
Assess models in your affordability tier that best align with your ranked feature priorities.
Research Top Manufacturers
While dozens of retailers sell inflatable golf tents, a few reputable manufacturers lead the market in product quality, durability and customer support.
For more peace of mind, we recommend buying from trustworthy retailers like Amazon, or if you want more variety, specialized companies like Yolloy-Tent provide various options with different sizes and price points to choose from.
Shop Early
Inflatable simulator tent demand continues to rise significantly. Inventory sells out quicker, so don’t delay once ready to purchase:
Since production isn’t scaled to meet surging consumer demand yet, lead times on customized tents can take 4-6+ weeks during peak season. That’s why reserving/paying early can secure build slots and materials so that you receive your order on time.
Frequently Asked Questions
The following are some widely asked questions concerning outdoor inflatable golf bays. We will provide answers to make everything as clear as possible.
How difficult is it to inflate and deflate the tent?
Most inflatable golf tents utilize an automatic electric blower that continuously pumps air to keep the tent inflated. Setups involve rolling out the deflated tent, staking down corners, plugging in the blower and allowing 1-2 minutes for full inflation. Takedown is equally simple by turning off the blower and allowing the tent to fully deflate before rolling up.
Can I keep the tent inflated full time?
You can keep tents inflated as long as outdoor conditions are safe, though most manufacturers recommend periodic deflation after a few days of use. Leaving erect for weeks or months increases the risks of frame fatigue or accidental punctures. Proper takedown after each use has little impact on long-term material durability.
Do I need a perfectly flat yard?
While very sloped or uneven terrain makes setup challenging, inflatable tents accommodate mild grades and small bumps reasonably well. Frames flex sufficiently to allow staking down on slight hills. However, any side slope will cause golf balls to curve, so it is best to utilize the flattest available space.
What temperature range can inflatable tents operate in?
Basic inflatable tents lacking insulation or heating can still function down to 35-40°F but interior conditions become too cold for comfortable play below 50°F. Integrated heaters or HVAC systems allow reliable year-round use unless outdoor conditions are severe. Light snow or rain generally don’t impact performance when side flaps are closed.
Do I need a protective cover for storage?
Quality inflatable golf tents include durable carry bags or protective covers designed specifically for the tent’s dimensions. Ensure the cover is waterproof and blocks UV light which can degrade fabric over time. Proper cover use prevents dust or moisture damage during storage.
How much space should I allow behind and beside the tent?
Leave at least 6 feet of space on all sides for easy entrance and exit, maximum club swing clearance, and safety margin from errant golf shots. Overhead obstructions like tree branches should be around 12+ feet high to avoid touching and damaging the tent top.
Final Thoughts
An outdoor inflatable golf simulator tent is an exciting way to practice and analyze your swing in a spacious but portable setup. With a sturdy frame that can withstand wind and weather, along with the inflatable impact screen and enclosure netting, the simulator creates a mini driving range in your backyard.
When weighing an inflatable golf tent purchase, consider factors like full coverage of the swing plane, quality of enclosure materials, inclusion of hitting mats and side netting, the need for additional cooling fans, and warranty provisions for frame and screen tears.
While prices can vary greatly based on size, tech, and durability, there are quality inflatable simulators available for under $2000 that have an excellent balance of price and value.
For those seeking a comprehensive review of the best equipment available, our article on the best golf simulators for outdoor use offers an in-depth look at the leading options on the market.
Please feel free to contact us for any additional questions or comments you still might have.
Thanks for reading!


