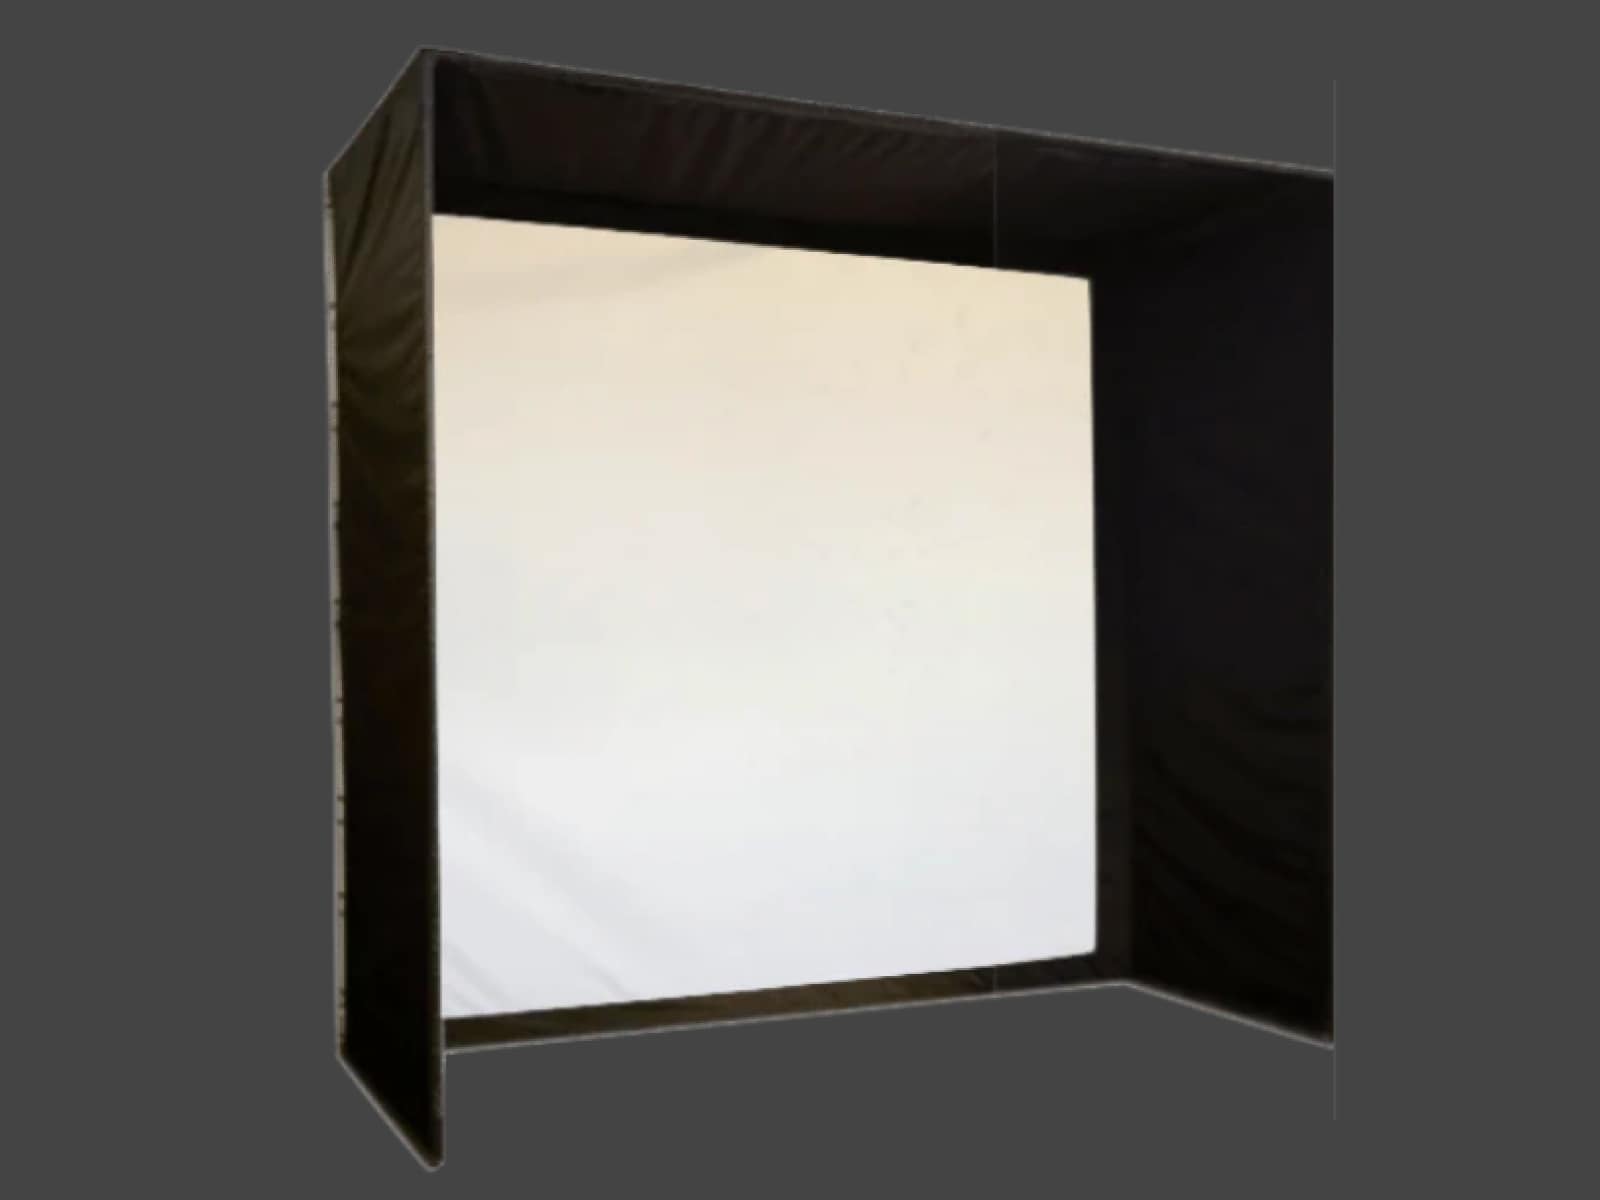
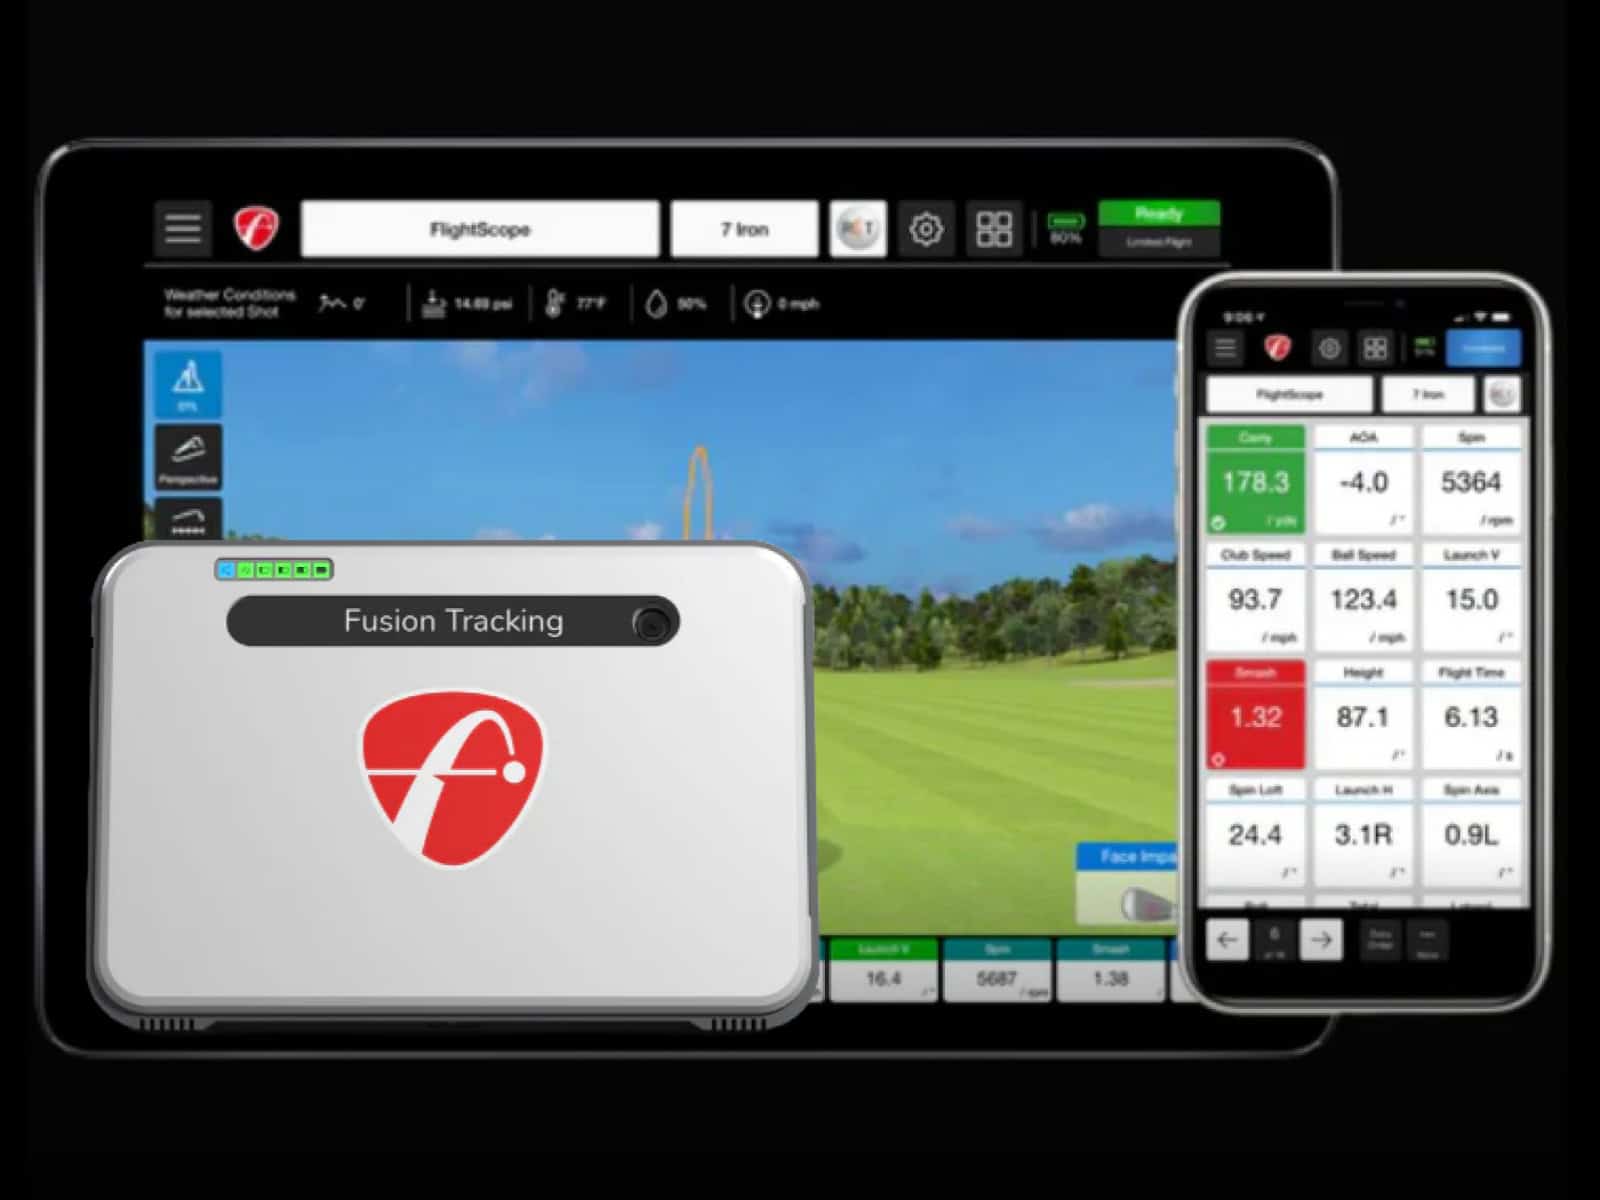
Setting up your own golf simulator at home is an exciting project for any golf enthusiast. A key component is building a sturdy, customizable frame to mount the impact screen. Choosing the right materials and dimensions to fit your space and budget is important.
This DIY guide will walk through frame construction tips, preferred materials, expected costs, tools required, and other considerations when building your golf simulator impact screen frame. Whether you want a permanent, retractable, or portable frame, you’ll learn the basics of measuring, cutting, and securely connecting frame pieces.
Why Choose an Impact Screen Frame Over a Fixed Screen?
Impact screens designed for golf simulators typically come mounted on a supporting frame. This has some notable benefits compared to permanently mounting the screen on a wall:
- Portability: The screen can be set up in any open space or room since it is freestanding on a frame.
- Versatility: Allows flexibility in simulator configuration for both left and right-handed players.
- Protection: The frame provides resilience and protects the screen material from damage.
- Storage: Frames can be disassembled for easy, organized storage when not in use.
- Customization: Frames often have adjustment features and accessories for height, angle, lighting, etc.
The choice between a fixed vs portable impact screen depends on factors like room layout, available space and frequency of use. But for serious players, an impact screen with a frame offers maximum functionality.
Impact Screen Frame Materials and Construction
The golf simulator impact screen frame provides the structural foundation for mounting the screen material itself. The design, durability, and portability of the frame has a major influence on the overall user experience.
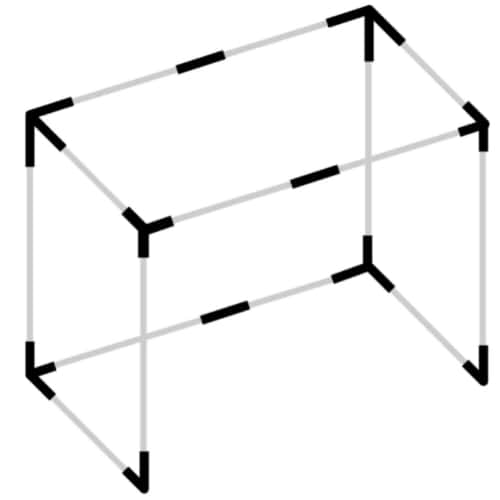
Common Frame Materials
Some typical materials used for constructing impact screen frames include aluminum, steel, wood and custom composites.
Aluminum offers an optimal balance of lightness and structural rigidity for portable frames that need to withstand impact. The extruded tubing and cast joints keep weight low but ensure stability.
Steel is the strongest material but also the heaviest. Powder coating allows steel to resist corrosion and rust so it can maintain integrity despite intense play and portability.
Wooden frames provide visual elegance. However, longevity becomes a concern with the demands of frequent mobility and impact placing strain over time.
Custom composite blends can optimize for strength as well as reduced weight, but come at a higher cost. Carbon fiber and aluminum/steel alloys fall into this category.
Each material offers specific trade-offs between ease of transport, durability, and pricing.
For those seeking a ready-made solution that combines the benefits of various materials and addresses portability, durability, and value, pre-built golf simulator screens and enclosures offer a convenient alternative to DIY frames.
Critical Frame Features
Specific frame capabilities greatly affect overall functionality:

Stability during impact – ensures the frame stays firmly in position without vibrations interfering with ball tracking and gameplay. Industrial grade screw, bolt and welding methods offer maximum rigidity and seamlessness.
Sufficient weight capacity – enables reliably keeping large screen sizes taut and resistant to sagging when struck with force. Strong materials that resist bending under load over prolonged durations are ideal.
Angle and height adjustability – allows both left and right-handed hitters to customize simulator positioning for ideal comfort and game experience. More configuration options indicate greater flexibility.
Lower weight paired with robust construction enhances mobility for quick, convenient relocation while also enabling stability for fixed installations. Prioritizing both aspects unlocks more possibilities.
Enhanced durability from weather-resistant materials and finishes ensures stable integrity despite harsh elements during transport, storage or general usage spanning years, which protects the lifetime value.
Frame Construction Methods
There are a few major methods used for assembling screen frames; here are some examples:
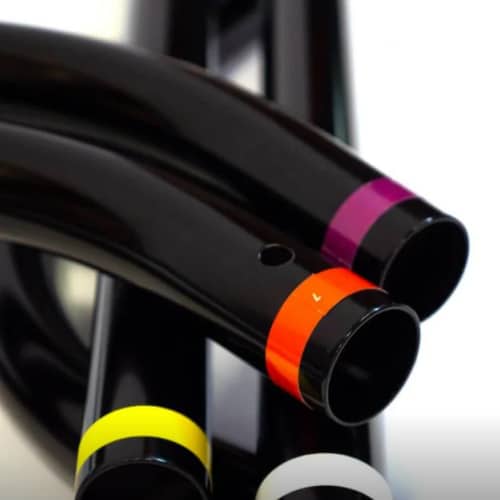
Connector-based modular assembly
This method enables straightforward tool-free construction. However, rigidity can be impacted unless high-tolerance machined fittings are used.
Riveted and screwed methods
Screws and rivets allow for stability and alignment flexibility during installation along with dismantling convenience. However, screen tautness can degrade over time if screw points loosen up. Also, unmounting the frame can require a lot of work.
Welded steel frames with precision mitered corners
This last method offers seamless strength from top-grade aluminum or steel. However, this leads to a permanent structure lacking knockdown benefits. This can be useful if you need a permanent structure with no intention to relocate. Weighing trade-offs is key.
Considerations for Choosing an Impact Screen Frame
Selecting the right golf simulator impact screen frame involves weighing a number of factors from simulator type to environment and available budget. Prioritizing personal needs is the best approach.

Types of Simulators Suited for Frames
Portable screen frames are well-suited for certain simulator configurations:
Open Room Setups: Freestanding frames maximize placement flexibility in spaces lacking enclosed bays. Maneuverability to adjust distance/angle is a plus.
Part-Time Installations: For part-time enthusiasts without permanent spaces, portable frames enable setting up only when required.
Multi-Bay Venues: Centers with multiple bays can benefit from mobility to rearrange lanes or replace damaged screens.
Outdoor Usage: Frames that offer weatherproofing broaden seasonal or indoor/outdoor simulator capabilities.
Permanent mounted screens limit room layouts and access. Frames tackle these constraints for more versatile simulator integration.
Environmental Factors
Expected environmental exposure should guide material selection:
For indoor usage, All materials work, but lighter aluminum better suits frequent relocations in controlled settings.
In the case of outdoor use, weather-resistant steel or composite frames hold up better to moisture, dust and sunlight when kept externally.
Temperature control in cold garage installations, for instance, may require materials resistant to frost cracks. Well-ventilated wood may be prone to warp.
Humidity and Coastal moisture call for galvanized or stainless steel that minimize corrosion risks better than raw steel.
Budget and Quality

Higher price tags typically provide better longevity, but various tiers accommodate different budgets:
Entry-Level
Basic screw/bolt-based assembly kits start under $300, but stability may suffer during intense play.
Mid-Range
Rugged welded aluminum frames from $800 to $2500 balance sturdiness with mobility at moderate pricing.
Premium Tiers
Top steel builds with enhanced corrosion-proofing and convenient modular connectors fall in the $2500 to $4000 category.
Custom Built
Fully customized frames tailored to space specifics with carbon fiber can range from $5000 upwards.
Setting Up and Using Frames for Impact Screens
Properly installing portable golf simulator impact screens and integrating them into spaces can further enhance functionality. Some best practices to follow are highlighted in this section.
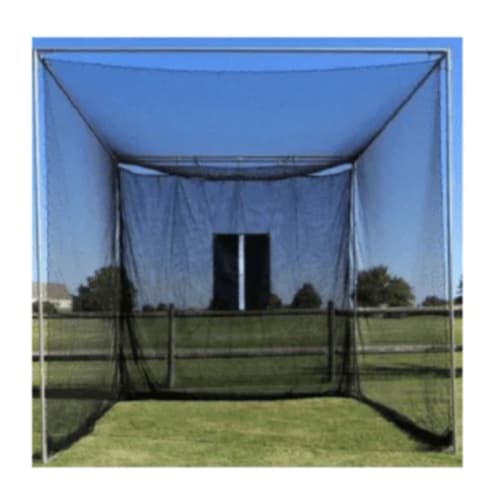
Assembly and Installation
Carefully follow the frame kit instructions for seamless, safe installation:
- Review component diagrams to envision the end-state before starting.
- Clear ample room for maneuvering during assembly.
- Use any provided tools/hardware to avoid damage from substitutes.
- Align different segments slowly and double-check connections before tightening.
- Recruit an assistant to support larger screen materials during mounting.
Take a methodical approach for smooth progress till full setup completion.
Portability and Storage
To ease mobility, you need to know the breakdown sequence well for quick, organized teardowns and label the frame components to streamline future reassembly.
In addition, invest in custom padded transport bags to prevent component and screen damage, use appropriately sized vehicles for transport and secure parts tightly against shifts during transit.
Also, dedicated storage rooms and/or protective covers will reduce wear and tear over time.
Protection and Maintenance
To extend the system’s lifetime, you can follow the tips below:
- Limit direct airflow towards the screen surface to prevent rips or tears.
- Check frame joints periodically for loose screws or cracks needing attention.
- Apply touch-up paint on steel parts if any chipping is visible.
- Clean the screen surface only when needed using extremely gentle materials. Harsh products can degrade screens.
Frequently Asked Questions
In this section of the article, we will tackle some common questions surrounding golf simulator impact screen frames to simplify purchase and construction considerations.
What size frame and screen should I choose?
Consider factors like room dimensions, maximum shot distance needed, projected imagery based on simulator software and projector specs, and budget.
Just remember that the frame must be slightly larger than the actual screen you intend to use.
Do I need an enclosure room or will an open space work?
Both can work without issues. Enclosed bays allow fully immersive visualization, but open setups using screen frames maximize placement flexibility. Ambient lighting conditions determine which works better for you.
How difficult is it to assemble these frame kits?
Many aluminum and steel frames utilize modular connectors for straightforward assembly without requiring wiring or specialized tools. Clear manual instructions further ease the process.
Can I leave the frame and screen outside when not in use?
Unless specialized weatherproofing treatments are applied, keeping them indoors is best to prevent material degradation from long-term light and moisture exposure.
Will installation damage my floors or walls?
It is always a possibility to cause floor and wall damage while mounting the frame, so you should pay extra attention during the process. With that said, high-end frames use protective rubber caps on base legs specifically to prevent scuffing floors during position changes.
What maintenance does the frame need?
Follow manufacturer guidelines (in case you purchase from one), but periodically check for loose connectors. Touch up frame paint chips immediately to prevent oxidation spread. Also, transport the frame components carefully during mobility to prevent damage.
Final Thoughts
Constructing a frame for your golf simulator impact screen is a rewarding DIY project. By now, you should have a solid understanding of how to design and build a frame tailored to your available space and needs.
Consider portability, ceiling height and room dimensions when planning. Try to use sturdy materials and follow safety procedures when working. Also, remember to measure precisely to achieve a taut, wrinkle-free screen installation. Bolting or welding connections provide better stability.
However, if you’re new to DIY projects or want a more in-depth guide that covers every aspect of building your own golf simulator, from the screen and launch monitor to the software and final touches, you can check our guide on how to build a golf simulator to ensure your golf simulator becomes a reality.
Remember, building your own golf simulator can be a fun and enriching experience, and with the right guidance, you can create a personalized space to enjoy your favorite game anytime.
If you still have questions or comments, please contact us.


