Installing proper padding is a crucial element of any golf simulator setup. Padding serves multiple important functions – protecting walls and ceilings from damage, reducing noise, and enhancing the visual ambiance.
As you look to add padding to your simulator space, there are a few key aspects to understand. This article is dedicated to wall and ceiling padding for golf simulator rooms. You will know everything there is to ensure proper safety in your virtual golf space.
What is Golf Simulator Padding?
Simulator padding refers to cushioned materials that are mounted on the walls and ceiling around a golf hitting area and screen. Padding in golf simulators serves three core purposes:
- Protecting Surfaces – Padding prevents golf club strikes and ball impacts from damaging walls, drywall, paneling, etc. It cushions and absorbs the blows.
- Noise Reduction – Padding significantly dampens the sounds of clubs hitting balls and balls hitting padded surfaces. It makes the space quieter. They also prevent balls from ricocheting on the surfaces and causing potential injury.
- Visual Appeal – From a design standpoint, padding often improves the clean, polished look of a simulator bay. Color and material choices allow customization.
Padding transforms an empty room into an inviting virtual golf domain ready for immersive practice and entertainment.
Why Proper Padding is Crucial?
Installed correctly using quality materials, padding is well worth the investment for any home golf simulator. Without padding, walls and ceilings suffer dents, chips, cracks, and smudges from normal golf swing activity. Padding protects those vulnerable surfaces.
In addition, the loud, reverberant sounds of balls being struck can be annoyingly amplified without soft padding to absorb noise. Sound dampening improves the entire experience. Visually, walls and ceiling padding lend simulator bays a clean, professional look. The padding also enables you to add custom colors, prints and graphics to customize the space.
Key Considerations When Choosing Padding
As you research padding solutions, five factors generally have the largest influence:
Padding Material
The type of padding and its durability, sound absorption, and look are all important factors to keep in mind. Polyurethane foam and acoustic foam are common choices.
Thickness
Thinner padding saves space yet risks sacrificing protection and noise reduction compared to thicker options. Wall padding is commonly 1 to 3 inches thick or more.
Appearance
Beyond basic padding, customizable outer layers provide aesthetically pleasing colors, prints and textures like grass to enhance the simulator’s atmosphere.
Installation
Professional installers usually handle mounting padding firmly in place. The process varies by material. Custom graphics may take longer to produce and install.
Budget
Material, thickness and installation costs vary widely. Prioritize durability and noise reduction in long-term investments. Also, compare different available offers to choose the best deal.
If you are looking for some recommendations, we also have an in-depth article reviewing some of the highest-rated golf simulator padding solutions on the market. Key aspects analyzed include foam density, thickness, modular components, and pros and cons of leading brands.
Types of Padding Materials
When installing padding for your golf simulator, you have various material options to choose from. The most popular and effective padding materials each offer their own advantages and drawbacks. Key variables around durability, noise dampening and aesthetics help determine the best fit for your space and budget.
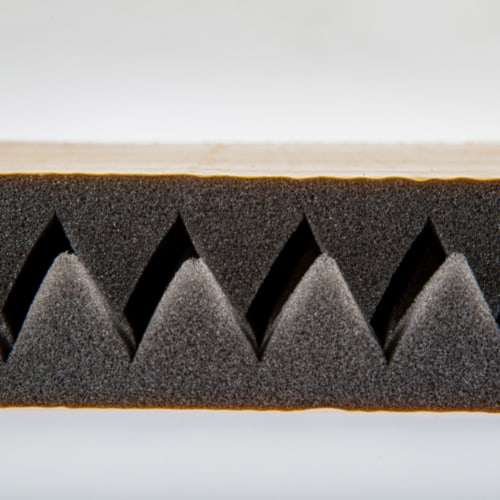
Polyurethane Foam Padding
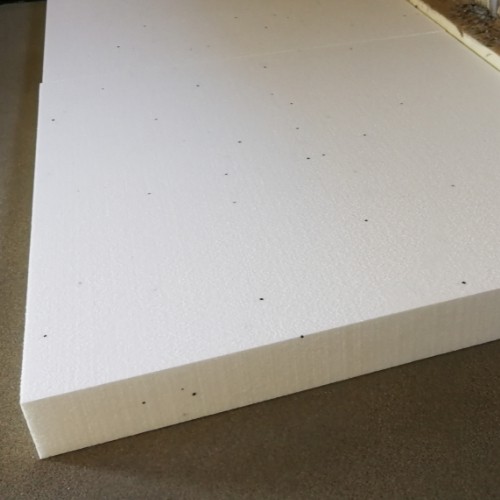
Polyurethane foam is an exceptionally versatile padding choice trusted across many industries from packaging to furniture. In golf simulators, its beneficial properties include the following:
- Durability – Available in high and low-density formulations, polyurethane foam stands up well to repeated club and ball impacts without breaking down.
- Noise Reduction – The foam structure absorbs noise effectively, reducing annoying reverberation for a quieter simulator bay.
- Customizable Density – Multiple density levels allow tailoring foam firmness and sound-dampening abilities between walls and ceiling.
- Affordability – Basic polyurethane foam padding prices are reasonable relative to advanced soundproofing materials. However, installation does add cost.
Polyurethane foam padding requires professional installation but delivers long lasting protection.
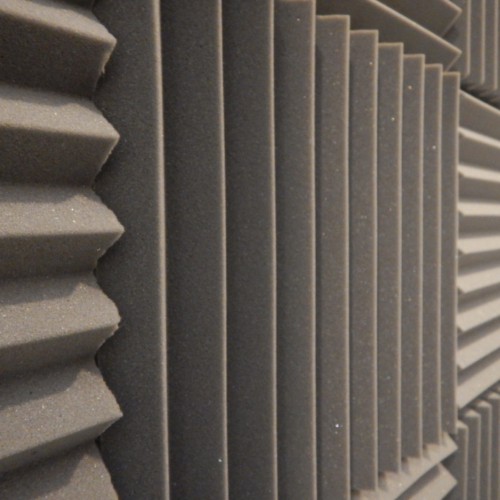
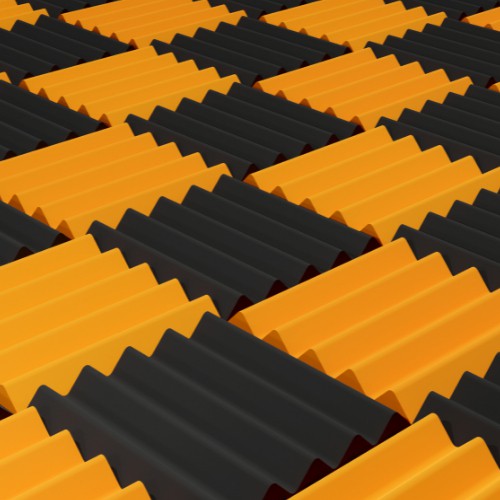
Acoustic Foam Padding
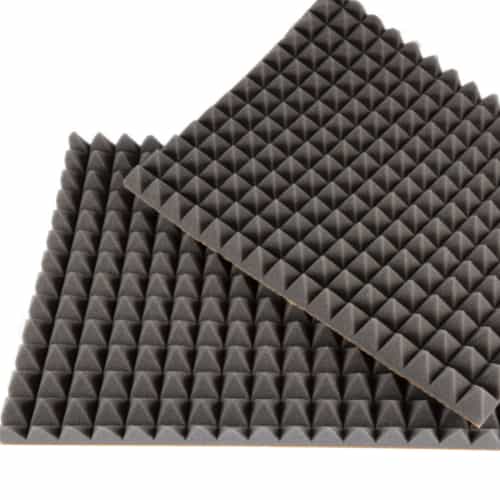
Specifically engineered for sound absorption applications, acoustic foam padding has distinct perks:
- Specialized Noise Control – Intricate open cell structures target mid to high-frequency sounds very effectively.
- Visual Appeal – Available in colorful, artful patterns and textures as well as basic colors.
- Thin Profile – Most acoustic foams come in 2 to 4-inch thickness but still dampen noise with minimal depth.
- DIY Friendly – Peel-and-stick backing enables convenient do-it-yourself application without requiring professional installers.
The sophisticated sound-dampening design does come at a price. Acoustic foam also has less tear resistance than denser padding.
Carpet And Turf Padding
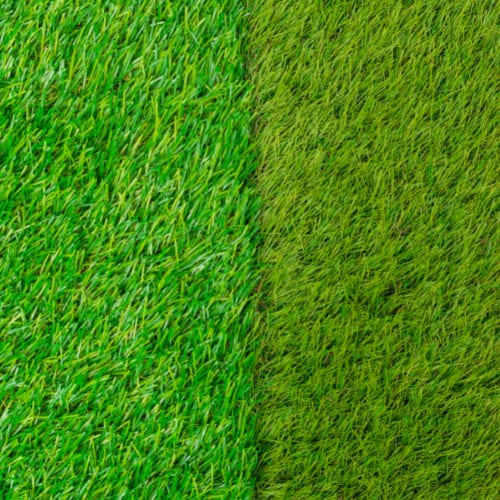
For simulator flooring, thick carpet or artificial turf over quality underpadding makes an ideal choice. Here are some of its properties:
- Grass Simulation – Nylon-based golf turf mimics the look and feel of hitting off mats at the driving range or course.
- Sound Absorption – The dense carpet and pad soak up noise from the club and ball contact with the floor.
- Comfort – Long-pile materials and padding add physical comfort when hitting off mats for hours.
Carpet and turf do require periodic cleaning and replacement as materials wear. Dust-hiding dark greens help maintain appearances between cleanings.
Other Padding Options
Beyond the major types, other niche padding materials occasionally used in golf simulators include:
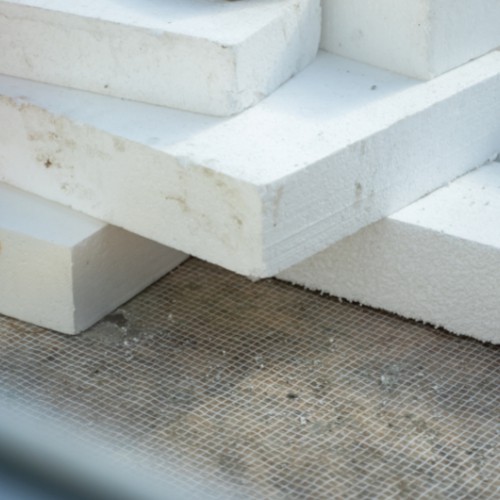
- Fiberglass – Highly sound absorbent fiberglass insulation panels or batts. This material needs protective skin and requires expert handling.
- Natural Fibers – These come in the form of sustainable cotton or recycled fabric padding wraps; these still lack durability over time.
Choosing simulator padding combines noise control, durability and visual priorities with installation factors and budget. Getting the material choice and sizing right ensures your simulator looks, feels and functions at its best long-term.
Padding Thickness
Thickness plays a key role in your golf simulator padding. Thicker padding inherently provides greater durability, absorbs more sound, and costs more. Optimizing padding depth requires balancing your budget with adequate protection and noise reduction.
Thicker Padding = Better Protection
The thicker the padding, the more cushioning it provides between swinging clubs, flying golf balls, and vulnerable walls/ceilings.
Added depth prevents wall and ceiling damage more reliably from direct ball/club impacts. Deeper cushioning helps avoid cracks, chips and dents over years of use.
It also reduces reverberant noise levels emanating from clubface and ball contact by providing greater sound-absorbing volume. More muffled acoustics enhance simulator enjoyment.
Within reasonable cost constraints, thicker simulator padding gives greater assurance of both lasting surface protection and noise control over thin padding that saves space yet sacrifices functionality.
Recommended Padding Thickness Levels
While any padding helps, compared to bare walls, common guidelines for sufficient padding depth in home simulators are:
For the walls, the padding should be 1 to 3 inches thick. 2 inches provides robust protection and is the middle ground between price and performance. Acoustic foam can be thinner because it provides better noise reduction and shock absorption capabilities.
For your Ceiling, a minimum of 3 inches in thickness is advisable. The ceiling endures the highest club speeds off drivers and needs ample padding depth.
These suggested thickness minimums assume polyurethane foam or comparable durable padding material. More specialized acoustic foam padding dampens sound with less thickness but remains more vulnerable to damage over years of swing impacts.
Consider Room Size
Available space and desired simulator dimensions help determine the appropriate padding thickness. Smaller simulator bays may require balancing padding depth with preserving as much hitting area as possible. Larger rooms can accommodate thicker padding while allowing generous swing space. You can check our guide on golf simulator room dimensions for more details on measuring the space to properly size your golf simulator room.
Factor target padding thickness into initial room measurements when planning simulator dimensions. This ensures padding specifications align properly with your available space and budget. While thinner padding saves money upfront, replacement costs down the road underscore properly thick, protective padding’s value in safeguarding your investment for longer.
Appearance & Aesthetics
Beyond simply protecting surfaces, simulator padding enables you to customize the look of your hitting bay to match decor or brand the space with creative designs. Padding materials and outer layers provide opportunities to integrate aesthetic details through a few elements.
Colors
Solid, neutral padding colors blend inconspicuously into most decors. Otherwise, you might choose to make a bold visual statement by selecting vibrant red, green, blue, or other colorful padding. Colors can distinguish side walls from ceiling and floor. Try to match the existing paint colors or complement the room styling.
Printed images/photographs directly onto padding introduce more intricate visuals. Keep it related to golf or go abstract. This, however, does increase the cost over solid colors.
Creative Shapes
Typical padding installs flush against flat walls and ceilings. Still, custom fabricated pieces can add flair; here are some suggestions:
- Arched trim bordering ceiling perimeters
- Angled padding joining side walls to ceiling
- Combining padding materials, textures and inch-depths
- Diagonal ribbon panels crossing walls
- Recessed rectangular panels surrounding flat screen areas
Shape possibilities are endless. Shapes add designer touches while retaining protective, sound-deadening functionality.
Logos & Designs
Take customization further by applying logos, prints or original designs directly on visible padding surfaces. Repeating patterns, icons and textures improve the simulator’s aesthetics.
At an additional cost, digitally print any graphics from geometric shapes to photorealistic course landscapes onto acoustic foam or stretch fabric outer wraps. This takes personalized customization to the next level while maintaining acoustic performance.
Vibrant colors, exclusive patterns and dimensional contours transform bland padding into an engaging element of your simulator decor. Tailored materials and printing services make every padding element an opportunity to amplify aesthetic themes or brand identity within your golf environment.
Installation & Budget
Once you select preferred padding materials and specifications for your simulator, determining installation logistics and budget impact comes next. Carefully mounted padding not only protects surfaces but retains aesthetic uniformity long term.
Installation Methods
Firm, professional padding installation ensures maximum durability, safety and noise control. You can go with one of three mounting methods.
Adhesive Backing uses Factory applied adhesive strips on padding backs to bond securely when pressed to smooth surfaces. This type of material is common for acoustic foam.
Hook & Loop Tape is a method using durable interlocking hooks and loops that bond padding when correctly aligned. This method provides detachability and reusability.
Track Systems with aluminum tracks attached along perimeter walls to simplify mounting modular padding elements of various depths.
Track systems enable smoothly swapping out padding segments over time. Other techniques often require removing adhesive residue or tape strips during replacements.
Ideally, a dedicated installer handles padding for consistency. DIY application risks uneven alignment, gaps or falling hazards if improperly secured.
If you are looking for a definitive resource that provides tips on construction, operation, design, and sourcing all the components needed to assemble a high-quality home golf simulator from the ground up, you can check our DIY Golf Simulator guide.
Budget Factors

Padding and installation costs vary based on these factors:
- Simulator Size – More padding is required for larger bays, especially with custom prints/shapes.
- Material Selections – Higher density foams, digitally printed faces and specialty acoustic materials cost more.
- Thickness – Greater padding depth adds cost, especially on ceilings.
- Labor – Professional installation ensures quality mounting as well as custom fabrication abilities.
Foam padding generally ranges $10 – $25 per square foot including standard installation. Advanced soundproofing, digitally printed graphics or custom shapes increase prices accordingly.
Carefully weigh padding specifications against your budget when planning your installation. Prioritizing durability and noise control enhances experience and protects your investments in the long run.
Frequently Asked Questions
Golf simulator padding is your first line of defense against wayward drives and rogue chips. But before you go diving into a foam frenzy, consider this FAQ pit stop. We’ve bunkered down and cleared up the most common questions about padding your perfect practice space.
How long does padding installation take?
The time it takes to transform your space into a padded haven depends on the size and complexity of the job. Simple setups might be a weekend warrior project, while larger, custom designs could involve a pro crew and take a few days.
Remember, meticulous measuring and precise cutting are key for a seamless finish, so factor in some Zen-like patience no matter your chosen route.
Can I install padding myself or do I need a professional?
If you’re handy and have a trusty sidekick (or two), tackling the installation yourself can be a budget-friendly option. But for complex layouts, intricate designs, or if your DIY confidence is feeling a bit par for the course, enlisting a pro padding posse guarantees a swingin’ success. Their expertise ensures proper fit, adherence, and long-lasting performance, saving you strokes (and stress) in the long run.
Does padding require ongoing maintenance?
Most padding materials are low-maintenance champions. A quick vacuum or occasional wipe-down with a damp cloth is all it takes to keep your padded playground pristine.
Just avoid harsh chemicals or abrasive cleaners, as they can damage the surface.
What padding works best for concrete walls vs. drywall?
For sturdy concrete, opt for adhesive-backed panels or a track system for a secure hold. Drywall, on the other hand, might be happier with hook-and-loop fasteners or a lighter-weight padding option to avoid excessive stress. Consulting a pro for material recommendations based on your specific wall type is always a birdie move.
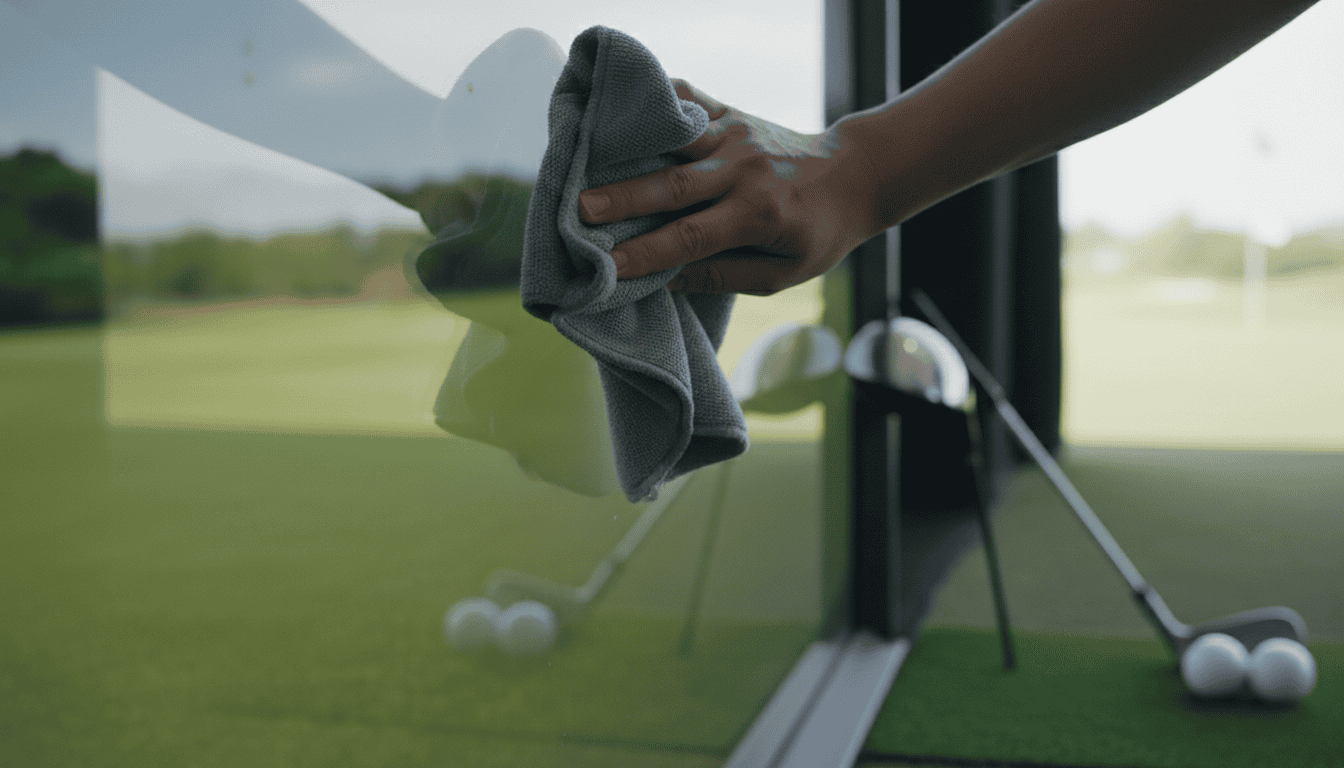
How do I clean padded walls and ceiling?
Most padding materials are stain-resistant and easy to clean. Simply blot up spills promptly with a clean, absorbent cloth. For tougher messes, a mild soap solution and a soft brush should do the trick. Just remember to be gentle and avoid soaking the padding, as that could lead to moisture issues.
Will padding negatively impact ball flight or accuracy?
Properly installed padding absorbs impact without affecting ball trajectory or launch angle. In fact, some strategically placed padding elements can even help minimize errant ball bounces and create a more realistic playing environment.
Final Thoughts
Quality padding is a wise investment for home golf simulators. Prioritizing durability and noise reduction rewards long-term enjoyment. If you’re wondering, “Is a Golf Simulator Loud“, proper padding can help address those concerns.
Polyurethane and acoustic foams absorb damage and sound, while customizable colors, prints and shapes boost aesthetics. With padding properly addressing protection, acoustics and appearance suited to your space, you can swing confidently while enhancing the simulator experience for years. Systematically measure, research optimal materials and employ reliable installers. Then watch as padding takes your virtual golf to the next level!
If you still have any other questions or comments, please contact us.